
This technique can be very effective for certain photographs and well worth trying out. They could also be
gently tinted or even two toned [see page 37].
I have added a second Colour method from step 13 that you may prefer and get a better result.
See https://www.photoworkout.com/high-key-photography/
It is a process that will take you only a few minutes.
1. Open a suitable picture. This is likely to be a landscape possible taken on a murky or misty day in winter.
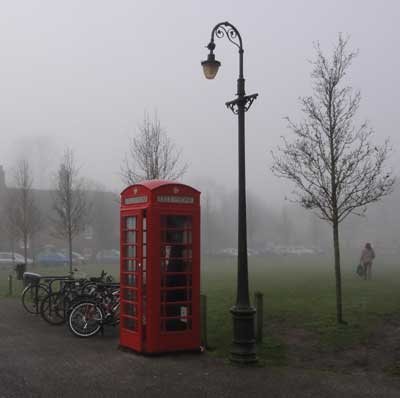
2. Make the size for the final print you intend to make. Crop as needed.
3. Now turn the image into monochrome. From the Layers Palette select the Gradient Map Adjustment Layer.
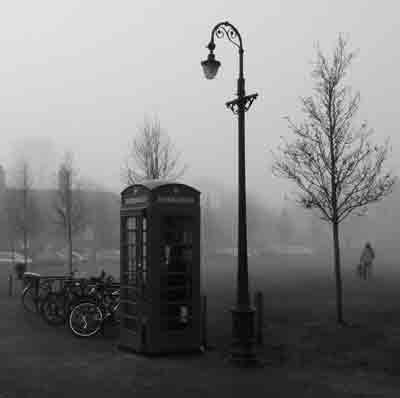
4. Click on the gradient to get to the Gradient Editor. See page 47 steps 3 to 7 inclusive on how to set this.
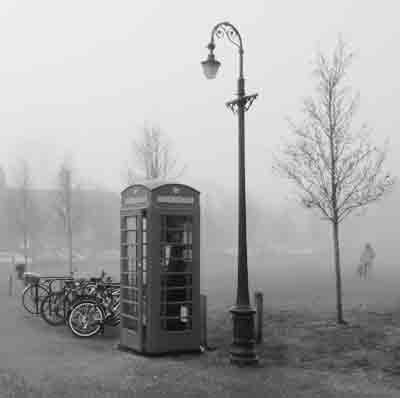
5. Now set up a Levels Adjustment Layer. Drag in the White and Black triangles to brighten the highlights and enrich the dark areas. If whilst doing this you press down the ALT key. This allows you to check that you are not clipping either the highlights or the shadows.
6. Now Duplicate the Background Layer by going to Layer on main menu bar and then Duplicate Layer.
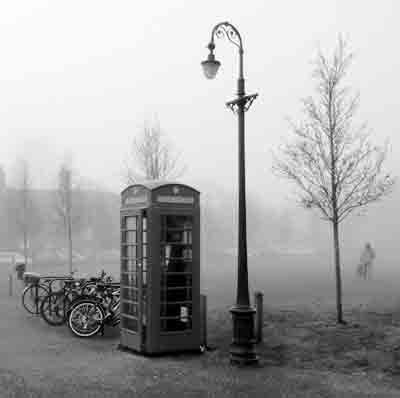
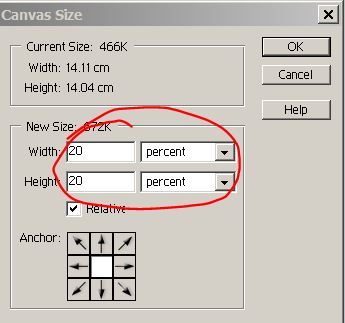
7. To make a good presentation go to Image > Resize > Canvas Size. Change the measurements to Percent. Now insert something like 20 into the Width and Height boxes. Press OK.
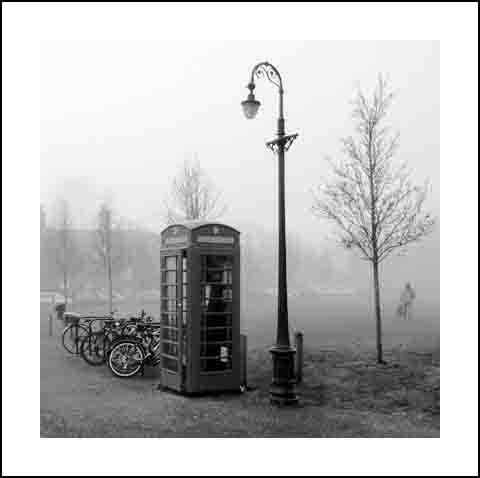
8. To put a thin line around the image itself hold the
CTRL key down and with mouse left click on the picture
icon on the Layers Palette. This should put marching
ants around the image only within the white border.
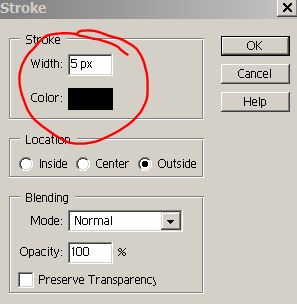
9. From the Menu bar pick Edit > Stroke. In the box set the size to 5 or so pixels and the colour to Black. Leave all other controls at their default settings. Press OK.
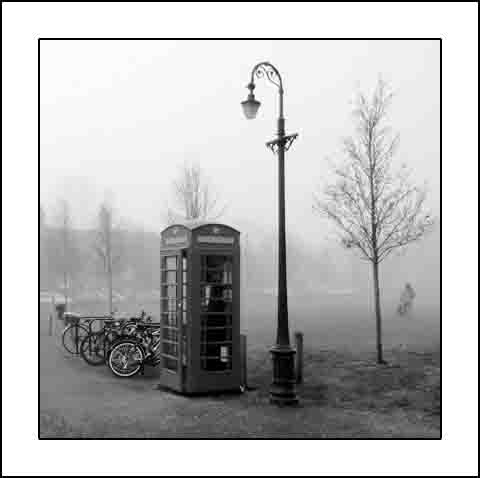
10. That should finish your photograph apart from Flattening down the layers.
11. Do not forget that you could tint your image. One way to do this is to have a Levels Adjustment Layer. Using the Blue channel, say, tweak gently the controls to add a hint of blue or possibly yellow.
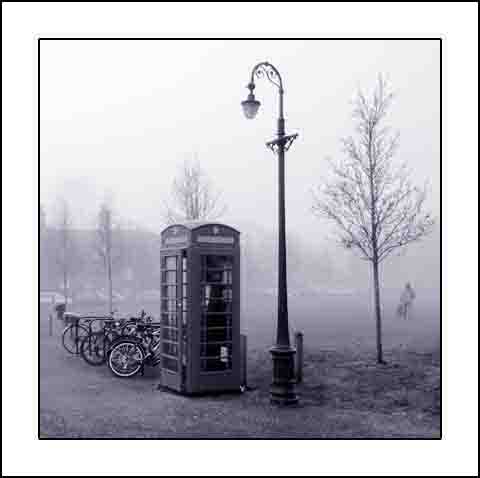
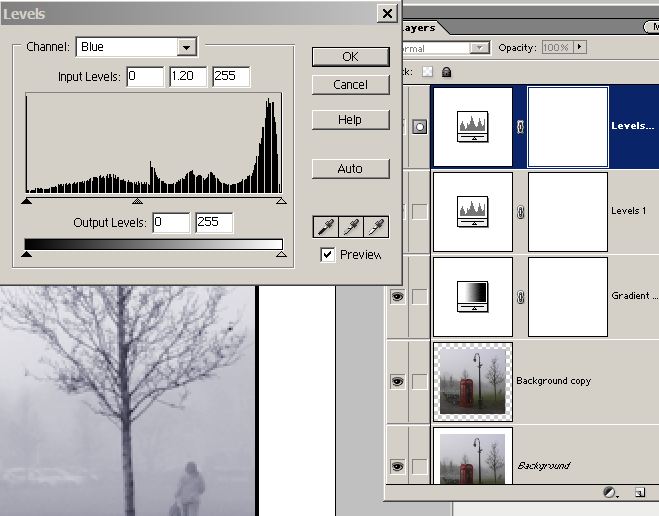
12. This is a very classy technique that can produce results that you can be proud of.
13. BUT here is another way of making High Key Images.
14. Open a suitable picture in Photoshop but ensure that you open it into the ACR [Adobe Camera Raw]. This is found in the Menu Bar under File > Open in Camera Raw.
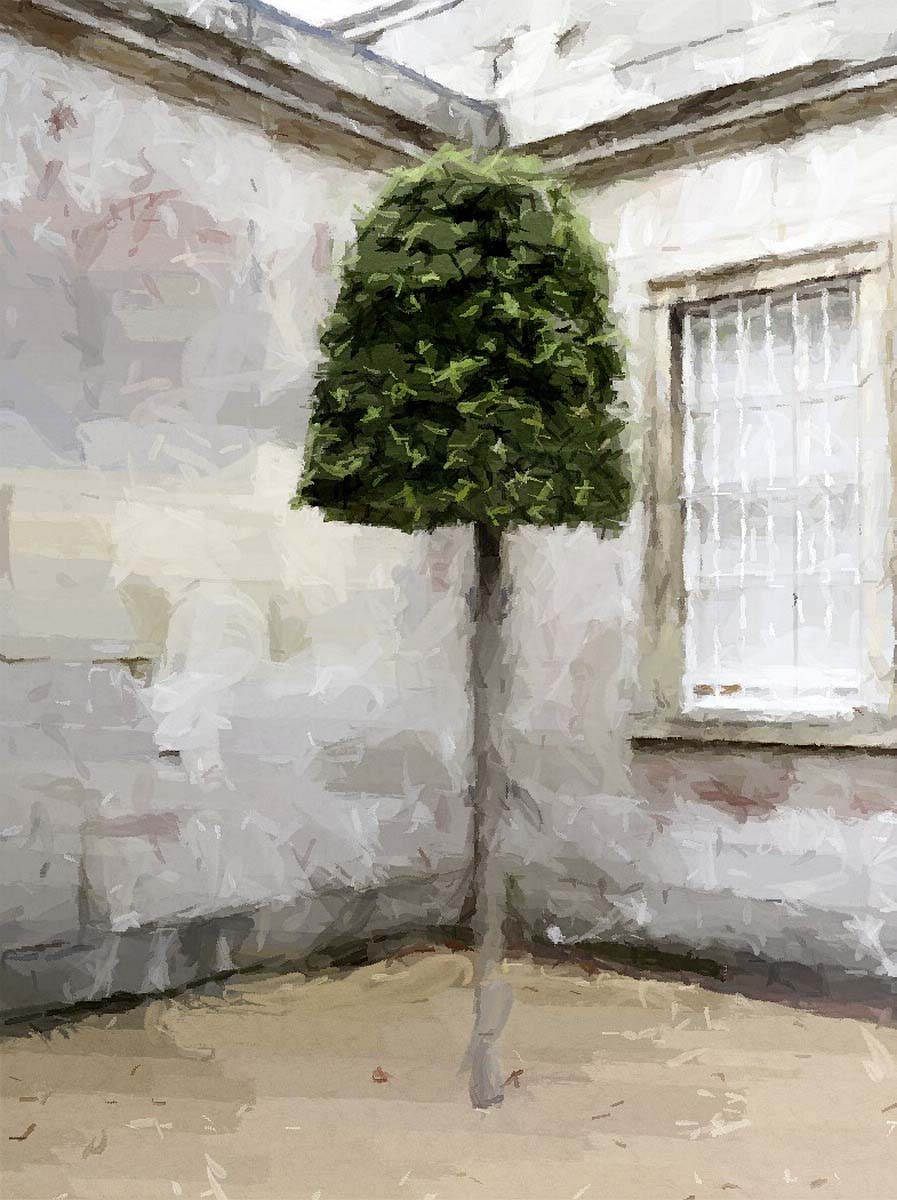
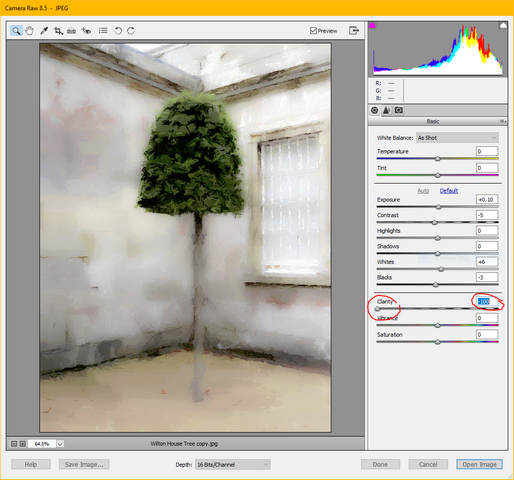
15. Now move the Clarity slider to -100 [all the way left as shown].
16. Click Open Image whereupon the image open slightly soft and lighter in tone.
17. Save this version with a new name.
18. Open the original image file uaing File > Open in Camera Raw.
19. This time move the Clarity slider all the way to the right i.e. +100.
20. Click Open Image. It appears as a much contrastier picture.
21. Save this version with a new name.
22. Close the original image and open the new images.
23. Select all of the +100 Clarity version using Ctrl + A. Then copy this image using Ctrl + C.
24. Pick the -100 version image. Now paste the first image by using Ctrl + V. You now have 2 Layers.
25. Here comes the interesting part. Click on the Layers Palette where it says Normal. A dropdown box shows you the Blending Modes. Pick SOFT LIGHT. All the tones lighter than 50% appear softer and areas of dark stay sharp.
26. Click on Layer in the Menu Bar then New Fill Layer > Solid Colour. Click OK. This has the effect making the Image all White.
27. Do not PANIC! Simply move the Opacity slider [at the top of the Layers Palette] to the left to about 15%. This restores the image. This needs some judgement.
28. Now add another Adjustment Layer for Levels to tweek the result to your liking.
29. You can now add a this border to finish you work.
This second Metod is fun and worthwhile.