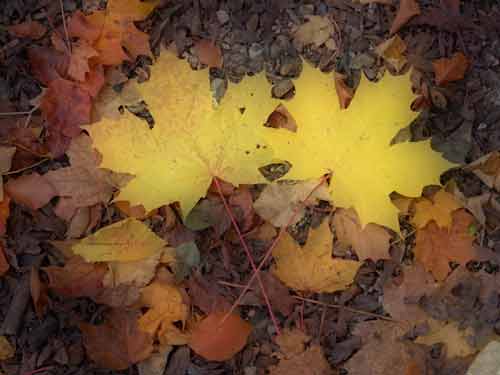
This idea is derived from one of Clive Haynes that has been developed to use Photoshop Elements ver. 2 to 9.
The idea is to take a normal image and by duplicating it, working on this and then recombining with the original a lovely diffused artwork results. As always choose you original carefully since the technique will not be successful for all photos.
Compare this idea with the Sandwiching Technique HERE
1. Open a suitable photograph. Ensure that it is sized for your final purpose and corrected for colour and so on.
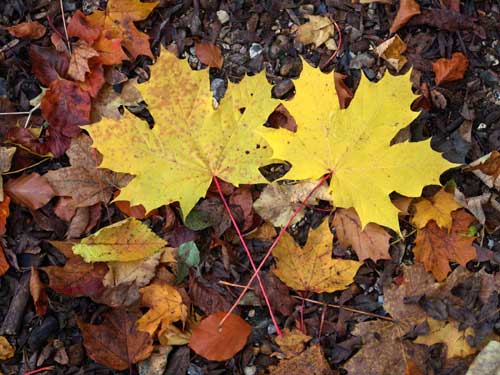
2. Make a duplicate of the from Image > Duplicate Image. Close the original image.
3. Make another duplicate image.
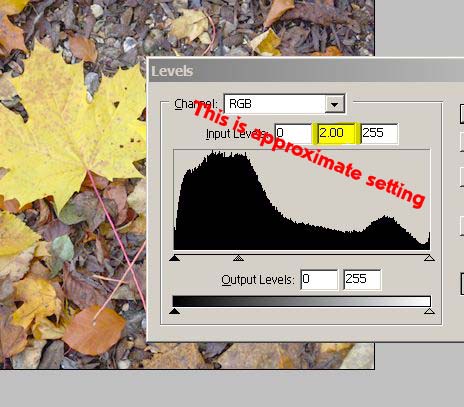
4. Using the Levels command drag the middle slider until it reads 2.0 or so to lighten this image a lot.
5. Make yet another duplicate image.
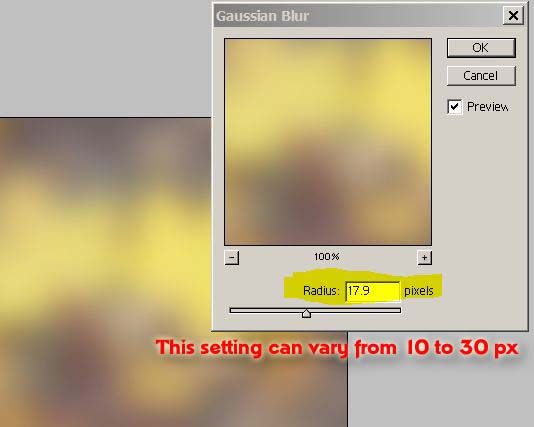
6. From the Filter menu pick Blur > Gaussian Blur. Set to about 10 to 30 pixels.
7. Using the Move tool drag this version, with the Shift key pressed to get precise alignment, on top of the lightened version.
8. On the Layers Palette from the Blending Mode drop down menu choose Multiply.
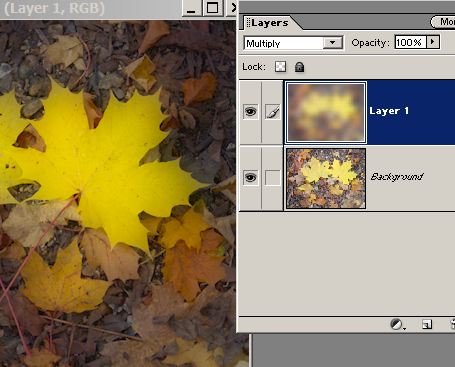
9. That is all you have to do.