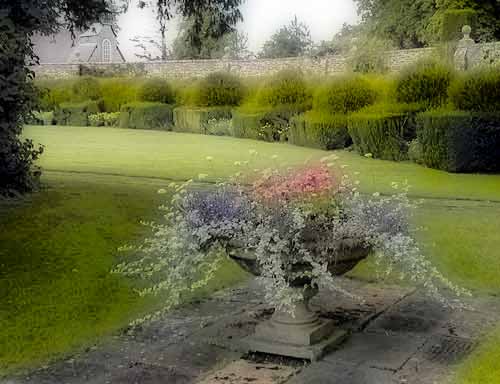
We can simulate this idea so easily when we use the digital light room. So let’s go.
1. Open an image in Photoshop. Almost any version will be OK. Here we are using a view of the garden of Avebury manor house.
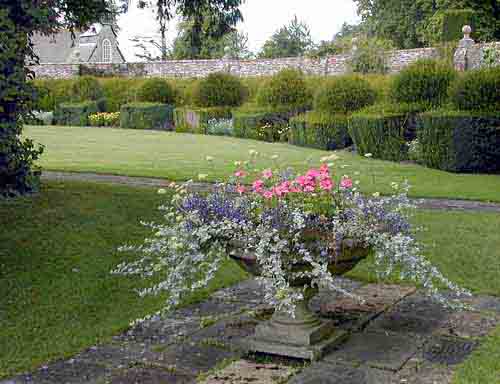
2. Make a Duplicate image and then Close down the original.
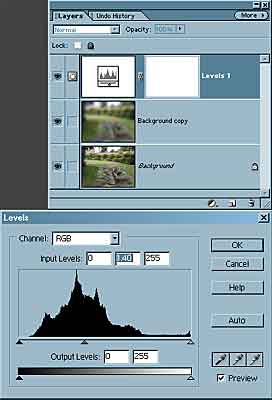
3. Make a copy of the Background layer by dragging this over the New Layer icon.
4. Go to Filter > Blur > Gaussian Blur and set this to somewhere between 10 and 20 pixels. Click OK.

5. Open an Adjustment Layer of Levels. Set mid slider to 1.30 to make the result much lighter than
you think is good. Do not worry about this effect. You may have to adjust this later anyway
.
6. Press D on the keyboard to make the
foreground and background colours black and white.
7. Make another copy of the Background layer by
dragging this over the New Layer icon.
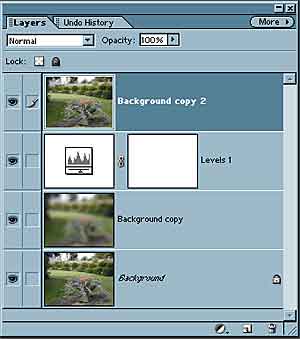
8. Drag this layer to the top of the stack and in the
Adjustment Layers find Gradient Map.
9. The Gradient Map box appears as shown here.
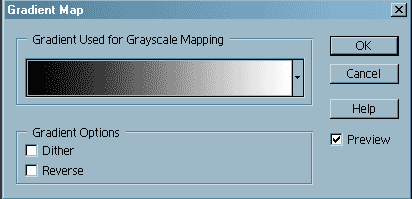
10. At this point you will see that the top layer is
now Monochrome. But it is not quite right for this
technique yet.
11. Click on the grey scale in the middle of the
Gradient Map box.
12. The Gradient Editor appears as here.

13. Click on the white end as shown with Red
arrow.
14. A small diamond icon appears halfway along the
grey scale.
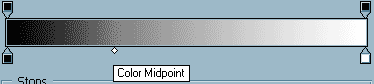
15. Click on this and drag it until the Locator box
reads about 30%. This brightens the black and white
image. There should still be some details in the
highlights. Click OK and OK again.
16. Now go to Layer on the top menu bar and find
the entry Group with Previous or you could use the
short cut Ctrl + G.
17. Select the top image layer.
18. Click on the Blending Mode drop down box and
pick the Multiply mode.
19. At this point you may need to brighten the image
still more. Use the Adjustment layers as appropriate.
20. We have found that sometimes the colours may
be a little weak. In which case highlight the bottom
layer and then select a Hue & Saturation Adjustment
Layer. Adjust as needed.
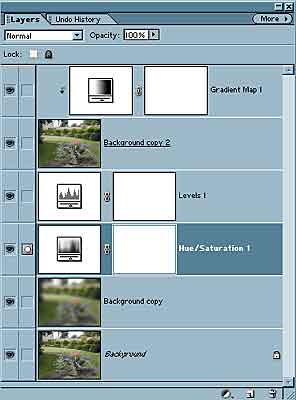
21. That is it.