
This is a way of making Monochrome Photograph from a normal colour photograph. Now there are many ways to convert from colour to monochrome. Some are better than others but none of them have the facility to alter the mid tone range as easily as using the Gradient Map.
So let us begin.
1. Open a suitable picture. We suggest that a landscape is a good place to start.
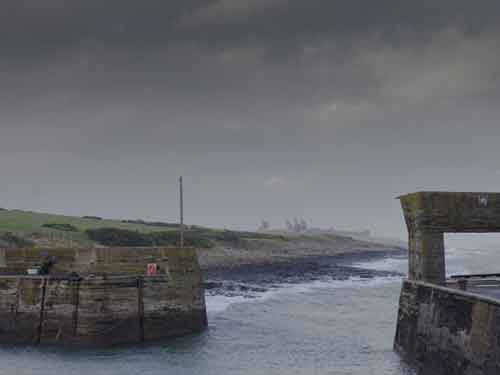
2. Using an Adjustment Levels layer correct any problems with the image. Click OK.
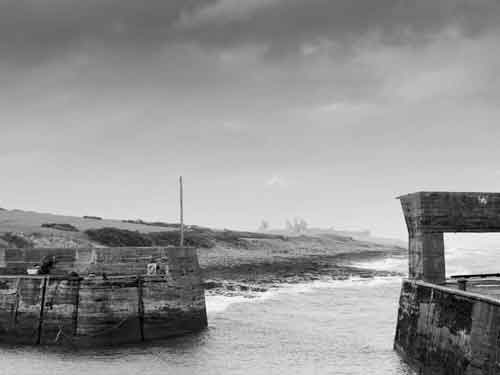
3. Using another Adjustment layer; this time the Gradient Map. Immediately the photo becomes black and white [assuming that the Foreground/ Background are in the default colours. You can experiment here by changing these two colours. Try it once at least.
4. Now click on the the Grey Scale to bring up the Gradient Editor.
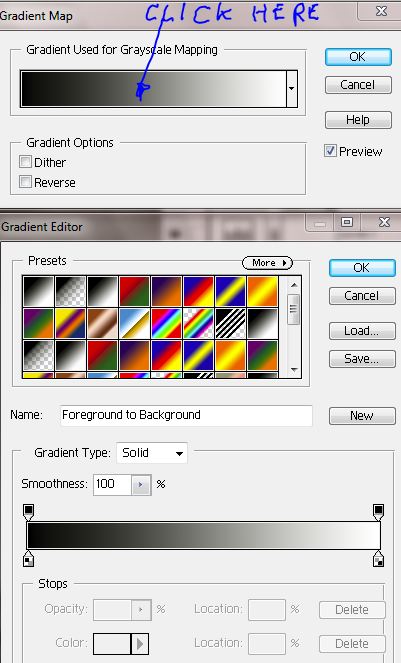
5. Now click on the right hand pointer as shown here. Whereupon a lozenge appears exactly in the centre bottom of the grey scale.
6. Grab this and slide left or right. Generally going left will brighten the mid tones and open up the image.
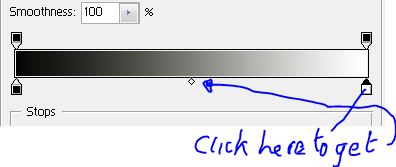
If you slip up you may find and extra white pointer appearing as below. All you have to do is drag it off the scale and you will be back to square one.
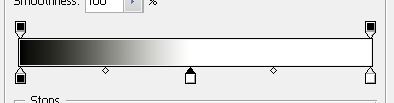
7. When you slide the lozenge you can see the effect on your image. So when you are deliriously happy click OK twice.
8. In a landscape the sky will need attention. Generally it will be too bright. So first try the gradient tool vertically. See Adding Mist to Scene for details of the way to do this. Page 32 of the on-line course.
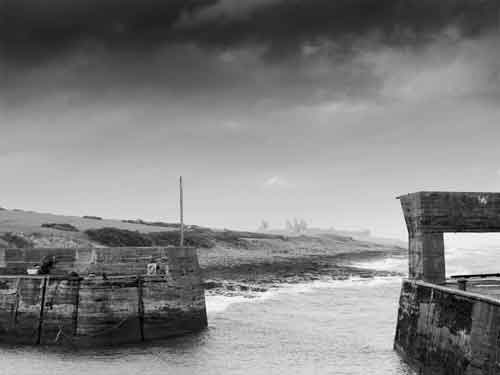
9. Also in this instance the sea is a bit light. Use the Magic Wand to select the sea. Feather a small amount. The using an Adjustment Levels layer darken as needed.
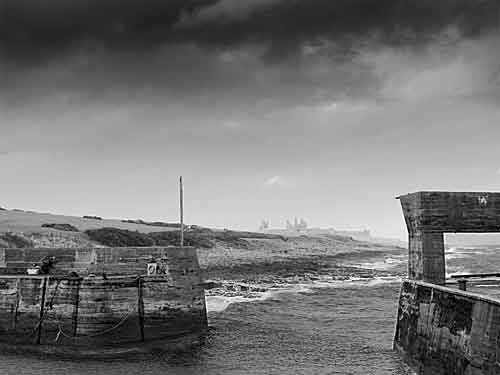
10. At this stage Flatten the layers.
11. The sky looks too large and out of proportion here so let us squash it down a little.
12. Try using the Rectangular Marquee tool to draw a selection nearly down the post. From the Select Menu pick Modify > Expand. Set to 1 pixel.
13. Press Ctrl + T to get Transform. Now drag down the top middle box. Do not do too much or it will show.
14. A white area will now show at the top of the image. Use the Crop tool to remove this. Below is the result.
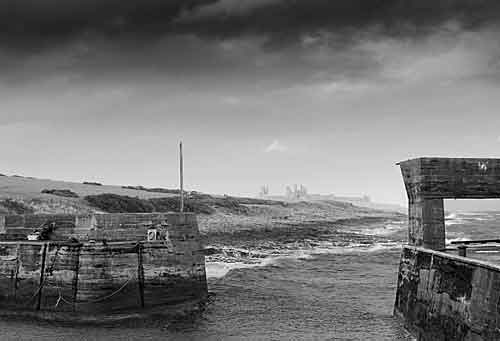
15. Sharpen as needed.
16. And that is one way to make a monochrome image that has a good tonal range.