
Little Planet Revisited
It is time to have another look at this technique now. Previously the result had the left and right sides
as mirror images. To me this is not really how a planet would look. However, we can by adding another idea
make the planet that is not symmetrical.
The main difference is the use of the Offset filter.
So here is the new method.
1. Open a suitable image and ensure that it is corrected for brightness, contrast and cropping. The image should have sky with or without clouds. The foreground can be extensive.
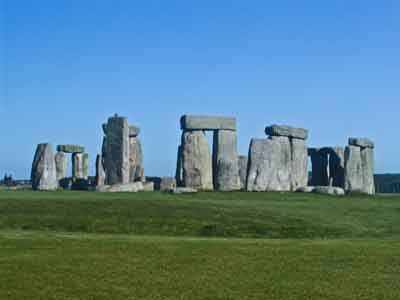
2. Flatten image if you have any layers.
3. Go to Filters > Other > Offset. Move the top slider to the right and stop at a suitable place so that the offset does not go through anything important. Between buildings for instance.
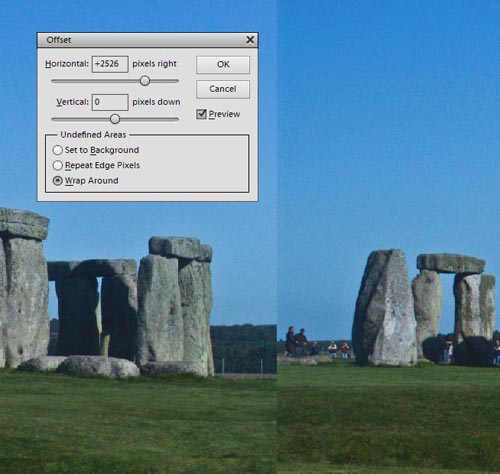
4. Crop you image so that the sky is not too large. The bigger the foreground the bigger the planet.
5. Cover the join by using the Clone tool.
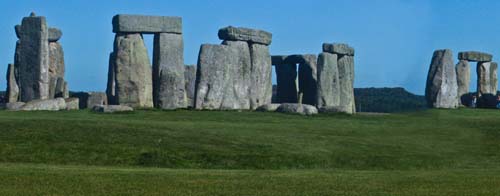
6. Re-size the image using Image > Re-size > Image Size. Remove the tick from Constrain Proportions and type in the same number in both width and height in pixels. Something like 2000 pixels. This is to make a square image distorting you picture significantly. Do not panic.
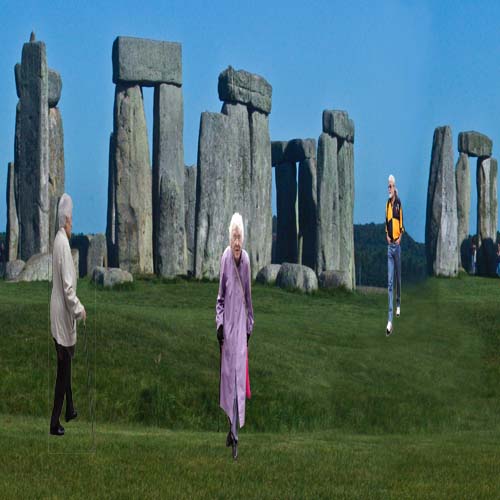
7. Turn the image upside down using Image > Rotate > 180.
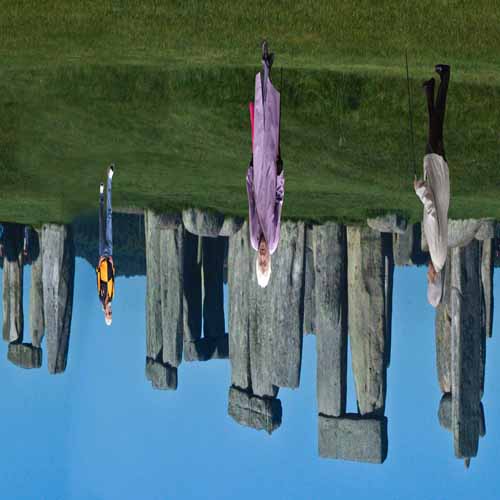
8. Now go to Filter > Distort > Polar Co-ordinates. Ensure that you tick Rectangular to Polar. Click OK.
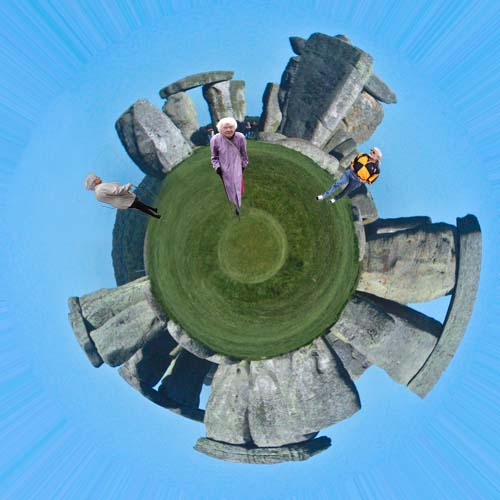
9. And that is it. You may need to tidy up the images a little. The sky area can be untidy.
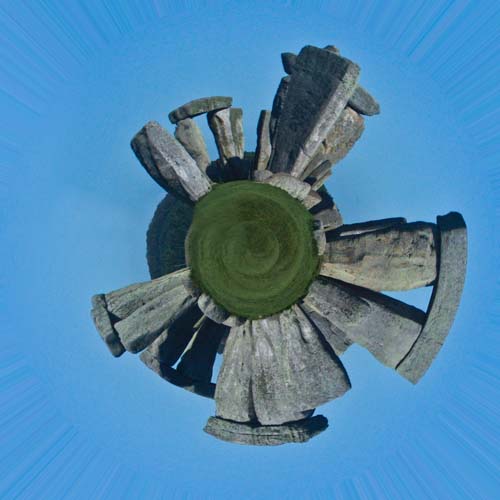
10. You can, of course, make the inverse version by omitting step 7 and you get the result below.
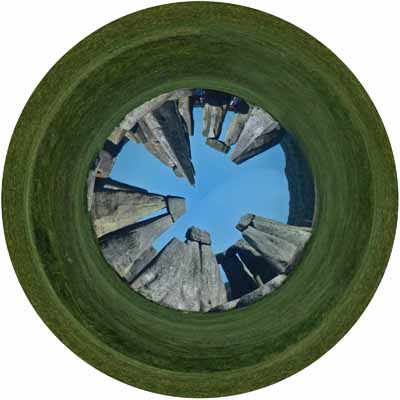
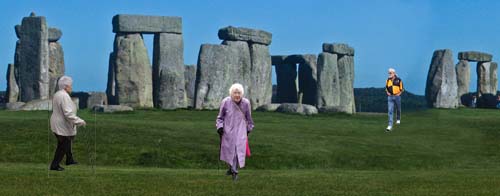
11. You can see I have added people to my world as well. You
have to flatten before the Polar Co-ordinates. Or use Polar Co-
ordinates on each person layer. This will allow you to move and size people later.