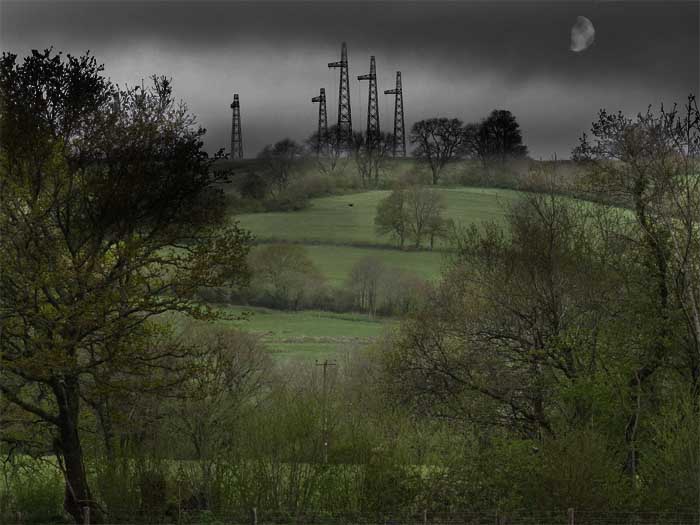
The Dark Moon
This tutorial was found by following Simon Rudd on the TipSquirrel web site to which he is a contributor. This idea I thought would be interesting for you.
If you want add a convincing moon to one of your photos then by using just a couple of filters and simple adjustments this can be achieved as can be seen below.
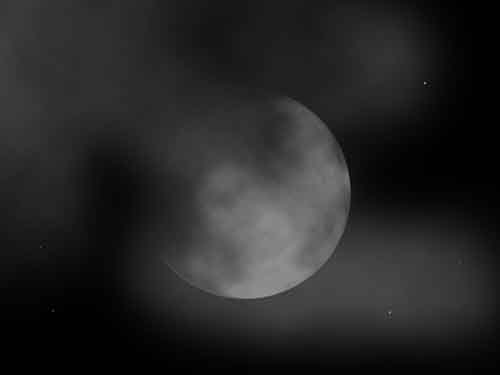
Simply follow these steps.
1. Make a new page of 1024 x 768 pixels on a white background.
2. Press D on the keyboard to reset the colour swatch to black and white. Now press Alt and the Backspace key to fill with black. Night has fallen.
3. Make a new empty layer above the black layer. Name it Moon. Using the Elliptical tool and whilst holding both the Shift and Alt keys drag out a circle from the middle.

4. Fill this with grey {Edit > Fill > 50% grey} to fill in the background colour of the moon.
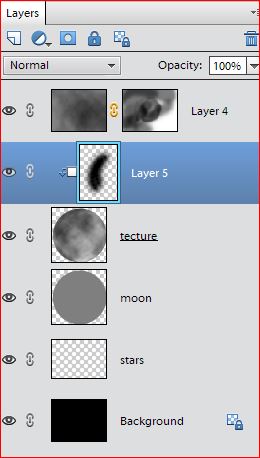
5. Make a new layer above this layer and call it Texture.
6. Fill with clouds using Filter > Render > Clouds.
7. Change the Blending mode to Multiply.
8. Use the Spherize filter to make the moon rounder [Filter . Distort > Spherize]. Mode Normal and amount 100%. The press CTRL + D to remove the selection.
9. Insert a new empty layer below the Moon layer and with the foreground set to white and using a small hard brush [2 to4 pixels] paint in a few stars of differing sizes. Do not go mad here!.
10 Add another layer at the top of the stack and make a small rectangular selection with the Rectangular Marquee tool.
11. Fill this with Clouds as in step 6.
12. Press Ctrl + T and pull out the corners to cover the whole of the lower layers. Click the Tick.
13. Press D on the keyboard to reset the colour swatch to black and white. Go to Layer > Layer Mask > Reveal All. Nothing changes apparently.
14. With a black soft 50% Opacity Brush paint out some of the clouds.
15. Insert another layer above the Texture layer. Go to Layer > Create Clipping Layer or press Ctrl + G.
16. With a 200 pixel brush paint Black over the moon to darken parts of it as if in dense clouds.
17. And there you have it. Flatten and Save as a JPG image. You can now add this to an image of your own to add a dark moon.
18. You may well need to look at the article Turning Summer into Winter. The first 6 steps should be enough.
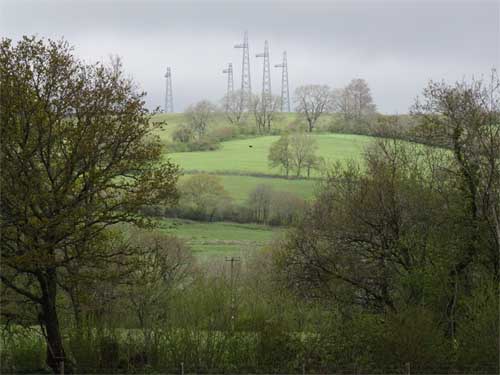
Before and After the added Dark Moon