
Filters
In this Lesson we will show you some of the amazing and useful methods of enhancing your images. These ideas should be used with moderation since if overdone can mar your photographs rather than improving them. Always ask yourself whether any of these techniques will make your images more exciting or clearer than the original. Of course you need to know what each method will do for your picture. Experience will tell you which method will work with which image and which will ruin it.
In the Menu bar at the top of the workspace in for PSE there is the FILTER tab. Clicking here reveals a whole list of possible options in four sections. The top part shows the last filter used and this can be reused. Also access to the Filter Gallery. More on this later.
Below this is the Correct Camera Distortion... See Para 8. below..
Below this are the main filters. And below this is an area where extra filters from downloaded sources can be stored.
The filters can be applied to the whole image or a selected area and we can apply them in two ways. Either directly or via the Filter Gallery. The results may not be the same if more than one filter is used.
1. Open a suitable photograph suitably processed. It is faster to reduce the image size to, say, 1400 x 1050 pixels.
2. Duplicate the background layer using Ctrl + J.
3. Open the Filter Gallery. Here you are presented with a full screen split into 3 vertical panels. The left one has you photo. The middle one has the range of available filters [not all possible ones]. The right panel has the filter controls and an area indicating the filter chosen.
4. At the bottom of this panel there are two buttons. One will make a new filter layer and the other will delete the layer.
5. For the first filter try Sprayed Strokes. Set to 20, 20. For a landscape this can make a gorgeous rainy view.
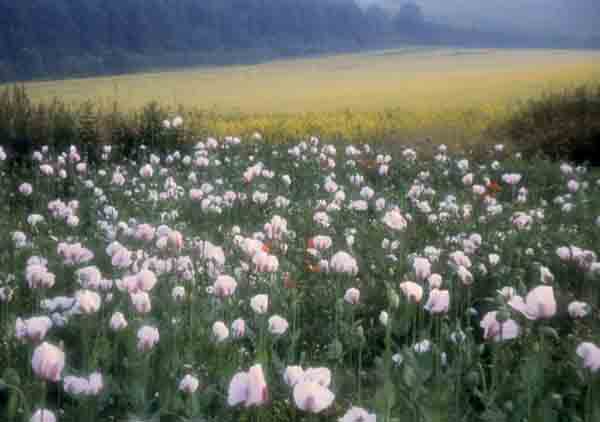
6. Now add another filter layer. This will add another Sprayed Strokes layer. But click on say Ink Outlines and this will replace that. Set to 14, 1,3. Now click on the layer and drag it under the Sprayed Strokes layer. You will note that effect changes.
7. Click on the OK button to finish. There is no reason why you cannot add more filter layers.
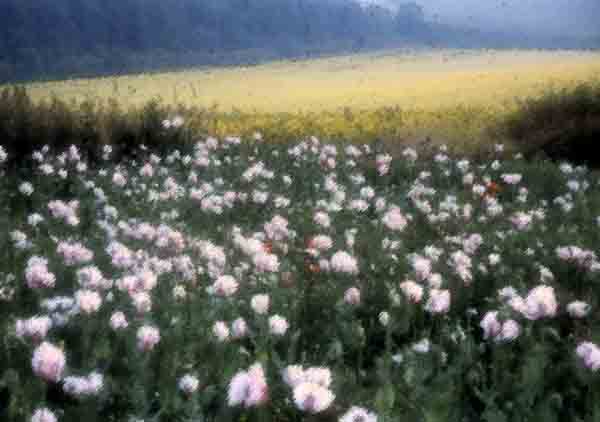
8. If you try this on two separate layers. One for each of the two suggested filters you will need to find a blend mode to emulate the effect using the Filter Gallery. This is not easy.
8. Correct Camera Distortion can be used to add a Vignette to an image easily [white or black] and correct Barrel Distortion. The Scale control should be used so that when the Vertical and Horizontal Perspective controls are used you do not lose the edges of the image.
9. You can see that there are endless variations
available to you. Do try some different filters.