
Infra Red Photography
Making and taking Infra Red photographs is not as daunting as it seems. You do not need a special camera or one that has been converted. The normal compact camera is quite up to the task.
Modern compact cameras can still see some infra red despite the internal filters. To use these cameras I recommend setting them to the Intelligent Auto mode. This will enable you to hand hold the camera. Otherwise the exposures will be several seconds. The only drawback is that the ISO setting could be very high and so a grainy noisy image can result.
You do need an Infra Red [IR] filter to remove the visible light however. These are not hard to obtain. Ebay looks a good place to start. 680 to 720 nm filters are needed and the flat square ones possibly with a Cokin style holder would be ideal.
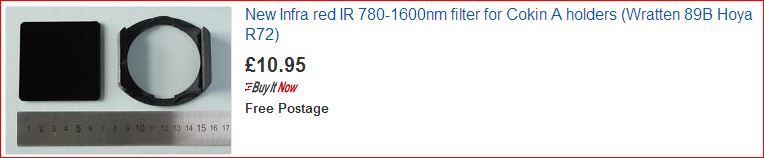

The 680 and 720 figures refer to the wavelength of light at which the filter starts to work.
If you check the spectrum or
rainbow range here you can see that at the
right hand end it is marked 800 Nanometers.
So the 680nm filter will remove all the light to the left of 680 on the spectrum and allow other light i.e. Infra
red to pass through. The higher the number for a filter the harder to take a photograph because the sensor in
the camera falls away and the internal filters will be more effective. So stick to a 680nm filter. This is a very
dark deep red if you look through it against a bright light. Do not buy a 620 nm filter since this is merely a red
filter.
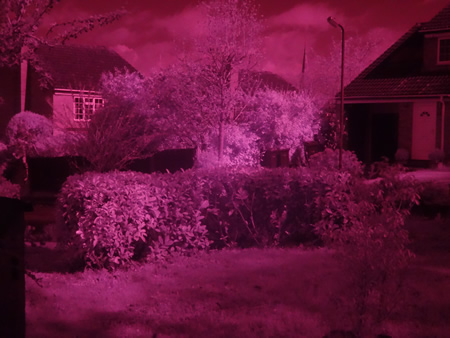
Not only does the filter appear red the images taken using will be red also.
Capturing IR Images
Although not vital a tripod or some other stable platform can be useful. The
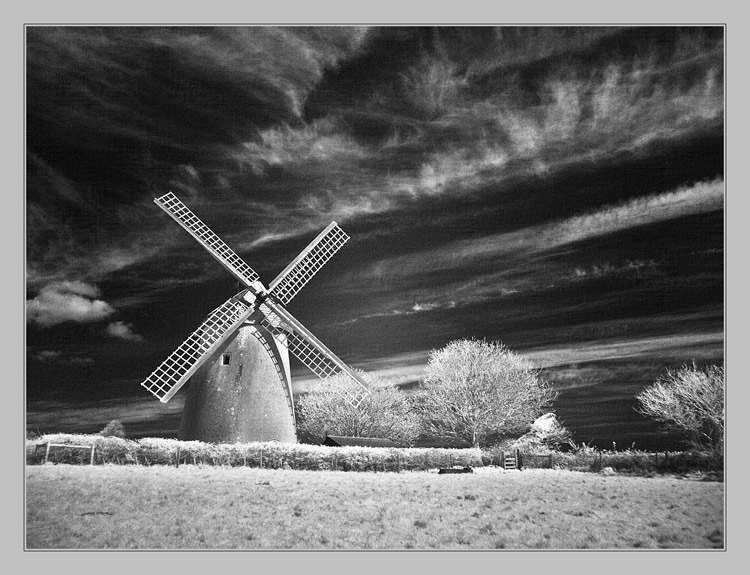
best conditions for taking IR photos is a sunny day with fluffy clouds. The
subject best suited to IR are landscapes especially with water and scenes
with vegetation like trees. People have a ghostly pale look that can be
interesting. Graveyards with wonky gravestones. Pathways through parks
and woods. Cloudscapes can be wonderful.
For Winter photography I suggest a bright sunny day with lots of billowing
clouds will look great.
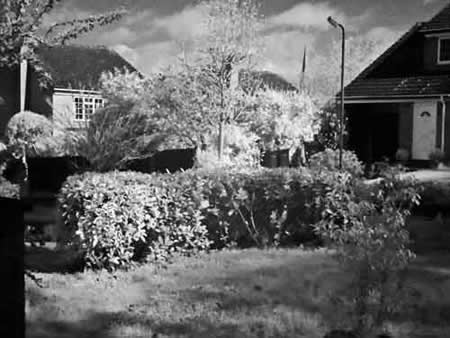

Using only a compact camera I would like you to try getting some IR photos. To do this you will need the camera and a tripod or monopod plus a filter and a sunny day. The sunny day may be the hardest part to get!
The filter ideally should be one for IR work say the Hoya 72 [720nm cut off wavelength]. I note that Ebay have them for about £10. You can try dark red filters and you may get some interesting results. This is how started. Others I note will trying cheating by using the Infra Red converter built into PSE under convert to black and white. This may work too. See if you can make me believe that they are genuine IR photos.
You will probably have to hold the filter in front of the camera - hence the need for a tripod. Set the camera to an AUTO mode. Later compact cameras have what they term intelligent Auto. This setting certainly works brilliantly with my Sony HX50 camera.
When you have some images downloaded to your computer you need to process the images. Generally they will be red in colour.
If using the later Elements try opening in RAW as I described HERE. This allows you to work on the image before opening Elements to a stage that is almost finished.
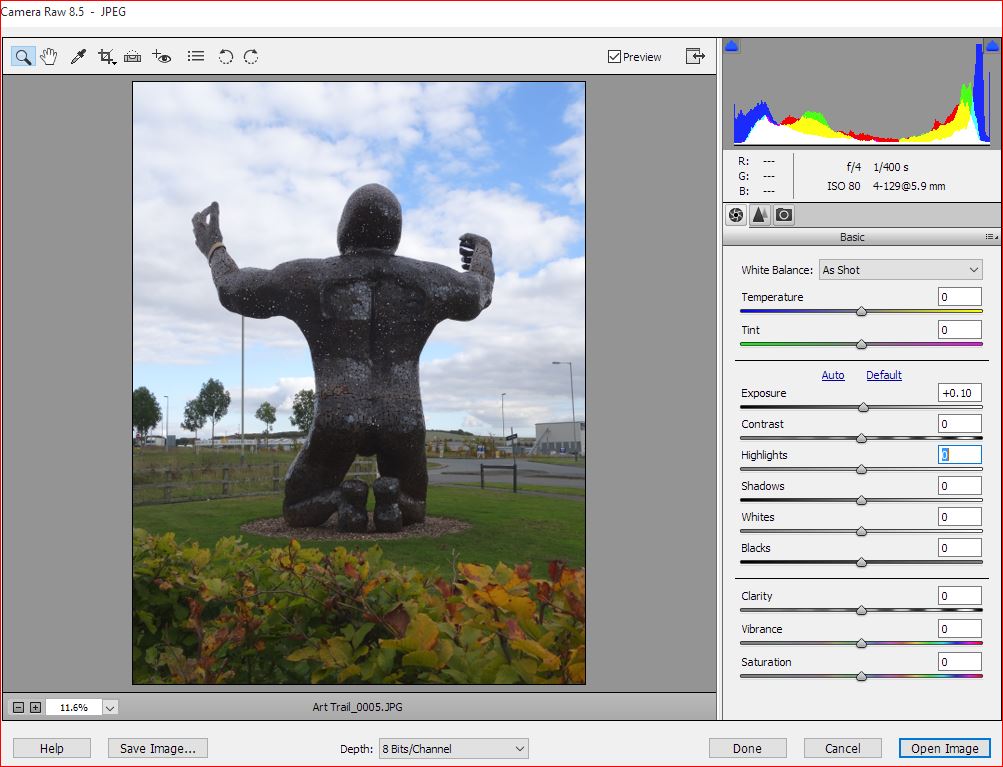
This is the starting point. Control sliders centred. White Balance as Shot.
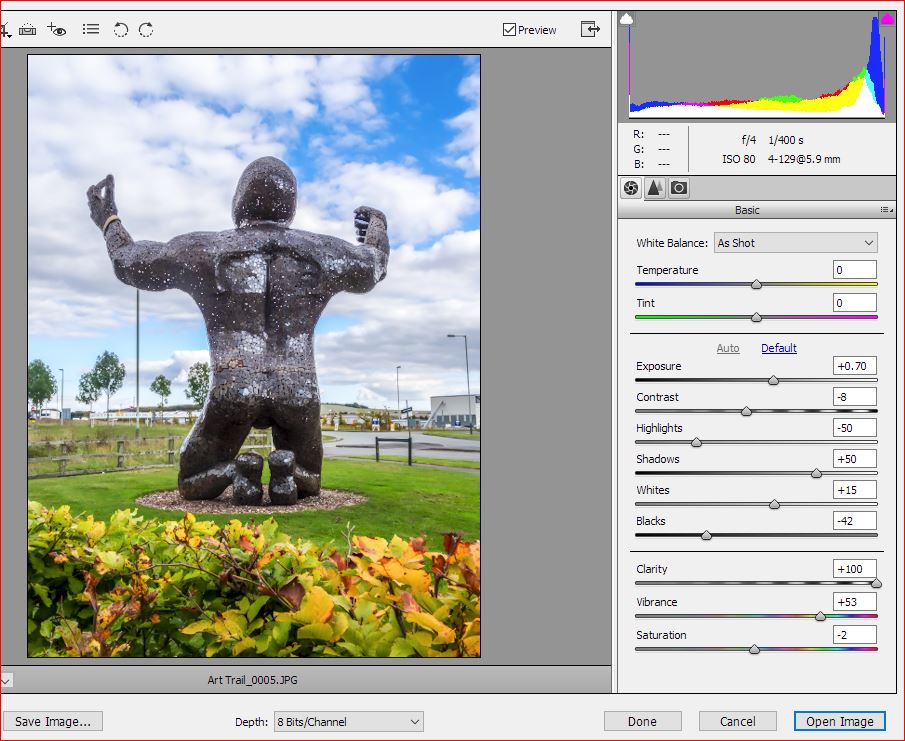
After pressing Auto and pushing Clarity to MAX.
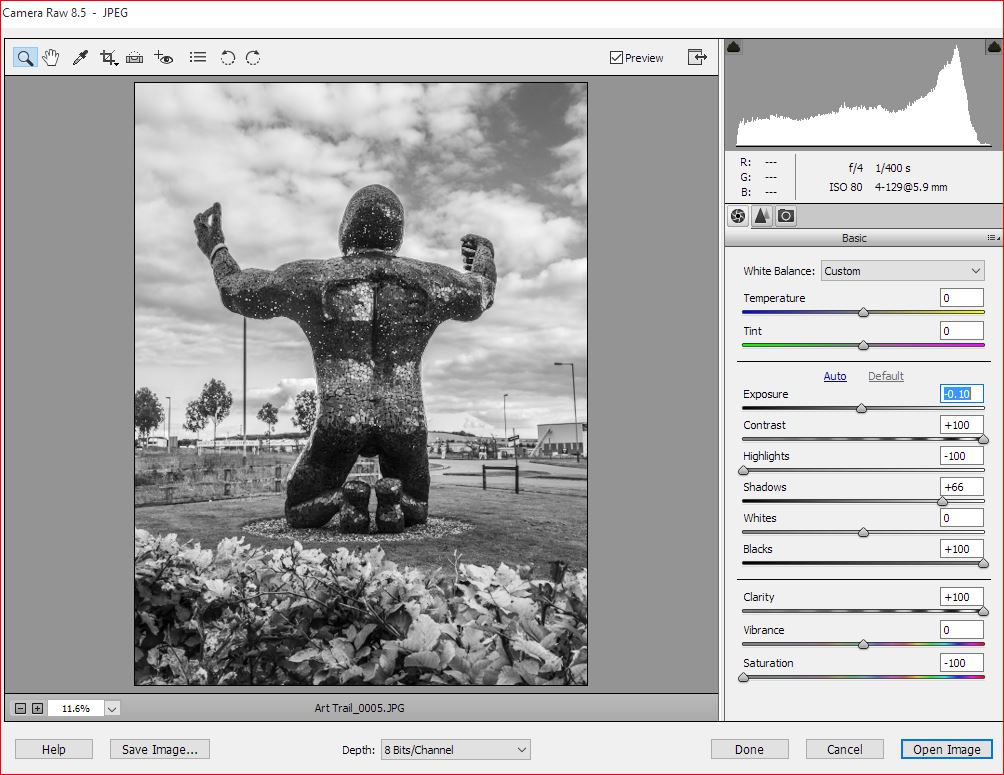
This after moving the sliders to get the best effect. A punchier result can be achieved later in PSE itself using Levels or Curves.
Clouds are white. But they do have texture and shading. It is crucial to retain these details by careful control within the Raw converter. Shadows too should have detail discernible. Keeping both these criteria and at the same time making a punchy final result is the tricky part and where some skill is needed.
Here note that Exposure is near the middle as is Whites and Vibrance.
Contrast, Blacks and Clarity are at MAX. This is a good starting condition for many photographs. If you click on the Basic button there a place to save this setting for use on other images.
Note that the Depth is set to 8 bits. Compact cameras have 8 bits so this matches.
Now click on Open Image
and it will appear in
Elements worksheet. Now
you can tweak Levels if
needed.