
Blending Modes Revival
We looked at the effects and use of the Blending previously [see pages 8, 19 and 64]. Look at these to remind yourself about this important topic.
Remember too that Blend Modes occur in programs other than Photoshop such as iPiccy and BeFunky and Pixlr plus many others.
This time let us delve into other areas using different Modes. Also using PSE versions 12 and later there is one particularly gorgeous filter system called Graphic Novel. This is capable of converting photographs into woodcut images. I hope that you can make some wonderfully evocative and interesting images.
So select a suitable image. These will be those with sharp edges and lines. Portraits or Trees or Street Scenes are just fine.
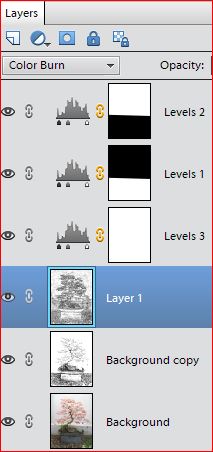
1. Open your image and re-size to the final image size. Make corrections for colour and brightness. Remove clutter using the Clone and Healing tools.
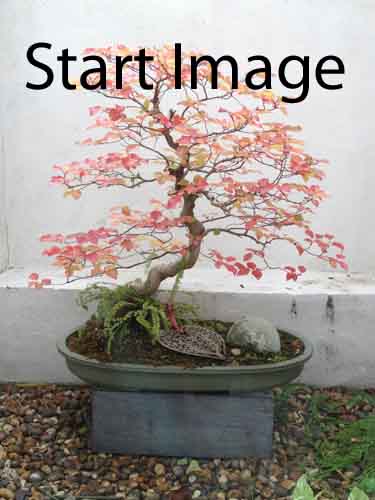
2. Duplicate twice this layer by pressing Ctrl + J.
3. Switch off the top layer and highlight the second layer.
4, Go to Filter > Stylize > Find Edges. Press OK.
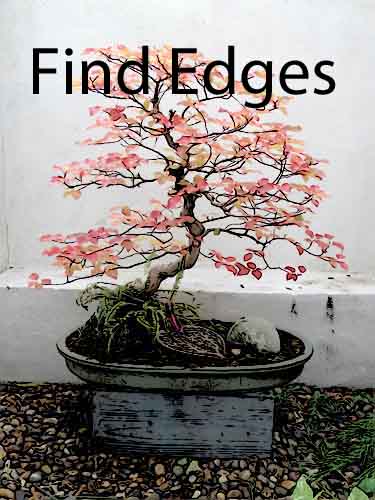
5. In the Blending Mode box that starts with Normal select Colour Burn
6. Now highlight the top layer.
7. Go to Filter > Sketch > Graphic Novel.
8. The settings here will depend on the image but start with the following: Darkness = 4.2; Clean Look = 8; Contrast = 8.7; Thickness = 1.00.
Click the Smoothness button to finalise.
Press OK.
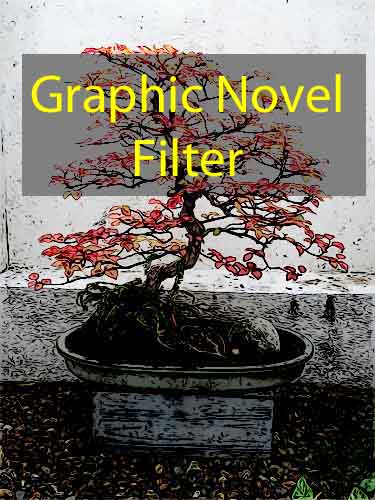
9. Choose Blending Mode = Colour Burn [here you can try other modes for better or different results].
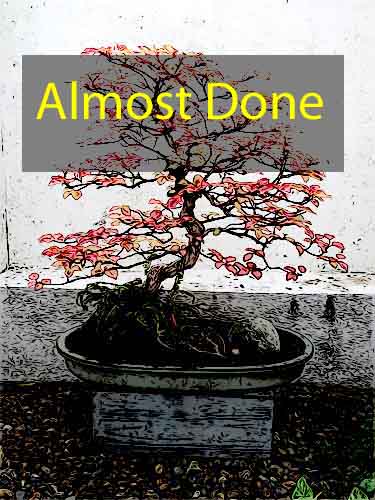
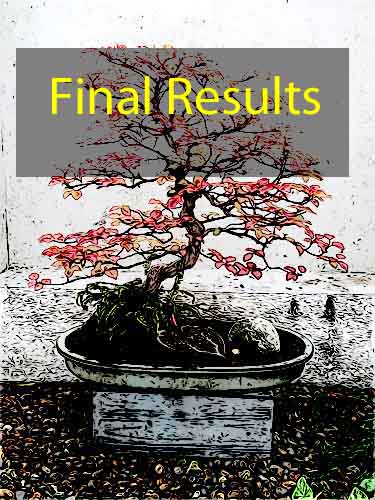
10. You may need to adjust the overall image using an Adjustment Layer of Levels.
11. Save and print or post
on line.