
Fotosketcher
In addition to on-line editors there are other programs that you can use to modify images. One of the good ones is Fotosketcher.
It works on a Mac computer too. See
https://apps.apple.com/us/developer/thinktime-creations-llc/id438371057
Apart
from a few quirks - mainly visual - I have found FotoSketcher to
work fine. But, as usual, use at your own risk and I shall not be
held responsible should anything bad happen.
How
to install:
Once
you've downloaded FotoSketcher
move it to the location of your choice (I have simply chosen the
desktop).
What is Fotosketcher?
FotoSketcher is a freeware Windows software that allows you to transform
your digital photos in wonderful cartoons, drawings or paintings. It has
many features; others are constantly being added. You can use over 20
different styles such as pencil sketches, watercolour, oil paintings and
many others. If you need to improve your images use one of his easy
tools (example: contrast, simplify image, increase luminosity,
saturation of colours). You can also add simple frames and text to
existing images.
Getting the Software
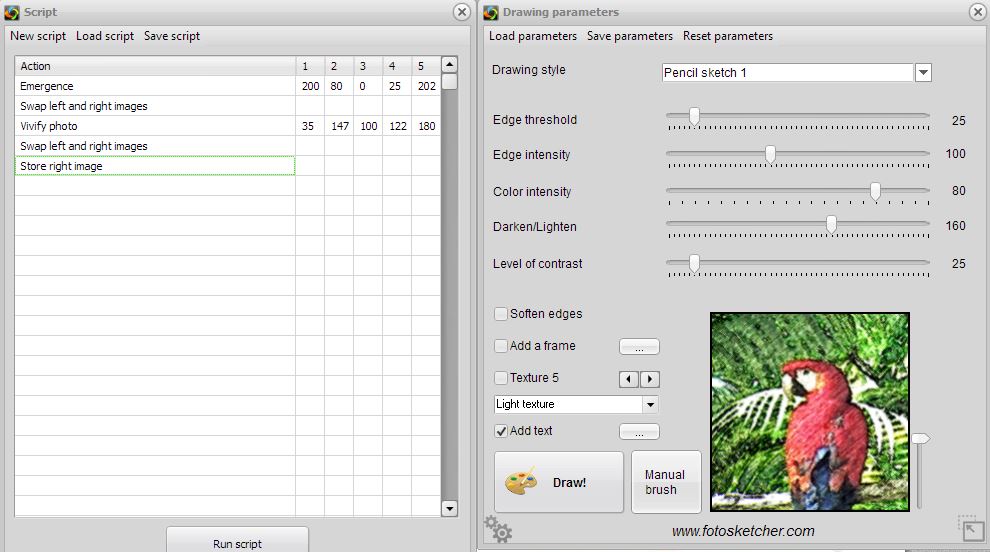
You will need to download this program, and this has been made fairly
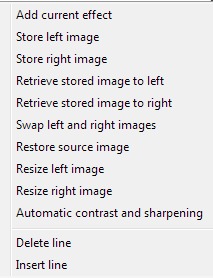
easy. The second thing to note is that there are two versions a) full
version and b) the portable version. This latter
version is the one recommended. Portable programs are
made so that they are not so bound up with your computer and can be
simply deleted by hitting the delete key. Otherwise there is no
difference. Another advantage is that you can run the program from a
memory stick and this implies that you can carry the program with you
wherever you go and use on any computer.
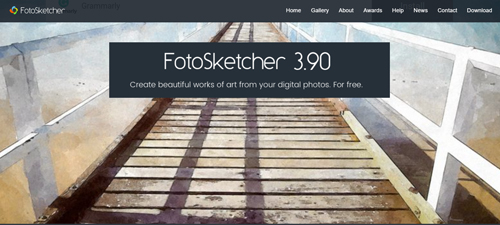
1. Go to the home page http://www.fotosketcher.com as seen here. As of Jan 2024 the latest version is 3.90.
2. Click on download to get the page here.
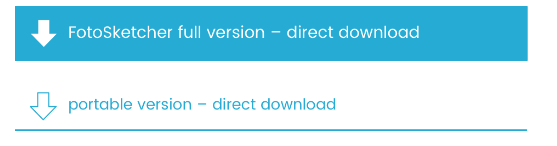
3. Click on the place indicated for the Portable version.The program will down load from here.
4. Your computer will download the file into where all Downloads go i.e. The Downloads folder. I generally move it from here to a more memorable location; in this case under Portable programs, where I have several other downloads.
5.Having done all this and opened the page where the file is stored find the file named PortableFotoSketcher_3.90. Changes shown below. Just click on this and wait a moment for the program to open.
6. I have gone one stage further to make life easier in the future by right clicking on this file and choosing Send to Desktop to place an icon on the desktop. Then another step is to click on the icon and drag it to the bar at the bottom of the screen. Then to open the program you just click on this icon. The Desktop icon can be deleted.
7. Having clicked to open the Program you may get a Security Warning dialogue box. Click Run.
8.The opening screen has a Parrot photo on it. At the top left is the Menu Bar.
9. To get you going fast click on the ? Mark for Help. Here there are 2 videos on the basics and beyond for Fotosketcher. These are well worth watching.
10. There is also a Flickr site that has examples of photographs treated with Fotosketcher on http://www.flickr.com/photos/17924797@N06/with/12118099086
11. From the menu you can open a photo by clicking on the first icon on the Menu Bar.
12.
13. Click on Edit on the Menu bar to reveal ways to control your image e.g. To Rotate an image or click R on the keyboard.
14. From Edit you can change the size of the image. Since some effects can take ages set the image to 1500 pixel max on longest side. You can upsize after processing if needed.
15. Version 3.90 of Fotosketcher has 6 Drawing Parameters sections.
They are Pencil Sketch Effects, Pen & Ink Sketch Effects, Painting Effects, Stylized Effects, Miscellaneous Effects and No Effect.
16. Pencil Sketch Effects has 6 different effects and each has 4 or 5 sliders to control the result. One version is shown here.
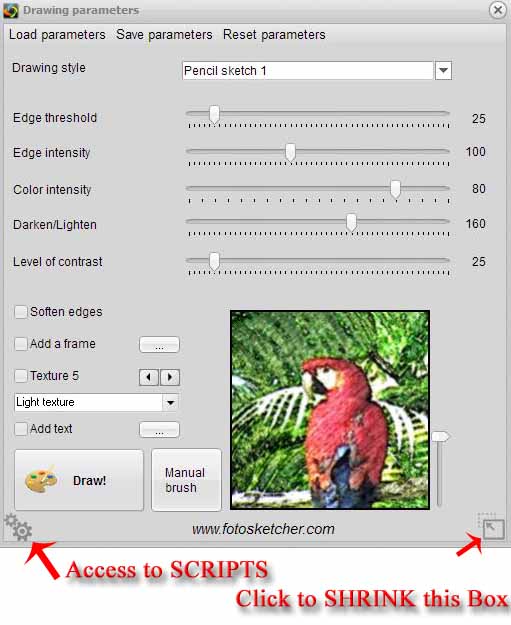 Version 2.99
17. Try out the sliders and when you get an effect you like in the tiny preview window click on Draw the button. And wait.
18. When the processing is done double click the right image to see this on its own. Single Click to return.
19. This method is used for all the effects in Fotosketcher.
20. Note that there are other variables to try such as Add a Frame, and Texture. Soften Edges does not do a lot.
21. Add a Frame has 6 basic frames all of which can be modified to change the Colour and Size. Click on the 3 dots to access.
22. There 10 different Textures each with three levels of strength.
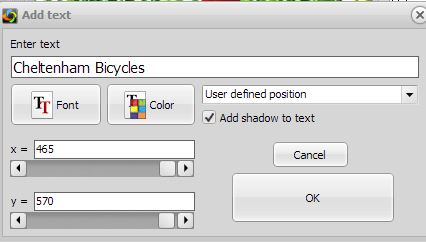
23. Then you can add Text . Click on the 3 dots to access. Click on Enter Text and type in a title. Then choose the Font and the colour. Choose the Text position. Click on the text to move.
24. Also under the Edit menu is Script. This is a very useful facility. Since you can combine several actions for future use. The program works faster too. Here is an example.
25. To add lines to the Script first set the parameters for an effect the left click a space and the menu below shows. Left click Add Current Effect.
26. Try setting the image size for instance. You set both the height and width separately.
27. Swap the images so that effects can be stacked on each other.
28. The last line could be Restore Source Image so that you do not loose it.
29. There is also Batch Processing that allows you to process and save several images with the same effects while just sit back and watch it happening.
30. Find a set of Images you want to process and open them all within the Batch Processing box by clicking on Add Files. Ensure the Directory is okay then click on Process. Now you choose one of the effects. Set the Parameters and then click Draw.
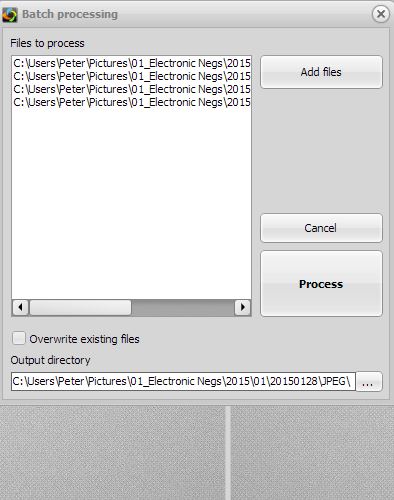
BUT if you have saved a script open the Script Dialogue box and Load the script. Click Run Script. The system will process each image and saves them in the Output directory you MUST specify located at the base of box.
As you can see this latest version [3.90] has a lot going for it. Give it a go.