
Ipiccy
28. Collage.

If you have just opened Ipiccy then this is the opening screen. The second icon is the Collage one as seen here.
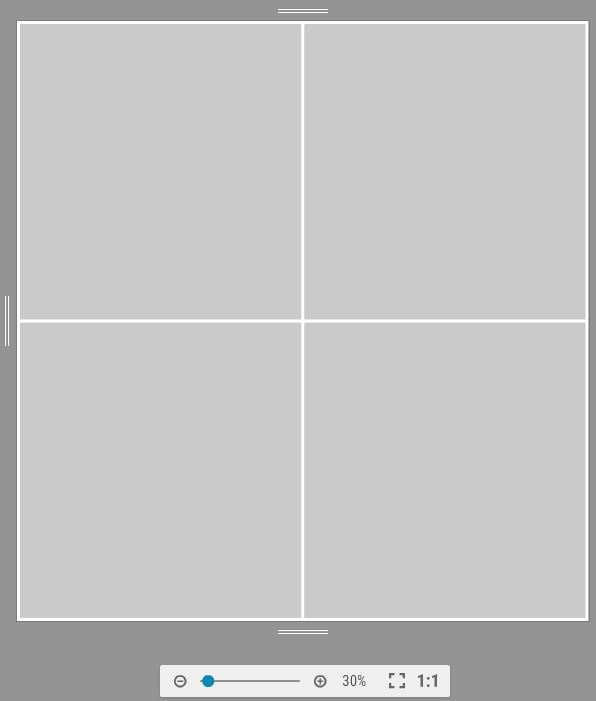
Having chosen one of these options the Collage screen opens with the first version of 4 squares.
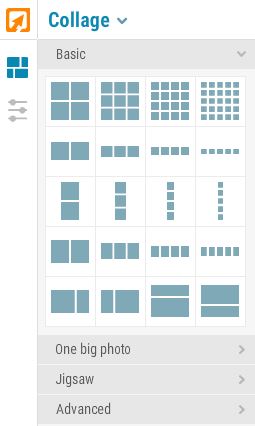
The left side panel shows most of the choices available to you. There are Basic, One Big Photo, Jigsaw and Advanced collage templates.
On the left side the Orange arrow takes you to the Homepage and the icon  goes to the Settings.
Starting at the top we see the size set is 2000x2000 pixels.
The Add Images button if
clicked will show you the Add Images panel. This will contain images only if you have
Uploaded them previously. You can Upload more of
course.

Click the Settings and 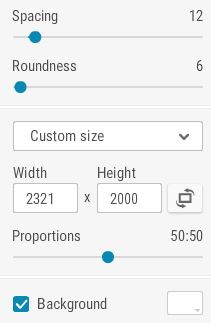 appears. This enables you to change lots of things. Play with these to your hearts content.
Below this you can try out the Spacing, Roundness and Proportions sliders. Check these out and the Background colour too.
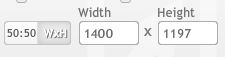
One point to observe is the 50:50 Proportions. The slider alters the ratio from 20:80 to 80:20. Also note the WxH button. This enables you to set the size to precisely what you want such as 1400x1050 px. This is the only way to do this in fact.
Having played with all these choices you have more in the boxes below. Here you can select from Basic, One Big Photo, Jigsaw and Advanced.
Pick one you like to replace the opening 4 squares. At this point you can click on the Auto-fill button but this means the computer chooses the first images uploaded.
Better is to click on Add Images so that you can pick from images already on the panel or pick any other on your computer by using the Upload Photos button.
Having chosen and dragged images onto the collage grid you can click on any image and drag it to another grid square or you can drag a new image on top of an image to replace it. You can also click on an image and move it around the square to position it. Beware that if you change other things later the positioning may change. So check all images are positioned before clicking Done!
That is about it except for the History button. This is hidden beneath the Uploaded button as seen here. This shows you images that you have previously saved..
To finish click Done and then save your work using the last icon on the top row.
One interesting web site to check is http://www.everythingetsy.com/2013/01/free-photo-editing-with-ipiccy/
This gives a sort of review of the program.