
Ipiccy
23. Painter
You will find that the artist’s palette [or Painter] as the sixth icon down from the Orange Arrow. Shown highlighted in Blue.

Click on the Painter icon to show
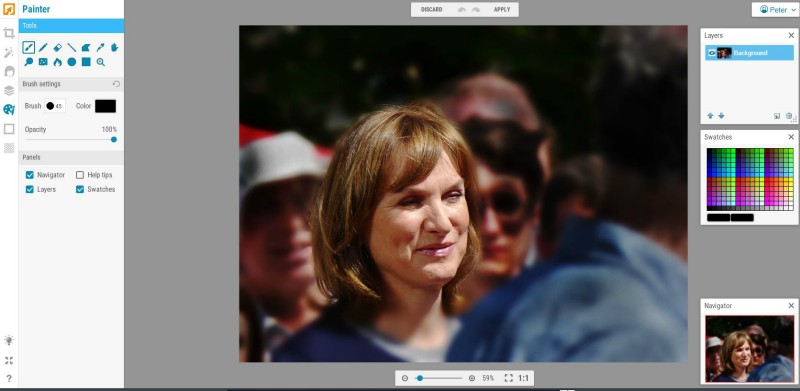
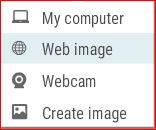
Notice the layout has controls [a] on the left, the image in centre [b] and 3 other panels [c] on the right. It should be observed that you do not have to arrive at this point from an already opened Photo. Just look at the opening of the Editor section and click on OPEN > Create Image. Now you have a blank canvas of any colour. Then the Drawing Tools become more important.
[a] The control panel has a range of Tools as seen here. And a huge set of choices for you. This is for you to add your artistic flare.
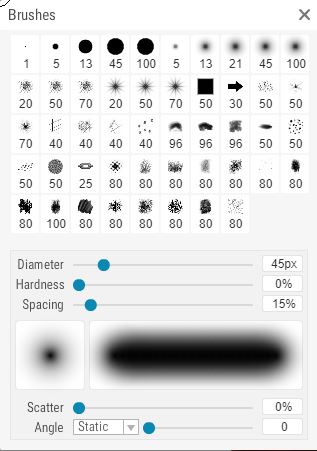
Move you cursor over the tools to see what they do. Each Tool has more instructions below, When you have the word Brush you can single click to see the range of Brushes.
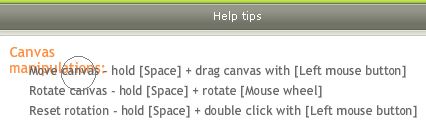
Before you get carried away click on the Help Tips and you will learn how to control everything. A small part is shown below.
First try making a new and empty layer. From the Tool box select the Rectangle Tool. On the new layer drag out a square on the coloured background. It is likely to be a grey colour.
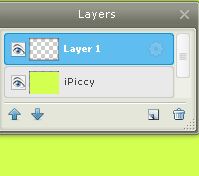
Make another new Layer and the click on the Grey square in the tool box to bring up the Colour Picker. Move the small white circle around the square with the mouse left button pressed. In the coloured column move the cursor up and down to alter the spectrum. Click OK to choose.
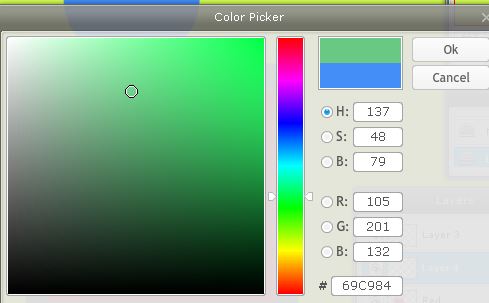
Now draw out a new square in the new colour.
Experiment with the other shape tools on new layers.
Note that by clicking on the Eye icons on the Layers Palette will switch off temporarily that layer.
By clicking and holding down the left mouse key on any layer you can move that layer up and down the layer stack in a similar way to the Blender layers.
Hover over each item in the Tool box reveals what it is. Having made a design you could click the Save Painting but why not click on the Blender icon. Now you can add photographs to make a montage.
To page 86a
HOME
DIGITAL INDEX