
Ipiccy
22. Designer [was Blender]
Moving on further we get to the Designer add text stickers and images section.
This is a whole new world in the way it works. You have the ability to put one or more photos on top of one
another and the Blend them together, change the Opacity of each layer. You can alter the order of the Layers.
In addition to all that you can add Text of many fonts, sizes and colours where you wish. And then add a
Sticker or a Shape.
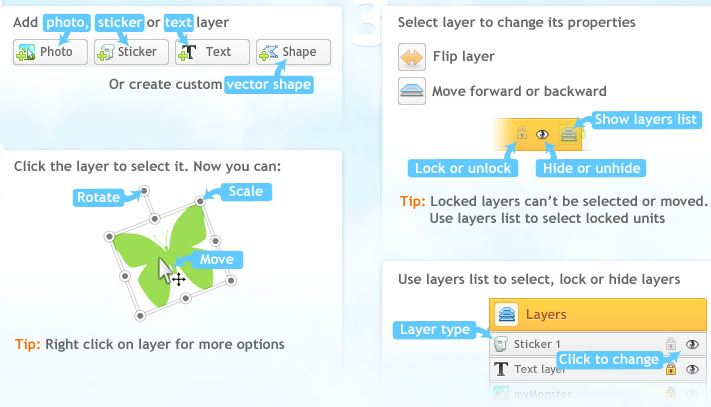
Conveniently there was some built in Help for each section of the Blender. See below.
The icons have changed and now appear like this:
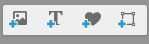
Photos [a], Text [b], Stickers [c] , Vector Shape [d]
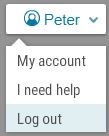
If you need help then click on your name at top right of screen to get the Drop Down box. Click I need help.
This opens a large page with 2 menus. The bottom section contains the relevant parts. But note that for the Blender Tab you get the Designer Tab. Clearly the use of the term Blender has been abandoned. At the bottom is the Footer and one item is Designer. Click on this to get to a new page with lots of good stuff for us. Click HERE.
In fact if you click on any of the other links assistance as you can see below.
It seems that Ipiccy is evolving. So it is worth keeping tabs on this area.

Layers are mentioned and this we shall look at these below
We will look at each of the icons in turn.
[a] Try clicking on Photo and you will get the following.
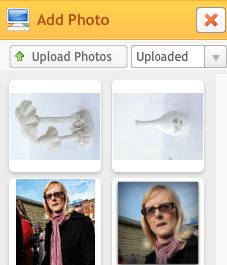
Clicking on the Uploaded drop down box reveals a choice of Uploaded or History. Images from either part can used. Having clicked on a photo you have to drag it onto the workspace.

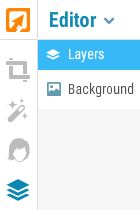
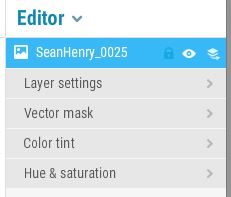
Having added a photo you can increase the size by clicking once on the new image and using the mouse pull out the corners as you wish. The OLD help above shows this. When you click on the dragged out picture a menu appears under Editor as shown here. As you can see there are settings for Layers, Vector, Colour tint and Hue & Sat.
Open the Layer Settings to get the drop down box shown.
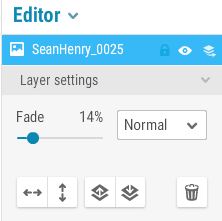
In the top section you can change the Blend mode from Normal. This is
good fun and can allow you to see the layer beneath. The Fade control lets you see more of the layer beneath.
There are two controls to flip the top layer [grey arrows].
There are also two control to enable you move the layers up and down the
layer stack.
And then there is a Waste Bin to let you throw away the layer.
At this point if you click on Photo again you can add another photograph.
You may do this many times.
So you can have lots of Layers.
This is when then controls to move layers up or down can be handy.
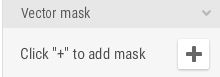
Beneath this section is the Vector Mask. Click on the plus sign
The first step is to Select Shape. This will appear over the photo and can be changed in shape by pushing in and out the small blue dots. If you want the shape to be a hole then tick the Inverted box.
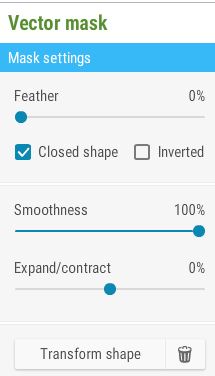
Use the Feather and tick the Closed Shape as needed.
If the shape is jagged then the Smoothness control is used otherwise it does little.
Expand does what it says. Guess work is needed to get the size right here.
The icon at the bottom of the screen is Grid control. Handy if you want accurate masking.
At the top of the workspace is Test Mask. Click this to see how it looks. Click again to go back.
One more control is the Transform shape. This is very useful for moving the mask shape and altering its size and rotating it. Click to finish.
Then
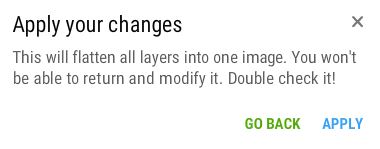
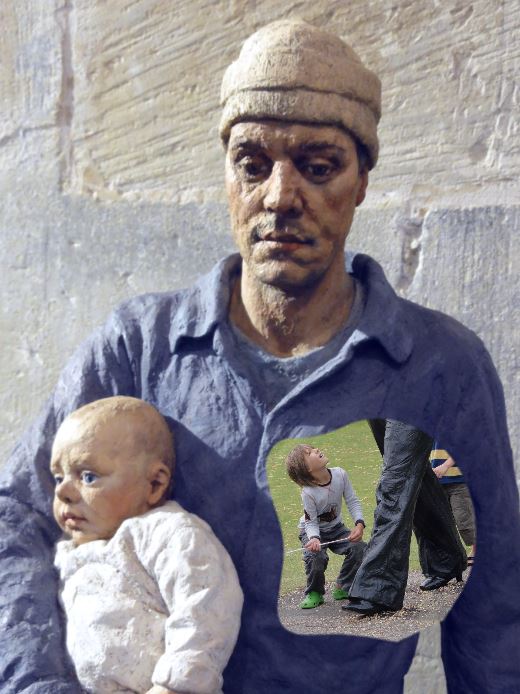
Having designed your Mask you then click Apply Mask that has now appeared at top right of the screen. If you have made an error you can see a button labelled Edit Mask. This lets you go back to the Vector Mask page and reset the mask.
Click Apply and this warning appears.
Before leaving this section there are two more buttons to check out!
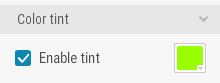
Colour Tint lays a plain colour over the top layer whether masked or not. This may be useful but is clearly limited.
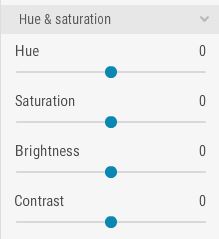
Hue & Saturation works as you might expect from the labels on the new masked area. Worth trying.
Now is the time to try the Blend Modes. They may make a difference.
[b] Text. You can add text by clicking on Text whereupon you get another control panel.
Only a one of many of the available fonts is shown. Suffice it to say there are enough to satisfy anyone.
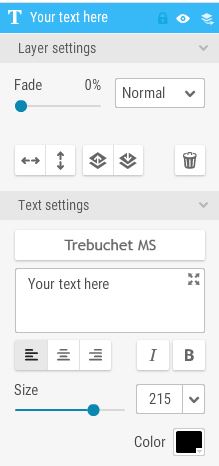
Where it says Your Text Here is where you type in your actual text.
Then control all the other aspects such as Bold and/or Italic, Blend Mode, Fade, Size, Alignment, Colour and the Font.
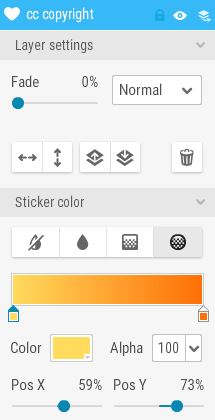
[c] Sticker click this and you can add a huge range of shapes such as the Copyright symbol. This can be resized like a photograph and the colour changed as well. As you can see there are various ways of colouring the sticker - no colour, plain, linear & radial gradients.
[d] Vector Shape Finally we can click on the Vector Shape button. This operates exactly the same as described above
You could have added any number of further layers of Photos. Keep track of the layers with the Show Layers List [see the Help file].
To finish click the Done button that has reappeared at top right. There is no reversing now. The Layers have been Merged into just one Layer.
Having learned all this you can now construct a Greetings Card!