
Ipiccy
21. Retouch
As we explore further into iPiccy we come next to Retouch. This works wonders for portraits. These
controls that work gently and are not over the top.
By now I will assume that you have Enabled Local Storage and you will have perhaps
some images on the Upload Page. Either Upload a new image or open one already
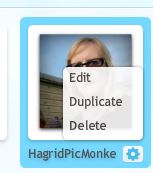
uploaded by Right clicking on the image chosen and then clicking on Edit.
Your image opens on the workpage. Do not forget to click on the Full Page icon at the bottom left of the screen. Make any edits you need to improve the image as discussed before and then click on the third icon Retouch
.
The Options are divided into Skin, Eyes, Mouth, The Rest and Advanced.
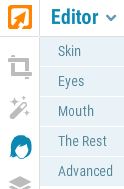
The many Options are now revealed on the right. Part of this is shown on the right.
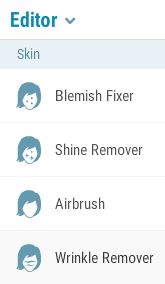
Skin shown here has 6 parts. Not all are useful. The best parts are Blemish Fixer, Wrinkle Remover, Sunny Tan and Blush. All but the first two parts have a built in Eraser to selectively remove the Effect. There is a Fade control on most too.
The most dramatic effect is from the Wrinkle Remover. Just take care not to overdo it by use of the Fade control. The Blemish Fixer is similar but less marked.
Eyes. This section has four parts. The most useful are Eye Colour and Eye Bright. For these you will have to enlarge the image greatly [400% for instance]. Remember that the Mouse Wheel can zoom in nicely.
Mouth. This section has just two parts which are both useful. Again zoom right in.
The Rest. Of these two options Hair Colour is very useful. Almost any colour you want is available. The Thinify command has a Weight Reduction slider. On the first click the image is given a 25% reduction in weight. The slider goes up to 50% but you may apply this command as many times as needed.
Advanced contains the Clone Tool and the Liquify tool and these are a repeat of those in earlier sections of Ipiccy.
To page 85a
HOME
DIGITAL INDEX