
Rainbows
There are times when it would have been great to have had a rainbow in your picture but the conditions were not right. However, with Photoshop this can be remedied.
Now it pays to know a little about rainbows when altering your images. For instance you often get a faint secondary rainbow outside the primary bow. For this bow the colours instead of going from Blue to Red they go from Red to Blue on the outer edge. This bow is broader and fainter.
Early morning and late afternoon are the best times to see them because the sun must not be too high.
Rainbows are always opposite the sun and their centres are below the horizon at the the anti-solar point. The
lower the sun the higher is the bow.
So your starting photograph must have sun from behind you and be fairly low in the sky. A dark sky is also preferred to obtain a realistic effect.
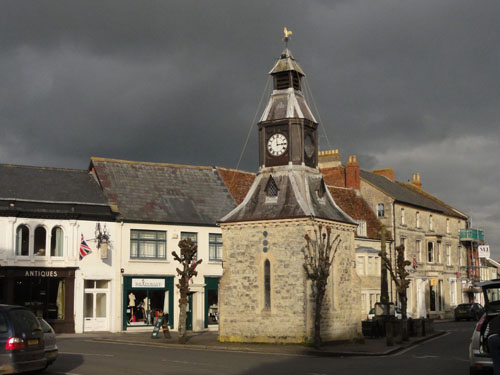
1. Open your ideal starting image such as this one of Mere town centre.
2. Ensure the size and the Levels are okay.
3. Now add to the Canvas by some 50% all round. This is to give room to be able to draw in the rainbow and to have a fixed anchor outside the image. This allows the secondary bow to use the same centre.
4. Open up a grid. I suggest one based on 25% with 4 sub-divisions.
5. Using the Pencil tool set to 10 pixels and black make a mark on the grid outside the image area.
6. Add a New Layer and pick the Gradient Tool from the Toolbox. Pick the Radial Gradient option.
7. From the Default drop down box select the Special Effects and choose Russell’s Rainbow. This will make the primary bow.
8. Holding down the Shift key draw from the marked spot part way across the image. Release the mouse and the Rainbow appears.
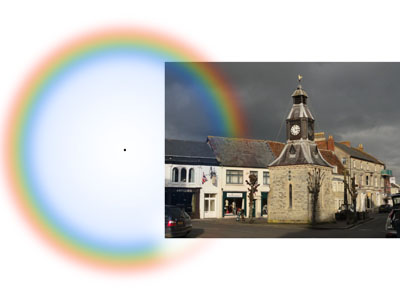
9. The bow will cover parts of the image that should be clear. By using a Layer Mask paint black on this to hide those areas.
10. The bow is too bright so reduce the Opacity of the layer. Ensure that the image icon on the Layers Palette and not the Layer Mask is selected when doing this.
11. The Bow is too sharp so go to Filter > Blur Gaussian Blur. Set to 40%.
12. To get a Secondary Bow we need to reverse the colours. This is done by using Russell’s Rainbow. Click on the red and move it left and set it to be 85 from 92. Change Green from 85 to 90. Move Blue from 85 to 95. Yellow stays the same. Save this new rainbow with your name.
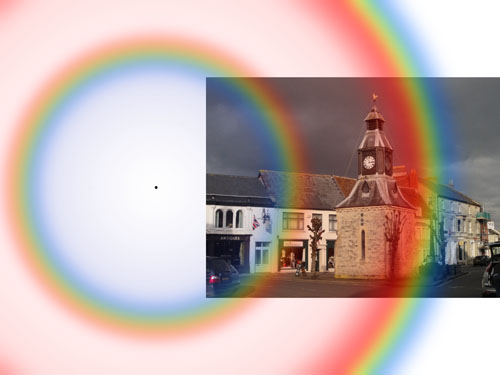
13. Use this new Bow gradient to make a bow from the same spot but extend the line much further.
14. Again use a Layer Mask to remove unwanted parts. Change the Opacity to about 16% and Blur by the same as in step 11.
15. Flatten the Layers and Crop away the excess white canvas to get back to the original image. Remove the Grid.
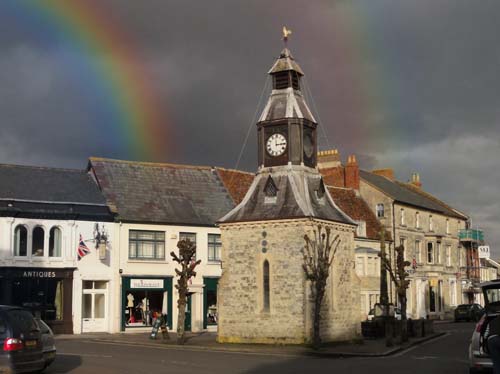
16. Done.