Transformed
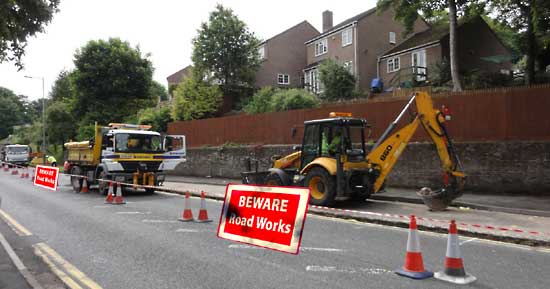
There are many times when you can get a photograph that needs labelling in some way. This may be just a caption to inform or to say Merry Christmas. Or you may wish to add a notice to a photo to be a part of the image.
The way to do this is to use the Transform tool that we know so well. Or do we? I found that there is one curious part about the Transform tool that I was unaware of and that is the Perspective control is unavailable when you have Text. So if you need to make perspective or distortion changes then you need to flatten the file so the text is now part of the image.
I took this photo of nearby roadworks. Not exciting but it serves to illustrate what to do.
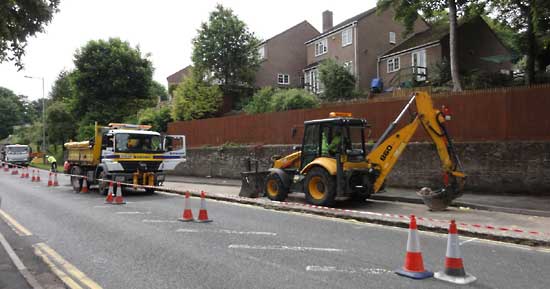
Beside this I needed a warning sign. Not having a photograph of such a thing I made one up.
This is how I did this.
1. I opened up a new sheet using File > New. I set the size to 300 x 200 pixels at 72ppi the same resolution as the main picture. White background.
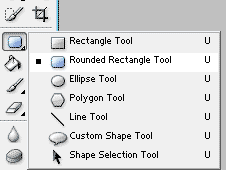
2. Add a grid [set to percentage] to the image to guide the next part of the process. Use the Rounded Rectangular Shape tool from the toolbox as shown here. In the Options bar set the radius to, say, 6 pixels and set the colour to red. Now draw out a shape that leaves a good margin around it.
3. Make a new empty Layer.Use this tool again but change the following. The radius to a little less i.e. about 4 pixels and the Colour to White. Now draw another rectangle inside the last one to leave small even margin to leave a thin red border.
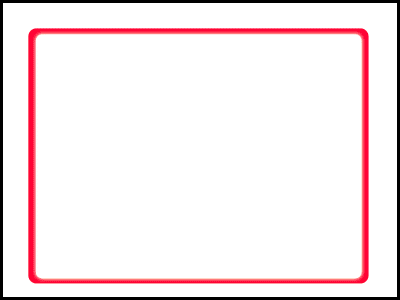
4. Repeat this once more to add a red rectangle inside. Change the Options also to radius 3 pixels and Colour to Red.
5. Now add the text. I set the Font to Myriad Pro Bold; 60 point; Centred and White. I also used Faux Bold and set to Anti-Aliasing [to prevent jagged edges]. The text I used was Beware Road Works on two lines.
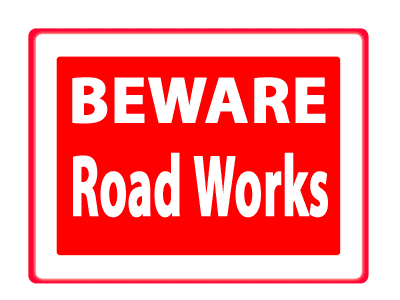
6. The sign currently is too pristine. To spoil this add a new layer at the top. With this layer highlighted hold down the Ctrl key and click inside the Shape 1 on the palette. This produces the marching ants round the sign and exclude the white background layer. For good measure remove the Eye from this layer to reveal the checkered part.
7. Now go to Edit > Fill > Pattern. Choose pattern called Noise [in Texture Fill 2 - see from the large list view]
8. Click on the Multiply Blend Mode. Reduce Opacity to suit [80% perhaps].
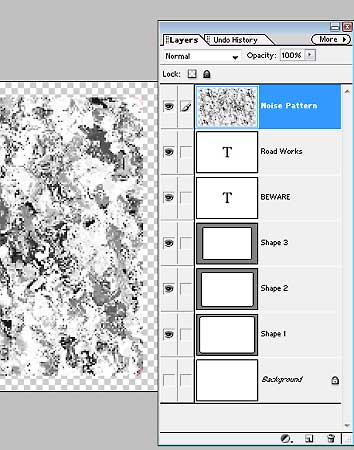 Layer Stack showing Noise Pattern layer.
9. Flatten the Sign image using Layer > Flatten Image, copy it and then paste onto the street scene.
10. Go to Image > Transform > Perspective. Click a corner and drag down to transform the sign.
11. Right click inside the sign and click Free Transform. Move the cursor outside. You can now rotate the sign just enough to line up with the lines to the vanishing point.
12. Move cursor inside the sign and right click. Pick Distort and adjust as required.
13. That is it