
Use Photoshop to Add Some Clouds
By Simon Rudd
This tutorial was found by following Gavin Hoey on the TipSquirrel web site to which he is a contributor, as is Simon. This idea I thought would be ideal. The image used is mine. (PJR)
Sometimes a blue sky is lovely, especially when you’re trying to get a tan but sometimes you may want to add some clouds to that perfect sky – it may make things more interesting.
That’s easily achieved with this Photoshop quick tip.
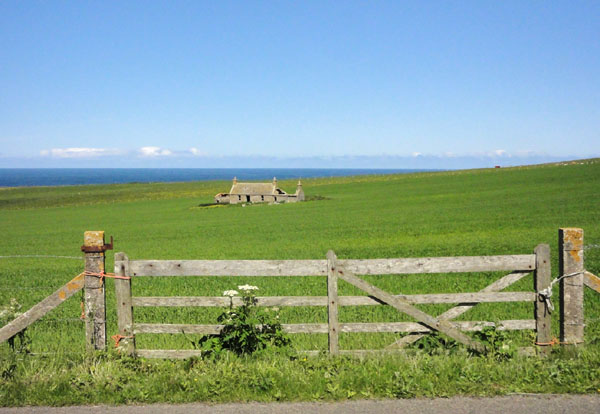
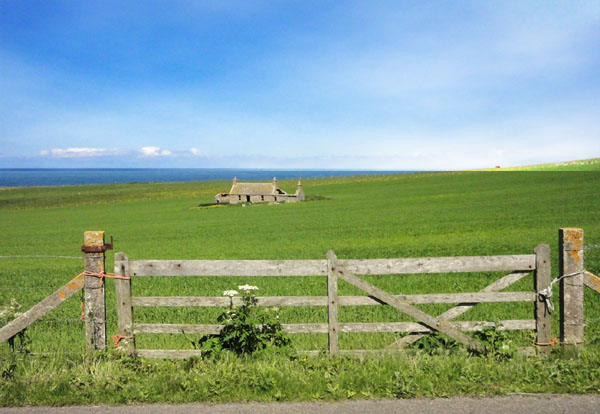
1. Open a photo with a boring sky, I chose one that I had recently taken while away in the Orkneys. As you can see the sky has no detail except at the horizon. Very boring.
2. Make a new layer above the back ground layer – call this layer Clouds. Reset the swatch colours in the toolbox to black and white by pressing the D key on your keyboard.
3. Select the Rectangle Marquee Tool and make a small selection, fill this selection with Clouds (Filter > Render > Clouds >)
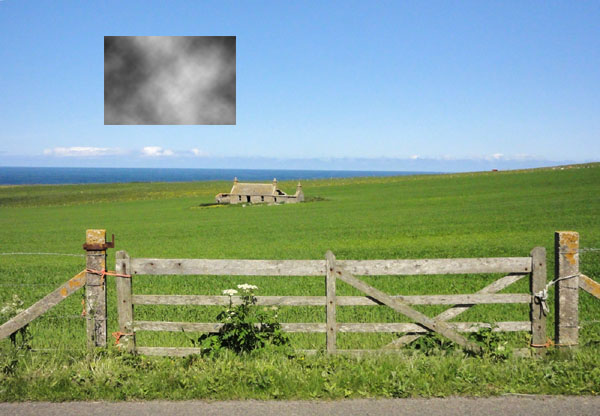
4. Next we want to stretch the clouds so it covers the sky, we do this by selecting the Free Transform Tool (Control / Command & T) then use the anchor points to stretch the clouds.
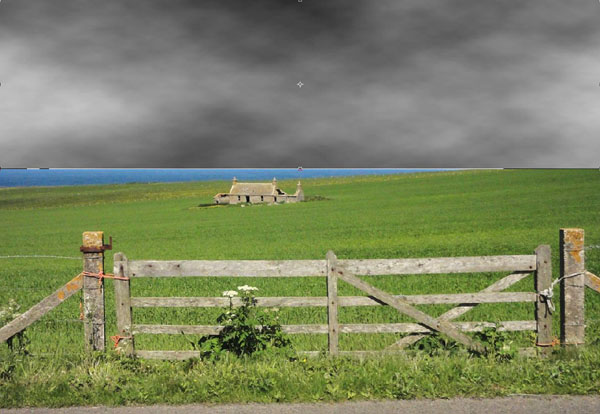
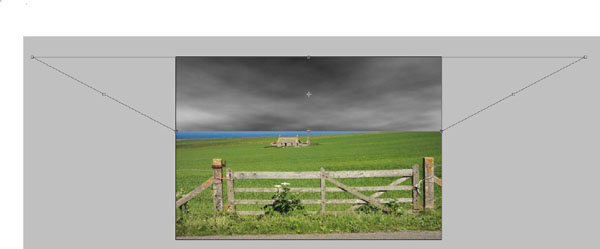
5. Select the Zoom Tool and Zoom Out option, zoom out a bit so the background is fairly small, but big enough to see what you are doing. Right click in the selection, choose the perspective option.
6. Grab the left or right hand top anchor and drag out the clouds as seen below. Remove the selection by pressing Control / Command & D.
7. Change the Layer Blending Mode to Overlay.
8. Use the Eraser to remove any of the clouds that cover anything but the sky.
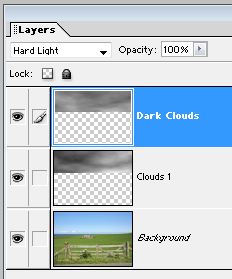
9. Now repeat steps 2 to 6 to add another layer of clouds.
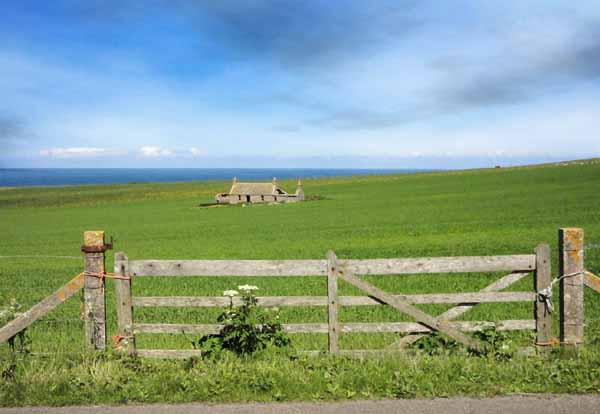
10. Change the Layer Blending Mode to Hard Light. This will make some dark clouds to add more realism. Use the Eraser as before.
Hope you enjoyed this
tutorial, please come
and visit Simon’s
website at
simonrudd.info