
Perfect Effects
This is a set of filter effects from the OnOne software company. Recently they have introduced a new version called Perfect Effects 9 Free. This can be found on their web site http://www.on1.com/products/effects9free/
The system can be integrated into Photoshop CS and Lightroom or from our viewpoint it will run on its own as a separate program. Images can be saved as JPEG, TIFF or PNG. It will not save Layers however.
Like Filter Forge when you delve into this company’s web site there is a whole different world. Their are for instance videos on the use of their products. You are even able to get them to e-mail you when new videos are put on-line. This way you may find new inspiration.
The effects available can be very subtle or wild just as you wish. The program uses layers as in Photoshop. In fact there are many similarities to Photoshop as you will find. It is be possible to use this program instead of Photoshop.
To get into this world go to their web site and download Perfect Effects 9 Free. This will be a zipped file but you should be able to double click on this to start installing the program.
To get a quick introduction you can do no worse than watch a video. There is a link under the Help menu. Beware that most of these videos do not use the FREE version. It shows too what else the company offers if you wish to spend money. It does look like there is a great deal.
Open the program and this is the screen you will get.
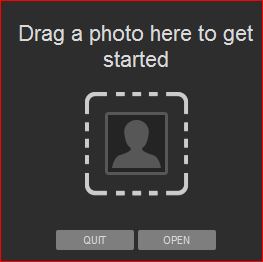
Usually you click on Open to find an image you want to work on. Or you can go to the menu bar at the top File>Open. Then Navigate through your Computer to where you store your photos. Having selected an image [it can be a Raw image or a Tiff] another screen opens that ask you whether you want the program to use the original or a copy.
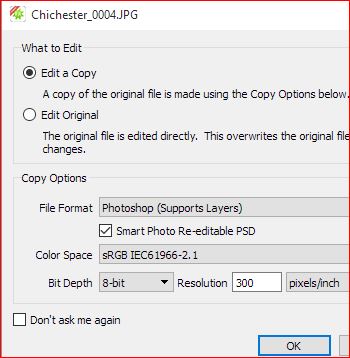
The File Format allows you Photoshop or TIFF or JPEG save format. I recommend the PSD version to keep the layers. This also gives you the opportunity to save in Smart Photo Re-Editable PSD. Take it.
Variations of Colour Space are available. Take the SRGB version.
Then pick 8 bit depth unless you have 16 bit images [this is possible
if you use a DSLR camera]. Use the default 300 px/in. Click OK.
The image opens in the centre section with the Navigation and Layers panels on the right and on the left are tabs labelled Favourites, Presets & Filters are shown.
Under Help go to Getting Started. This will guide you through where everything is.
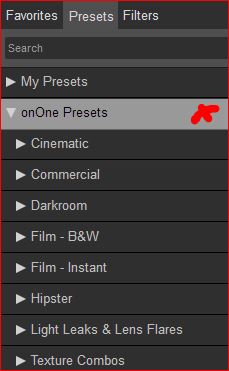
Let us explore the Presets menus. On the right here the top line is selected and has a RED cross. On the actual program there is another symbol. Clicking this symbol will open all the presets as large thumbnails so that you can tell what the effect will be.
Try opening Textures Combos and take Blue Evening. Instantly under the Filter Stack you will see several layers each with a white layer mask.
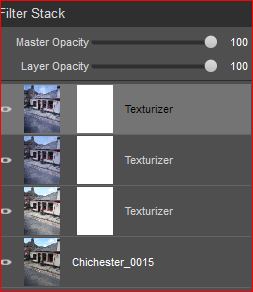
Also note that the Filter Options panel opens giving you a plethora of options.
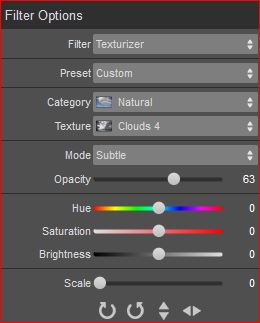
For instance the icons at the bottom let you turn or flip the layer selected. The Hue, Sat and Brightness controls work on the selected layer too.
One thing that is useful with PE9 is that for many drop down boxes there is no need to click and select an option. Just hovering over the option will show you the effect. This saves having to undo an action. This applies to Preset, Category, Texture and Mode BUT not to the Filter button.
Now supposing you wish to add a Border to the image the first vital action is to add another layer by clicking once on the Add Empty Layer icon with a plus on it.
Secondly click on the Filters tab at the top of the left hand side. This reveals 9 choices. The fourth one down is Borders. Opening this up shows 27 different borders available. Having picked one it is easily possible to change to another border by clicking on the Preset under Filter Options on the right side. Clicking on the Category presents you with more variations. The Opacity slider is the only other control worth considering. This lets you have semi transparent borders.
Try this program; it is great fun and harmless.
.