
Autumnal Images
During Autumn we always seem to take lots of photographs. Then we have to figure out what to do with them. Well we have worked out one idea that you might fancy.
This concept is derived from Teresa Lunt in http://www.teresalunt.com/photoshop-tutorial-8.html. Here she uses techniques that do not translate to Elements. So we have had to work around this. So this method will work with any version of Photoshop. It uses parts of Photoshop that one usually forgets about.
1. Open a suitable photo. The best seem to be woodland scenes but it will work with other images that contain fine detail. We shall use one taken in Stourhead.
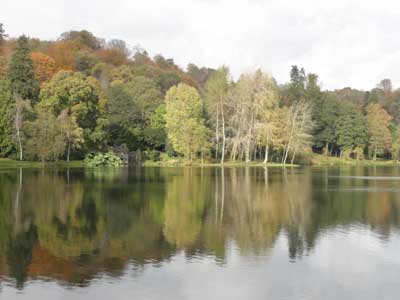
2. Duplicate your original image using Image > Duplicate Image or File> Duplicate Image
3. Duplicate the Background Layer using Layer > Duplicate Layer.
4. Adjust image making it generally quite light and airy.
5. Press Ctrl + I to Invert the picture to get a negative.
6. Now at the top of the Layers Palette click on the Blend Mode drop down menu and right at the bottom of this select Luminosity.
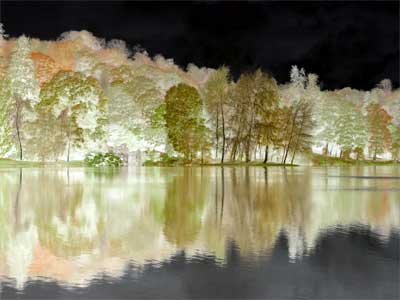
7. This returns the original colours that were inverted but leaves the luminosities inverted so that you end up with an image that is part positive and part negative. A strange effect indeed.
8. The image now needs to be lightened. Use a Levels Adjustment layer as shown on the Layers Palette screen grab here to do this.
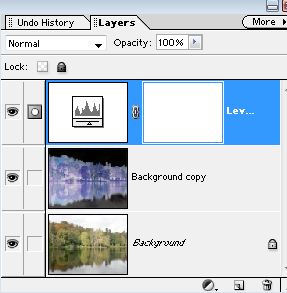
9. This is the time to enlarge your image to say 200% and using the Hand control move the image about. You should find some lovely sections that can be cropped out.
10.Further modifications can be tried such as using Hue & Saturation control. The bottom left image was treated like this picking out the browns and changing to red to make a more Autumnal Look.
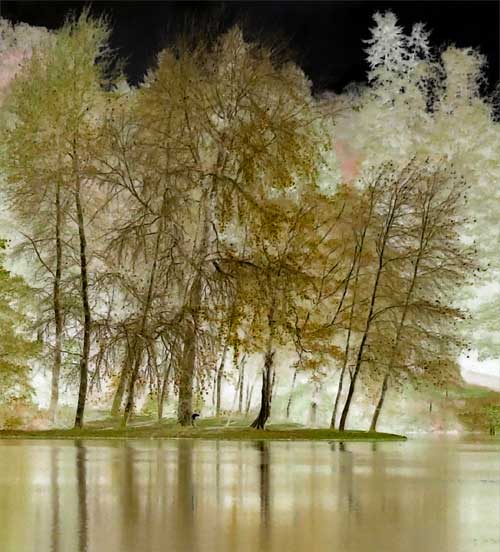 Final Result from a crop.
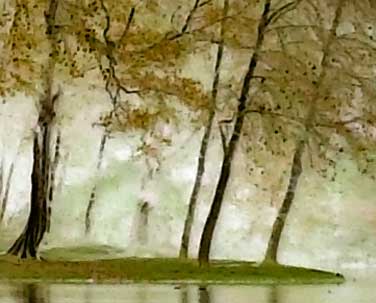 Detail of the above.
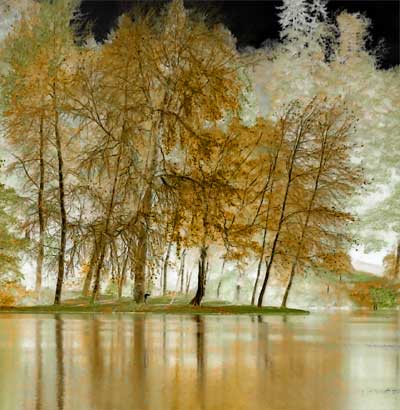 Same crop having had H&S applied
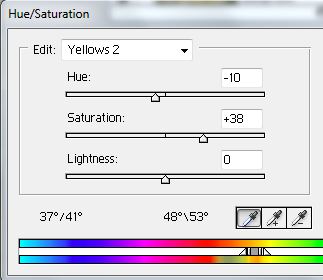
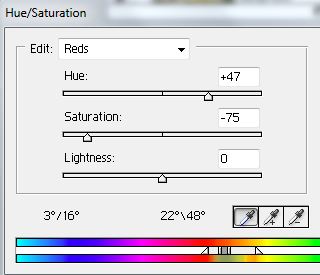
Hue and Saturation Yellow Channel and Red Channel adjustments