
Patchworking
There are times when the Clone tool is not adequate to remove unwanted areas of your photograph and this has been dealt with in later versions of Photoshop and Elements with the Patch tool and atterly by the wonderful Content Aware facility.
However, there are ways around the problem even with the humble PSE2.0 program. This involves using the Lasso and Move tools and a bit of Cloning to polish up the image.
Taking this idea step by step you can try the following method that I have been using for many years.
1. Open your image and make any necessary corrections.
2. Duplicate the Background layer.
3. Look at your image and decide those areas that need attention.
They may well be large areas such as a parked car right in the
wrong place. Cloning this out is possible but this could be a long
and protracted process.
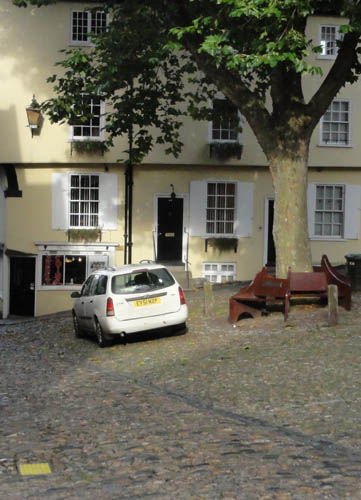 Starting Image taken in Tombland, Norwich.
4. Using the Freehand or the Polygonal Lasso tool draw a selection near to the problem area that contains what you know is likely to be behind this area. Take into consideration any shadows or highlighted regions.
5. Soften the Selection by Ctrl + Alt + D and insert a value of, say, 3 pixels.
6. Pick the Move tool and by holding down the Alt key move your selected area across and over the problem area.
7. Release the Alt key and then press it again. Now you can by using the Move tool make another new region that can cover more of your problem area. This can be repeated as many times as you need.
8. You will often find that this does not fit properly. To overcome this press Ctrl + T for Transform. The new area can now be stretched a little. By Right Clicking you can select the Options for Transforming such as Distort. This can let you pull the new area to fit. The Warp control [not in PSE2] allows even more control.
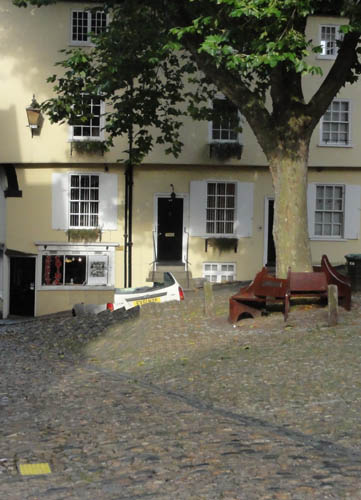 A partial result
9. Your image will look a bit ragged by now and so you can use the Clone Stamp tool to smooth this out.
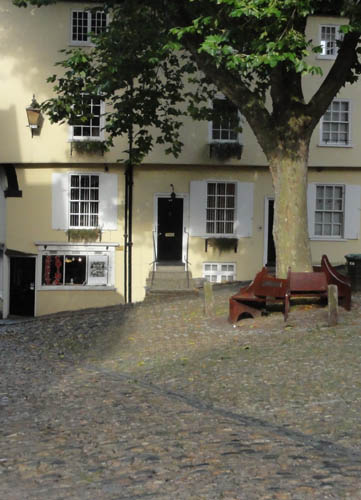 The final result. A few minutes later the car drove away!. However, the sun had gone too.
10. This technique can be used with advantage on the Stretching a Point exercise.
11. Occasionally this method needs modifying by using the Layer > New > Layer via Copy. This means that the feathered selection will now be on its own layer. Now you can use Opacity to match tones for instance. If a denser colour is required then the use of the Multiply Blend Mode works very well. If too dark then again the Opacity of the Layer can be changed. Duplicating this layer enables you further darken the image with Multiply but you could use Linear Burn mode on the first layer.
12. This method is worth trying sometimes when Cloning is just not adequate.
13. Have fun trying it anyway.