
Roger Ellway has kindly devised this simple but very effective technique that will enhance many of your photographs on any version of Photoshop.
1. Open a suitable photograph and ensure that you adjust it to look good as a colour picture.
2. We convert it to monochrome next. There are many ways to do this and some ways are better than others. We shall use the Adjustment Layer Gradient Map. We use the Adjustment Layer system because it automatically makes a Layer Mask.
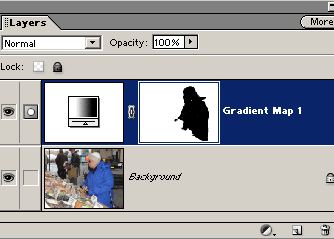
So from the Layers Palette or Panel click on the Black and White circle and from the drop down list select the Gradient Map.
3. We suggest that you look at Monochrome Photographs to remind yourself how to get the best out of this control.
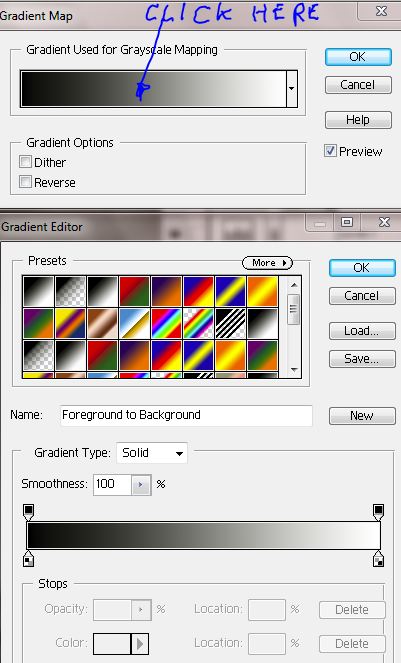
4. Select hard brush, 100px 100% opacity, Black foreground colour.
5. Paint on the Layer Mask to reveal colour of the original. Reduce brush size as required and soften as necessary.
6. Zoom in to check detail. If you make a mistake press X to make white foreground colour and paint over the error.
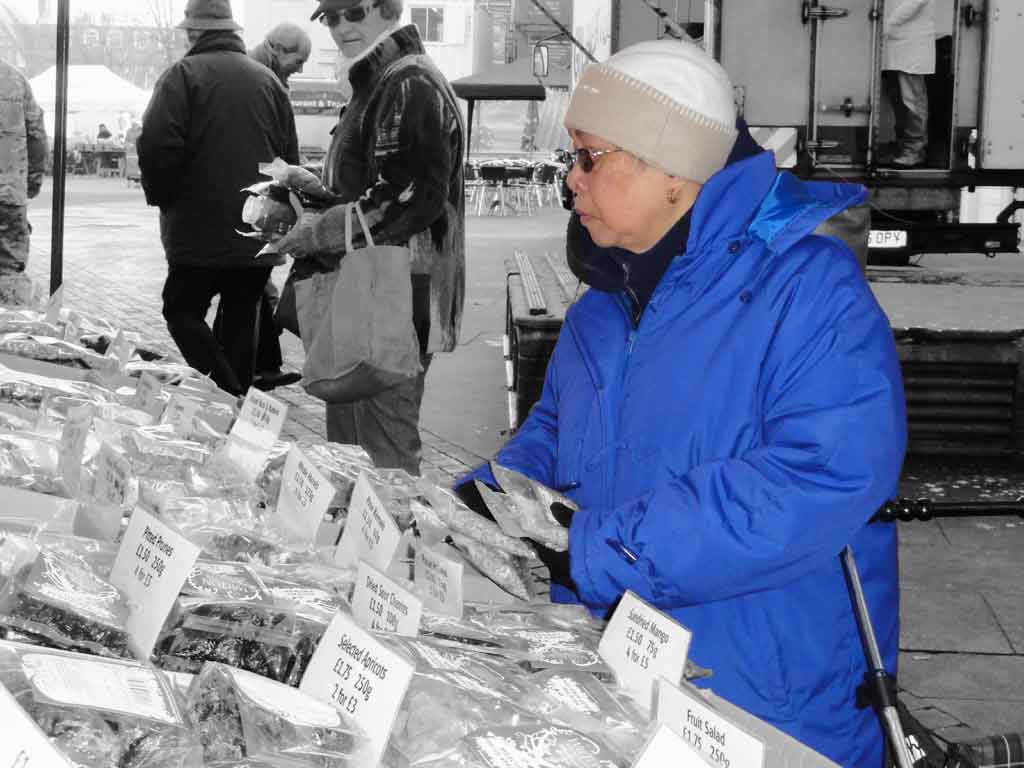
7. Flatten and save as jpeg – job done!
Take a photograph of spring flowers, convert to b&w colour- pop as you wish, save and print.
As an exercise try to tint the monochrome area. Is it best to do this after Popping the colour or before? Does it matter which? Can you go further and make a two tone background colours?
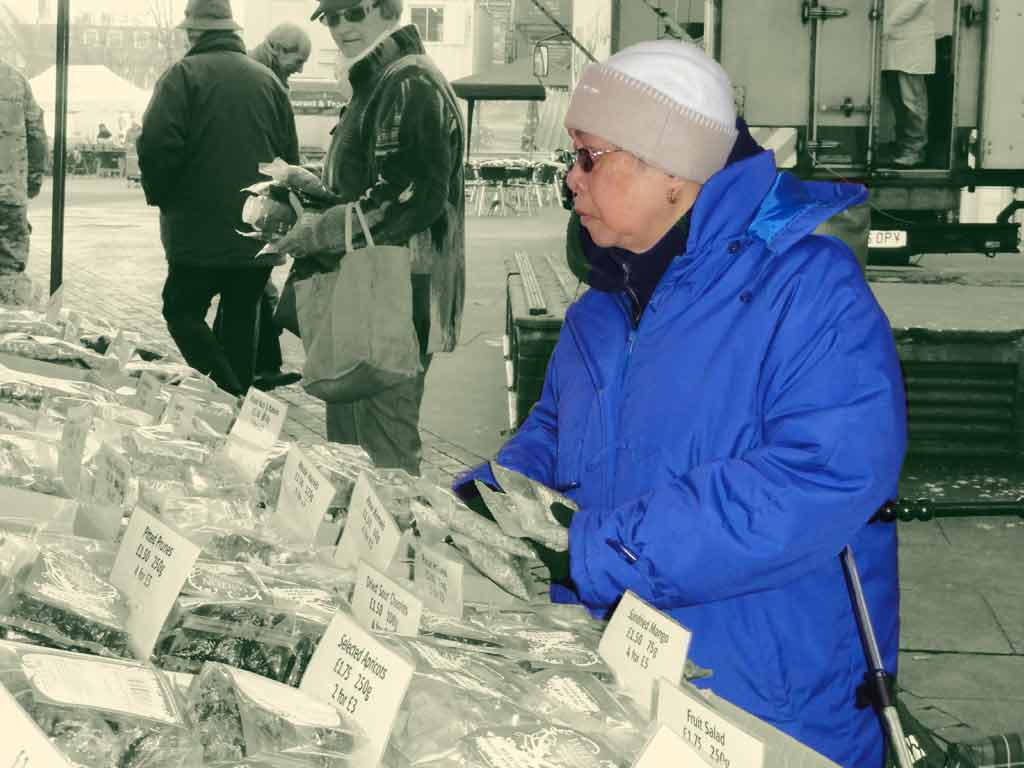
Example with a Two Tone Background [Green and Yellow]