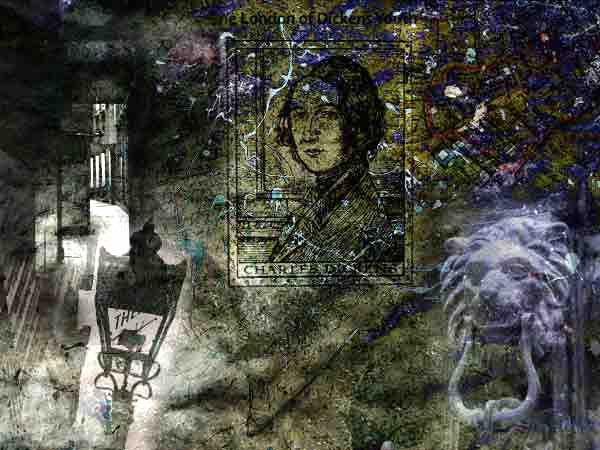
If you look around at images on the Internet and photo magazines you will see many examples using Layer Blending as a means expressing mood and atmosphere.
The method needed to do this is reasonably easy and the results can be a world away from a straight image and bring new life to your images.
Several images on a topic are required plus images that are used for the background. Indeed the background is the first thing to lay down.
There can be no hard and fast rules for this technique because what works for one image will be useless on another. So here there are only general guidelines.
Let us start.
1. Find suitable images for the background. These can be a whole variety of things. You can take photos of all manner of items such as fences, pavements, crumple handkerchiefs, skies, carpets and walls. Keep a stock of these in a folder called Backgrounds. I keep one under a folder called Useful Items. In the latter there are images cut from other photos and stored as Tif images so that the background is the checkerboard. If stored as JPGs then you will have a solid white backing.
1a. Another ways to get background images is to make them. This is quite a quick and simple. A method that we have used before is written up in Impressions and Abstracts [qv now page 38]. Or just open a New A4 sheet and using the Brush set one of say Faux Finish or Dry Media brush sets. Try the Options such as spacing and scatter [when you have two colours on the picker squares], hardness, size and opacity to vary things.
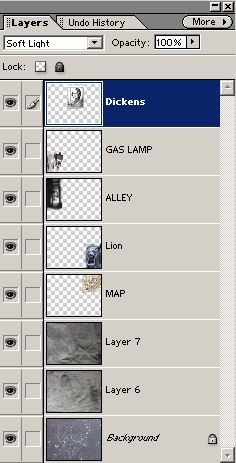
2. Open two Backgrounds. Move one onto the other and try selecting various Blend Modes. These as you know are found on the Layers Palette where it says Normal. Try Multiply or Darken to begin with. These modes naturally make a dark result. Altering the Opacity or even using Levels can change this if need be.
3. Open another background image and move it onto the first result. Now use Blend Modes again. Try different modes such as Overlay.
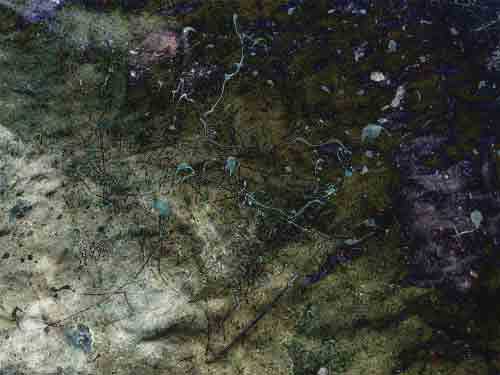
4. Open your first story image and move this on to the result in step 3. Again use Blend Modes. You may wish to change the size using Transform too.
5. Add more images from your collection on the story you are attempting to illustrate. This is a bit like the Montaging we did [qv] a while back and you can use the Selection Brush as before to remove unwanted parts of an overlaid image.
6. To finish it is often wise to vignette the result using the top layer and/or add a frame. The frame is best if dark.
7. Save the work often whilst working in Tiff.
8. Below is an image representing Dickens early life when at the Blacking factory.