
Converting to a Sketch
Sheila came across this method from a member of her circle in the UPP [United Photographic Postfolios].
The method will convert a normal colour image to a pencil sketch in a few easy steps.
1. Open a suitable photo. Portraits are ideal for this method. Adjust the image as normal.
2. Convert to Monochrome by using Ctrl + Shift + U.
3. Duplicate the layer.
4. In the Layers palette select the Blend Mode of Colour Dodge. Ctrl + I to invert. The screen is now totally white.
5. Now use Gaussian Blur in the region of 7 to 10. The actual value depends on the image size. For images of 1000 pixels across the value can be as low as 2. The aim is to leave the outlining as thin as possible without losing sketchy detail elsewhere. This brings the image back again as a sketch.
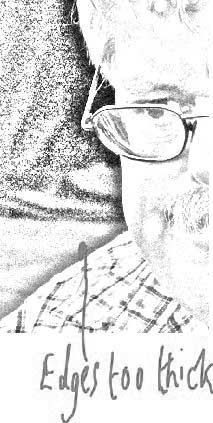
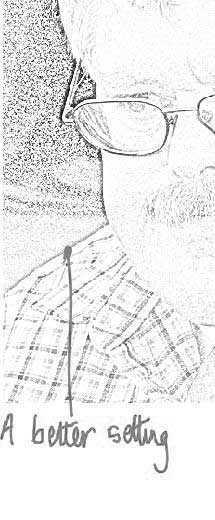
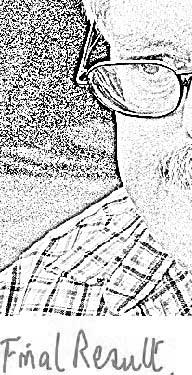
The three screen grabs here show what is meant by the right Blur Setting.
6. Use a Levels Adjustment Layer to increase the contrast.
7. By using a Brush with Black paint on the Layer Mask you may remove areas of the sketch as needed.
8. It is now finished. But you could tone the sketch. Try using Hue & Saturation in the Colourise mode.
Tweak the colour and intensity until you are happy with the colour. A setting of 214, 40, 0 makes an
attractive blue sketch.