
Video and its Control
You may have on your computer a series of short video clips that you may have made when experimenting with your new digital compact camera. These clips may be very short, say, 2 seconds long in which case they may as well be discarded. If they are 10 seconds or longer then they can be connected together to make a coherent whole video production.
If you have not yet tried out this video facility then do try it. It can be good fun and even useful.
Generally it is best to video at the largest frame size. This may
still be small compared to the size available for still images;
perhaps 640x480 pixels. Some cameras can change the frame
rate from say 10 fps to 30 fps. See which is best for you by
trying.
One other parameter to note is the format that your camera
uses. Some formats will not be readable on the free Windows
Movie Maker program. So you will need a way to convert these
to an acceptable format. Formats around are AVI,
WMV, MPEG4 or MPG and MOV. The latter format is
Quick Time format and is incompatible with Windows
directly. You will be able to play it using the QuickTime Player or better the Real Player. But this
will not help when you wish to use Windows Movie
Maker since this needs AVI or WMV. Fortunately
there is a solution using the Real Player Converter. The
method is first to convert to 3GP format and convert
that to WMV.
The first image shows how Real Player displays files.
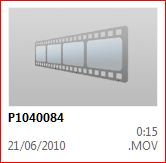
As you may see it is in MOV format and is 15 seconds long. By Right Clicking a drop down box is seen - as below.
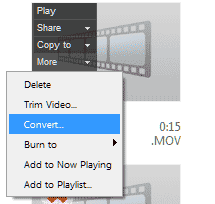
Pick More > Convert to show the third image below.

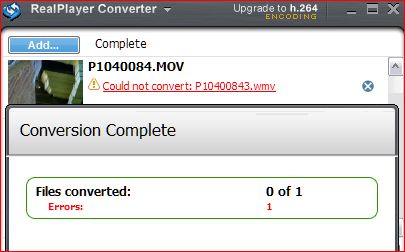
However, if you try to convert MOV directly then the program tells you that you have an error. This is shown in the fourth image below.
To overcome this first convert to 3GP format.
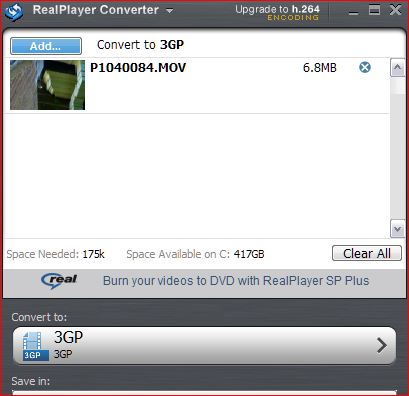
The fifth image above shows converting to 3GP format. Then convert this to WMV.
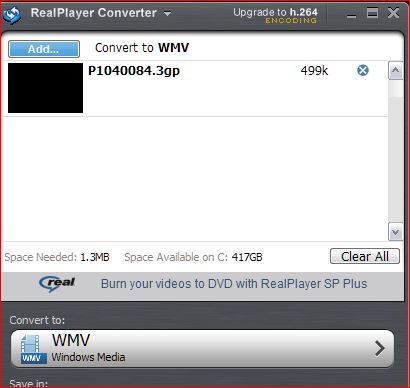
The sixth image shows the conversion to WMV.
This is a messy process and only required for some cameras e.g. Canon. Perhaps there is a better Free converter. If you know of one let me know please.
The converter can be downloaded here http:// www.real.com/realplayer/media-converter.
Real Player SP can be downloaded here http:// download.cnet.com/RealPlayer-SP/3000-13632_4- 10073040.html.
Now to Windows Movie Maker. There are two versions available [a] version 2.6 and [b] Live version that will only run on Windows 7. We will not be looking at [b]. Suffice it to say that [b] is probably easier to use and having used [a] you have no trouble converting later to [b].
You can download ver.2.6 [a] from http://www.microsoft.com/downloads/details.aspx?FamilyID=d6ba5972-328e-4df7-8f9d-068fc0f80cfc&displaylang=en
It is easier to use Google but take care to ask for Windows Movie Maker 2.6 and to get the Microsoft site.
It is a 7 Mb file. Download and install.
And the Live version from http://explore.live.com/windows-live-movie-maker
The best thing to do first is look at what Microsoft say about this program on http://www.microsoft.com/windowsxp/using/moviemaker/getstarted/default.mspx.
There is a whacky video here that will give you some ideas plus other useful information.
Below is how WMM starts.
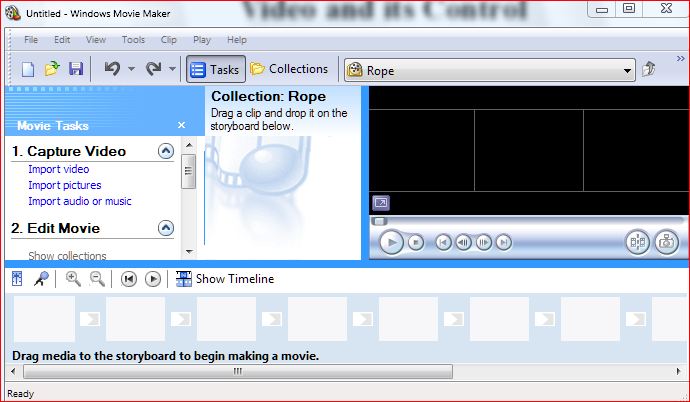
Clicking on Import Video will take you to where your video clips are stored [we suggest that you have a folder for them]. Select a video and click on Import.
You get the second box on the below. When done it appears in the Movie Maker. You can play it immediately if you wish.

Import all the associated clips. I have found that if larger videos
are imported the program splits this down into smaller sections
of say 5 seconds. Bit of a nuisance actually. You will also find
that only the last import now shows. So click on the Collections
button and on the left side is a list of all your clips as seen here.
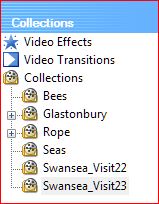
Note that you can also import Pictures and Audio. So your final video can be a mixture of still and moving images.
It is now a good idea to put the associated clips into a folder. Right click on the word Collections in this list [not in the blue section] and click on New Collection. Type in a name. Now click and drag the associated clips into this collection. For instance the clips labelled Swansea_Visit22 and 23 could be put into a folder called Trevithick since this is what the video is about.

Now click on the clip you want first from the Collection column [not from the central section] and drag it down to the Video section at the bottom and release. All the parts of a split video will all be placed. Click and drag other clips and still photographs also. You can now click on the play button if you wish.
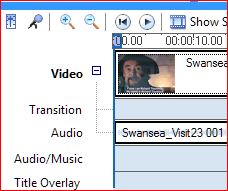
To make the video more interesting and meaningful we can add many effects text and audio. The Edit Movie section covers this area.
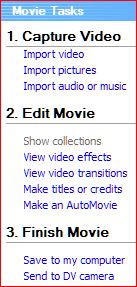
So click on the Tasks Button and from the list click on Make Titles or Credits.
Choose one from the list such as add Title at the Beginning.
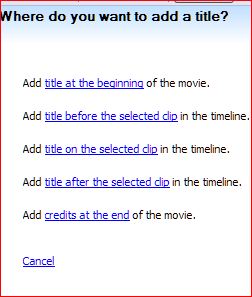
Here notice
that the text can be edited, changed
in colour, font type and size. Also
there is an Animation section for the
text. There is an excellent description
of this on
http://www.microsoft.com/windowsxp/
using/moviemaker/create/
addcredits.mspx
Now you can add other Titles and Credits in the same manner using the same menu.
To change the Transitions between clips click on the View Video Transitions and when a screen full of these can be seen.
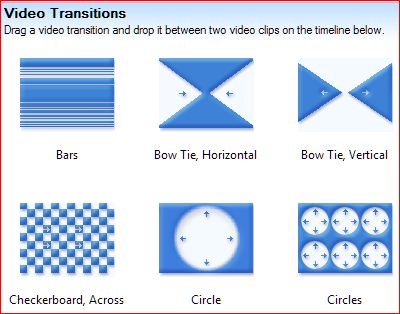
Here are the first 6 transitions.
Click on any and you can see what they do on the
right small screen by clicking on the Play button icon.
Having decided which one to use click and
drag it to the junction of the two clips and
release.

Here is a grab of a Wipe, Wide Right in progress.
Once you know what these transitions do then try Right Clicking on a clip on the Video bar and you will see a menu and on this is Video Effects.
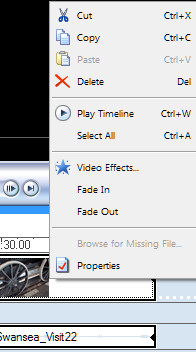
From Video Effects a box appears as here.
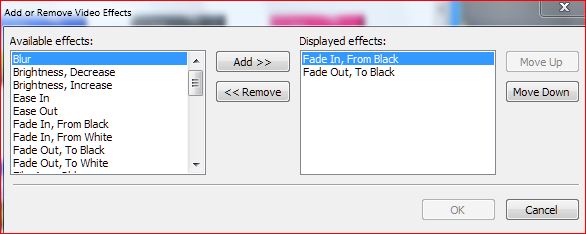
Note that you can remove or add as many Effects as you like and change their order. Very versatile.
Don’t forget to add credits at the end.
There is of course the option Make an Auto Movie at the bottom of the Edit Movie list.
This is intended to make a complete video with transitions straight away. I find it hard to get it to work in this version whereas in the Live version it is very simple. Let me know if you can make it work properly please.
Windows Movie Maker is fairly easy so have fun trying out this Microsoft program that is similar in many ways to Photo Story.