
Making an audio visual picture show is easier now than ever. Here we will focus on
use the Microsoft program Photo Story. This is a free program and can easily be
downloaded and installed on your computer. It can be found Googling Photo Story.
Then find the Microsoft entry. The site address is http://microsoft-photo-story.en.softonic.com/download#downloading. You will probably
need another program installed called Windows Genuine Advantage in order to
validate your version on Windows.
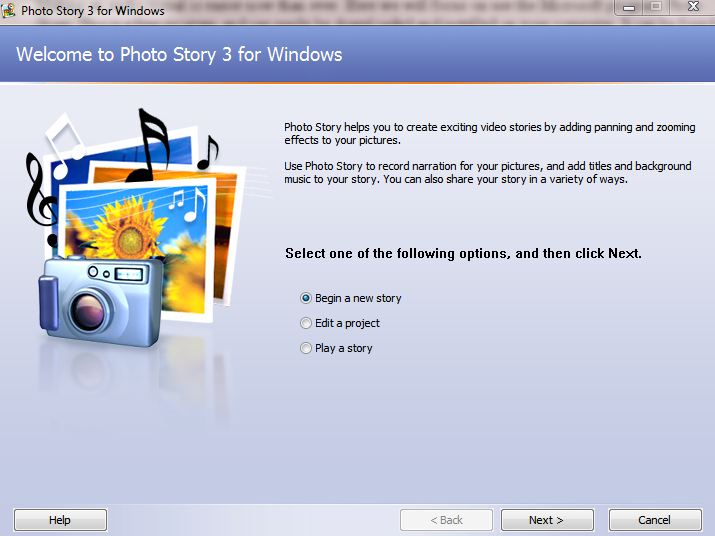
1. Having installed the program open it and you get the opening screen. So we choose Begin a New Story.
2. This shows a new screen and this invites you to import your photographs.
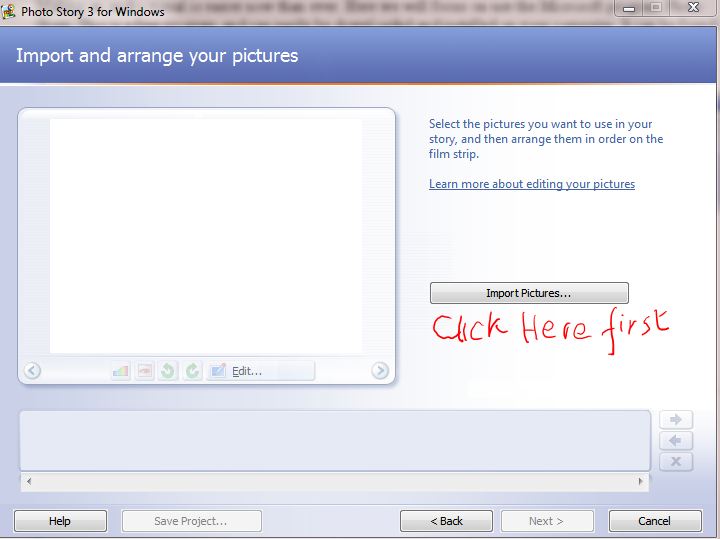
3. Select a set of images that will make a story. If required process them in Photoshop beforehand. You may like to construct start and end caption images.
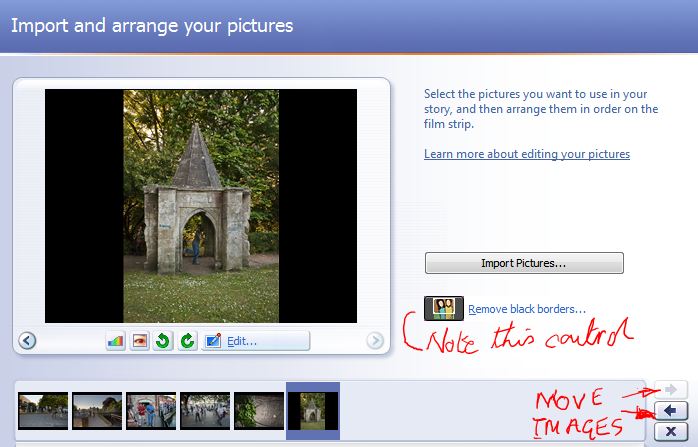
4. Next you can remove Black borders and change the images order as shown here.
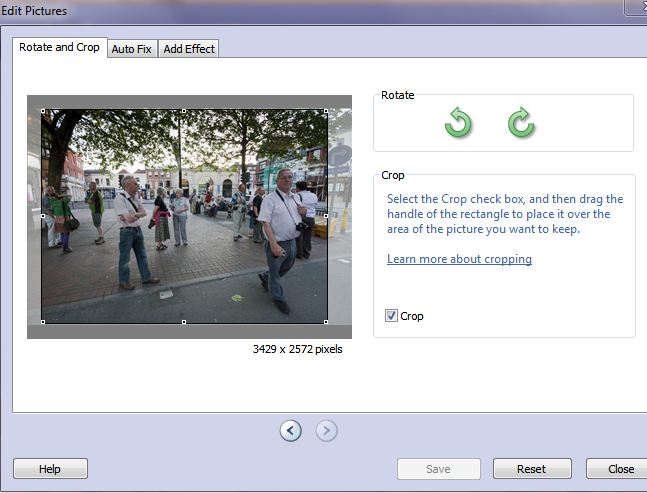
5. At this screen you are also able to do some editing. If you press the Edit button another screen is revealed. Here you can Crop and Rotate only.
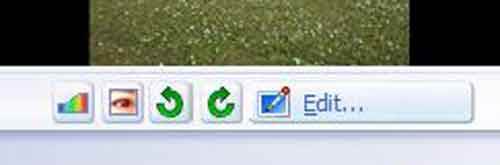
6. Under the photograph in the Import Images screen there are 4 other icons. Two
are for Rotating. One is for Red Eye Removal and the last one does some Colour
Correcting. You merely click these icons to operate the effect.
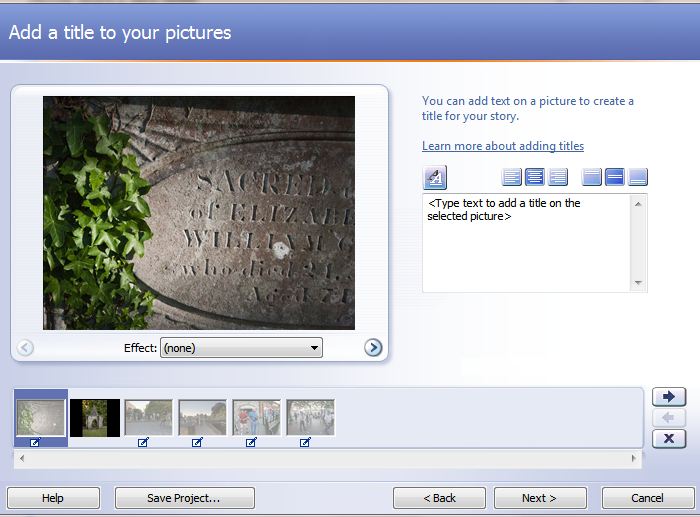
7. Click the Next button to reveal a screen where you can type in Titles and you also get access to some Effects such as Sepia and Diffused Glow. These are much better done prior using Photoshop.
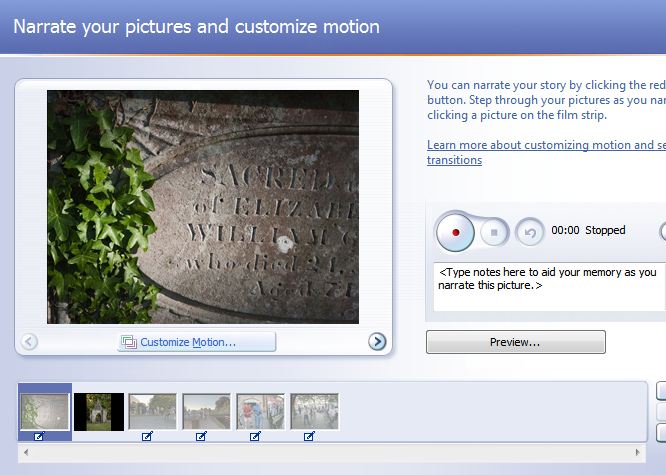
8. Click Next to see the Narrate screen. Here as you may guess you can add speech and you can add motion also. To record speech you press the large round button.
9. And if you click on Customise Motion. This gets you to the Motion and Duration screen. What larks! Just experiment with these controls. They work very well.
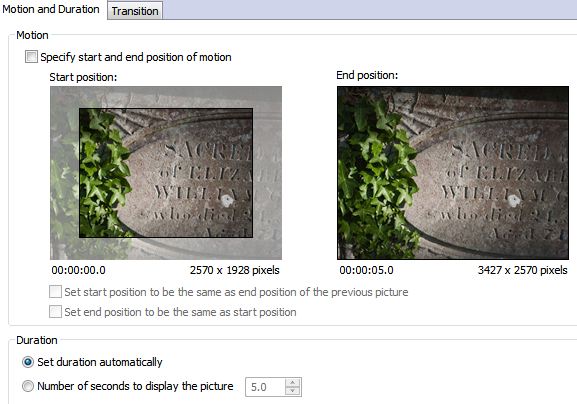
10 Not only the Motion but the Transition from image to image can be selected.
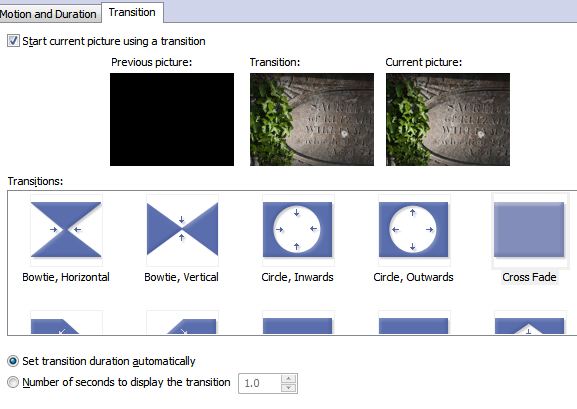
10 You need to set all these effects on each picture before you move on. Having done that click Next.
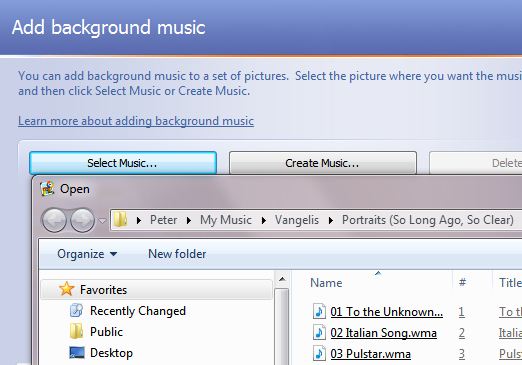
11 Here you select the music to go with your show. Clicking the Select music button allows you to browse your computer to find just the right track. In fact this is perhaps the hardest part of making an AV show.
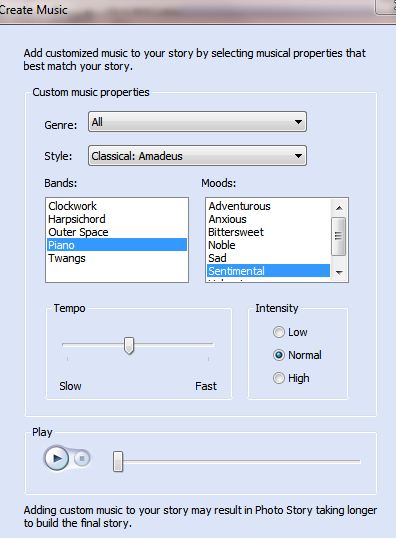
12 There is a provision to make your own music too. Just click on Create Music button and have some fun.
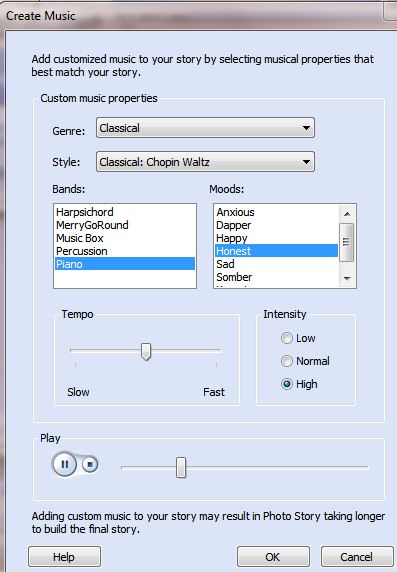
13 Do not forget that you click on the Preview button at any point along our route to see how things are going. There are help buttons too in case you do not understand.
14 Saving. The next screen gives you a lot of control over the type of file you will end with.
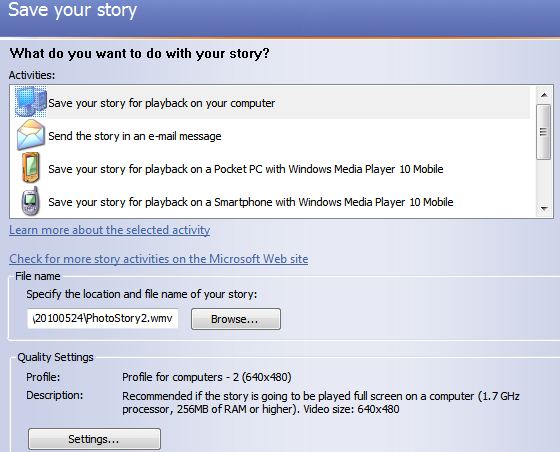
15 The first decision is what you want to do with the AV such as for playing back on a computer or a Smartphone.
16 Then decide on where to Save the file using the Browse button.
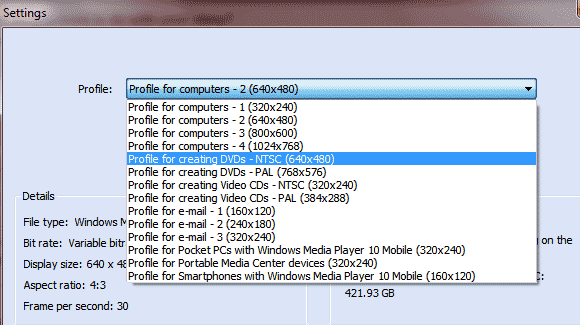
17 It is wise to click on the Settings button to get the size of the final show right. The largest is 1024 x 768 pixels. This makes the largest files too. But now not big enough for camera club work.
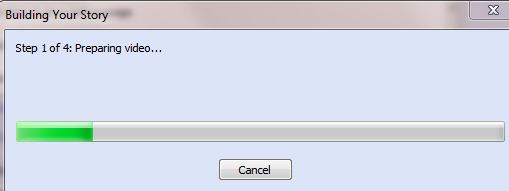
18 The final Next button saves/builds the file. It also Generates the Created Music and Mixes the Audio and lastly makes the Video part.
19 The last screen of all tells you the name of the file and where the file is stored and how big it is.
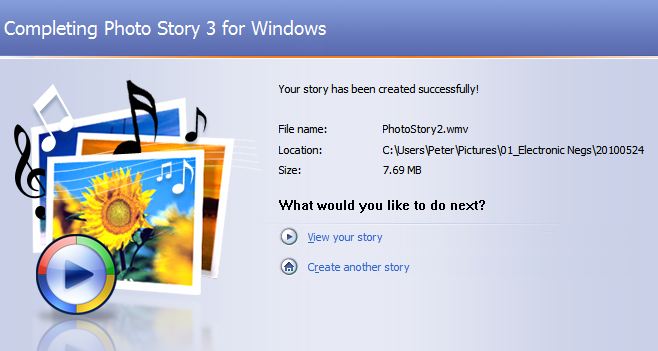
20 It invites you to play your new video in all its final glory!
We hope you can make a success in making an audio visual.