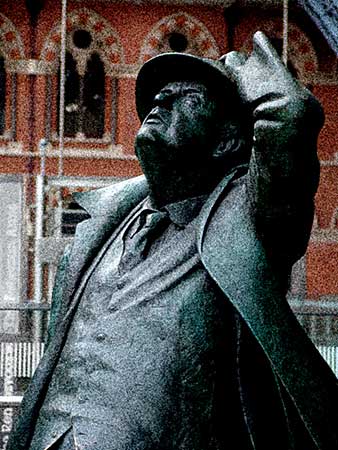
Discover how to replicate the grain of a traditional film exposure in Photoshop and give your photos an artistic appearance with this handy technique.
Retro is vogue. Everyone likes a bit of the past in the modern world, and to manage this in photography is quite simple with digital technology. You can easily add a traditional grain to your photos, giving them that classical look.
Read more: http://www.photoradar.com/techniques/technique/add-film- grain-in-photoshop-elements
1. Start by finding and opening a suitable picture. Here I have chosen a snap of the statue of Sir John Betjeman inside St Pancras Station.
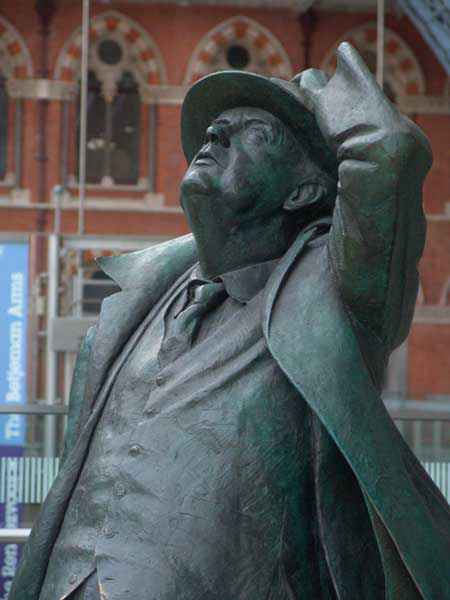
2. Make duplicate image from Image > Duplicate Image or similar.
3. Now make a copy of the Background Layer. Rename this Speckle.
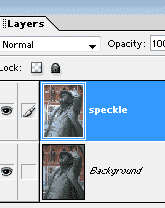
4. Go to Filter > Texture > Grain
5. The default for the Grain filter is the Regular grain type. This immediately shows us what the picture looks like with a Pointillist- like grain made up of coloured dots. Note that the image is blown up to 100 per cent, so you can see the effect close up.
6. You can try any of the other choices but for now select Speckle.
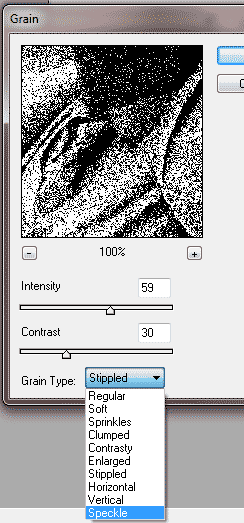
7. Adjust the Intensity and Contrast sliders to get the best visual effect. With this particular grain filter, a high intensity and low contrast work best. Move around the image so you can see how the filter has affected different areas of the shot.
8. Make another copy of the Background Layer. Rename this Stipple.
9. Again adjust this grain for best effect.
10. Now we can Blend the top layer i.e. Speckle using Darken mode.
11. Naturally this makes the overall image darker so by using a Levels Adjustment Layer we can lighten the image.
12. Take advantage of the Layer Mask to paint out any unwanted effects such as distracting colour or bright spots.
13. Why not add a Hue and Saturation Adjustment Layer to desaturate specific areas. In the case of this image of Betjeman there is a blue sign on the left side. You can see from this screen grab how this has been dealt with.
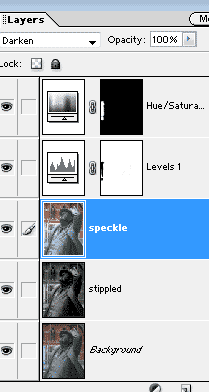
14. To bring back some colour highlight the layer above the Background Layer and choose Luminosity blend mode.
15. Hope that this is useful and enjoyable.