
This idea sprang from a tutorial on the GraphicTutorials.net site. The idea is to generate rays spreading from where the sun is in your photograph. As usual this only works for suitable pictures. Generally they will be ones where there is some evidence of the sun within the picture space. So it will normally be partially hidden behind clouds or outside a window or behind trees.
The effect can look very realistic and so it is well worth trying on a photo that needs perking up.
 Here is a start photo.
 And here is a possible final version.
So lets us start
1. Open a suitable photograph such as the one above.
2. Duplicate the background layer using Layer > Duplicate Layer
3. Open Levels [Ctrl + L]. Move mid slider right up to the right end.
4, Go to Filter > Blur > Radial Blur. Set this to Zoom and Best Quality. Push the slider to the maximum i.e 100.
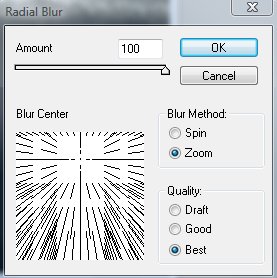
5 Press Ctrl + F. This will repeat step 4. The reason for this is to smooth out the rays. They can be a bit blotchy.
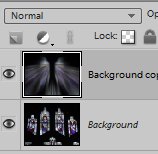
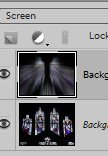
6. Make the Blend Mode = Screen by going to the Layers Palette and click on Normal and select from the drop down box.
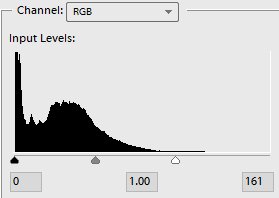
7. Open Levels [Ctrl + L]. This time move the White slider to the left until it reaches the first part of the Histogram or until you like the effect.
8. Using the Erase brush remove extraneous rays if any.
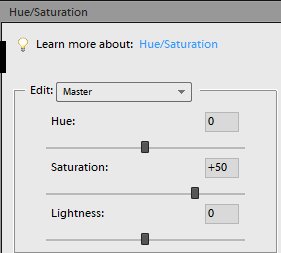
9. Press Ctrl + U to bring up the Hue & Saturation box, Try setting this so that the Saturation = 50 or so.
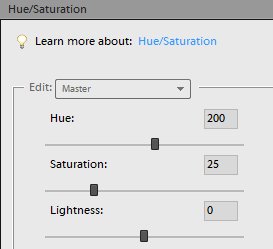
10 You can also try adding another H & S layer. This time click on Colourise and set the Hue to 200 say and the Saturation to around 25.
And there you have it. In the example here a face has been added to an otherwise blank area.
Have fun.