
The Impressionist Brush is a fascinating painting tool to use. It is great fun to use and you can never be sure of the effects that it will produce, which adds to its charm.

LOCATION OF BRUSH TOOL
The Impressionist tool is found beneath the ordinary brush. By clicking and holding the brush tool icon a fly out menu appears. Select the Impressionist tool.
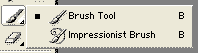
BRUSH FLY OUT MENU
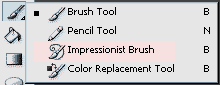
BRUSH FLY OUT MENU FOR PSE4 & 5


The default options work quite well on most pictures. The items beneath the More Options we will leave for now but it is useful to know they are available. The Opacity as set is too high and can be set much lower in the range 5% to 60%.
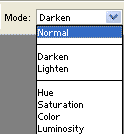
MODE OPTIONS MENU
The mode options menu has limited possibilities and we would limit it still further to the top three. In Normal option the brush affects all pixels whereas for the Darken mode only dark pixels are controlled. Similarly for the Lighten mode only the light pixels are affected.
To show you the effects that this brush can produce we will give you some examples.
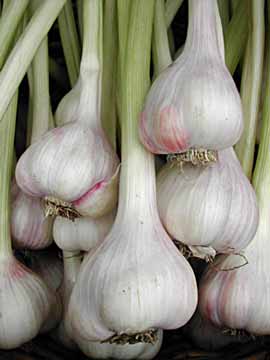
GARLIC
On this image of Garlic we tried using both the Darken and Lighten modes as you can see below. We found with some experimentation that the Opacity was first used at 30% and the brush used around the edges of the picture. The Opacity was then changed to 8% and painted over the central areas.

The result of about 1 minutes work is shown below.
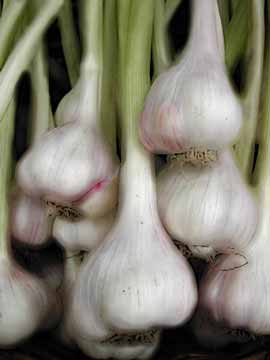
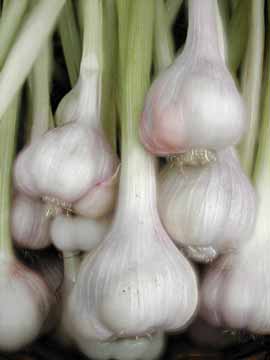
GARLIC – DARKEN MODE VERSION & LIGHTEN MODE VERSION
We hope you can see the difference. To us it seems that this technique is akin to the way some filters operate but with the advantage of being able to apply the filter to specific regions.
Exercise 1Choose a suitable photo of your own and have a play with the Impressionist Brush. Ensure that the photo is only about 600 pixels maximum and save in JPG and then email us you work. Perhaps you could send us results from Darken and Lighten modes. |
As Adobe says this tool can be used to great effect to make artistic images. Essentially it uses the colours within the image and allows you to move them about in a fairly controlled manner. It can also introduce new colours from the Foreground colour.
 For PSE2
 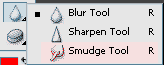 For PSE3to 7
The Smudge tool highlighted, is one of a group of tools located together above the Clone Stamp tool.

Here is the Options bar for the Smudge tool. You will recognise the Brush type and size options and also the Mode choice box. The Strength box is set at 50%, which is a good level to start work.
The Finger Painting allows you to paint the Foreground colour onto your image.
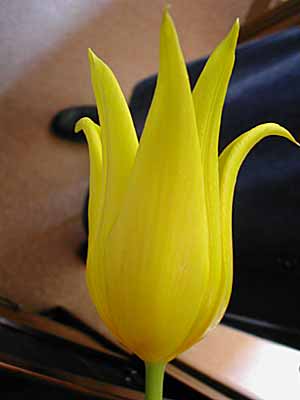 TULIP ORIGINAL
 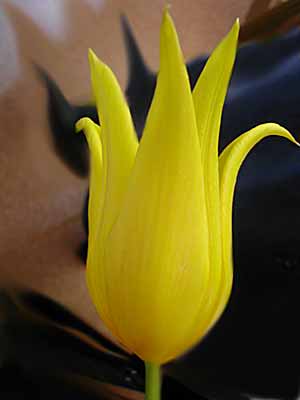 & SMUDGED VERSION
Exercise 2Please would you try out the Smudge tool preferably on one of your own pictures. Again only a small image please. Send us the result suitable labelled. |
There are at least three ways of selectively increase the saturation of an image. They are
So let us try an experiment on this photograph of a Fish. This was taken on the fishmongers slab in a supermarket with fluorescent lighting. This is not the best way of doing this. However digital cameras seem able to cope well with these conditions.
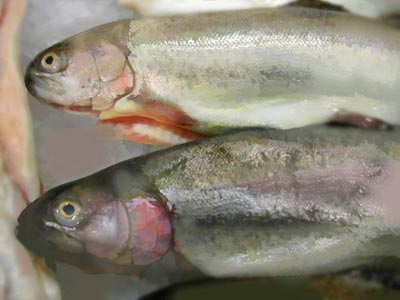
FISH - ORIGINAL IMAGE
This image looked a little dull and using the paintbrush could add colour to this. So could Hue/ Saturation of course. The result is quite different however. This can be seen below for comparison.
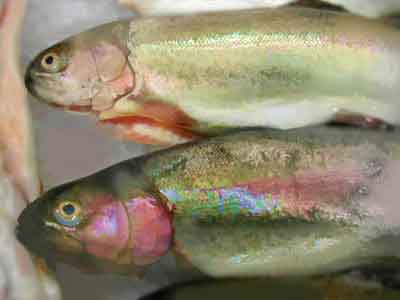
FISH - PAINTED
Result using the paint technique.
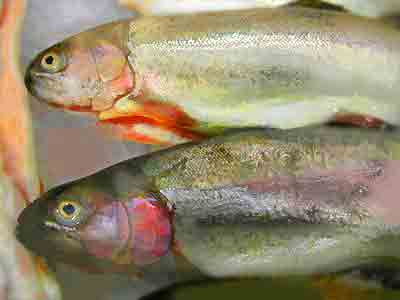
FISH – HUE & SATURATION
Result using Hue and Saturation (only the saturation control is used).
First select the Brush from the toolbox (short cut press B).
Select a suitable brush and size. We used 50 px, soft and round.
Select a colour by clicking on the foreground box. Actually almost any colour will work for this technique. The end results, rather surprisingly, looks the same.
Set the Mode to Saturation.
Adjust the Opacity to a low value such as 15%.
Paint gently over the image in one go. Paint again and the colour will be intensified.
As always one must temper ones enthusiasm to over use a technique like this. The low opacity helps this to some extent.
As ever with PSE there is another way to do this that you may find easier. This way is to use the Sponge Tool. This is found in the Tool Box as highlighted here.
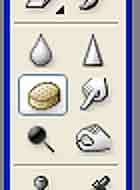 SPONGE TOOL PSE2
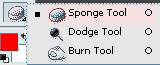 AND FOR PSE3 to 7
Again we have choices to make from an option bar as seen here.

SPONGE TOOL – Options Bar
You can see that the same brush size has been selected and the opacity (here called Flow) is 18%. The mode option gives you a choice of Saturate and Desaturate. Here Saturate has been picked.
Now you wipe the sponge over your image in the areas you require to have a greater degree of saturation.
Try both methods and find out which you prefer.
Here is another example using a landscape this time. Remember that this technique like many other ideas only works well on some pictures. Finding the ones on which a real improvement is made requires some experience of the technique.
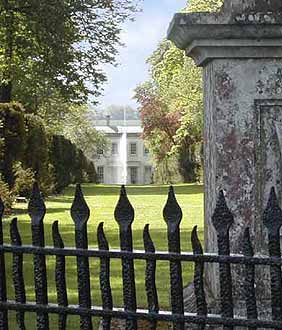
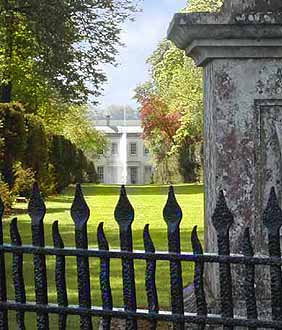
WILBURY HOUSE – ORIGINAL IMAGE PAINTED IMAGE
We tried using Levels, Hue and Saturation, Brightness & Contrast controls but none would emulate this result. Only the grass and the trees were painted.
Exercise 3Find a suitable photograph of your own. This will have to be in RGB. That is not using the Greyscale and so not black and white. |