Black line Method
originally given by David Rowley
Select and open an image preferably that is not too fussy such as a building, car, still life or something
similar.
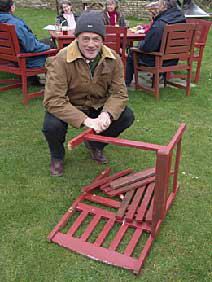 Start
Image
Start
Image
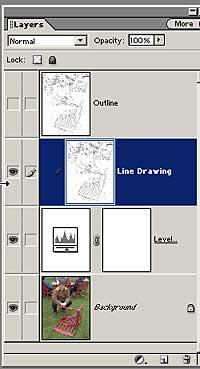
- Duplicate the background layer by dragging it over New Layer icon at the base of the Layers Palette.
- Go to Filter>Blur>Smart Blur. Set Quality = Medium. Mode = Edge only. There
is a choice with sliders so experiment. Try Radius = 30 Threshold = 50. This
can take a while, depending on image size, and ends with a white line image on a black background.
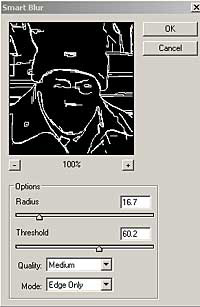
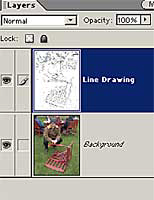
- Invert the image (Ctrl +I) and rename ‘Line drawing’.
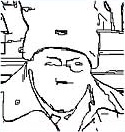
- Duplicate this
layer as in step 1.
- Name the duplicated layer ‘Outline’ and switch this layer off by clicking
on the Eye icon.
- With the ‘Line drawing’ active, add a layer mask. Use the method
shown on pages 19 or 25 if using Photoshop
Elements.
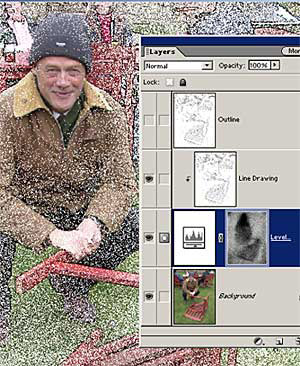
- Select a large
soft brush and alter the Mode in the Options Bar to Dissolve.
- Make sure
the foreground colour is Black
- Paint over the layer mask to suit different images.
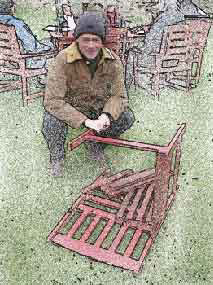
- Make the ‘Outline’ layer live and alter the blend mode to Multiply,
Overlay or Soft Light or whatever takes your fancy!
- You can add different filters at various stages, alter opacities and blending modes and end up
with a host of different images.
 Final
Image
Final
Image
To page 35
HOME
DIGITAL INDEX
