
There are many photographs that can be improved with the additional interest of a watery reflection. Many good photographs that consist of only a reflection that have a range of abstract shapes and colours that give them a fascination. However, these pictures are hard to find and take with the right conditions. But with Photoshop all this is within your grasp and it is not hard to do. Of course as with almost everything to do with Photoshop there are several ways to achieve a good result. After some discussion with our advanced group we came up with the following method that we thought excellent.
Unless you know better.
Do tell us if this is so.
We shall use Photoshop Elements for these instructions, and there will be little difference for other versions.
1 Open a suitable image. This is possibly the most difficult thing to do and experience is your best guide.
2 In order to give room for your reflection it is generally a good idea to increase the canvas at the bottom of your picture. This is done using Image > Resize > Canvas Size and in the height box insert a dimension that will double the height. Ensure that in the box called Anchor the top middle square is selected as shown here. This ensures that the canvas ia added to the base of the image. Note that the Relative box is ticked.

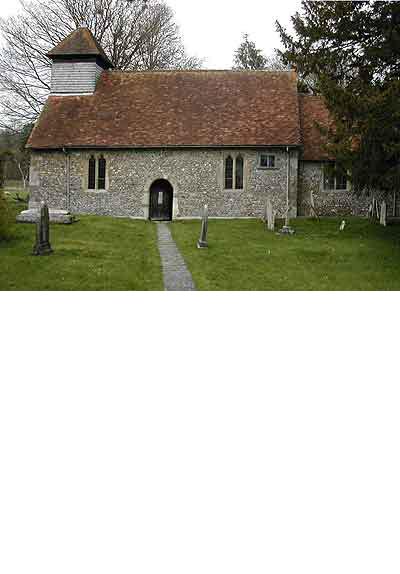
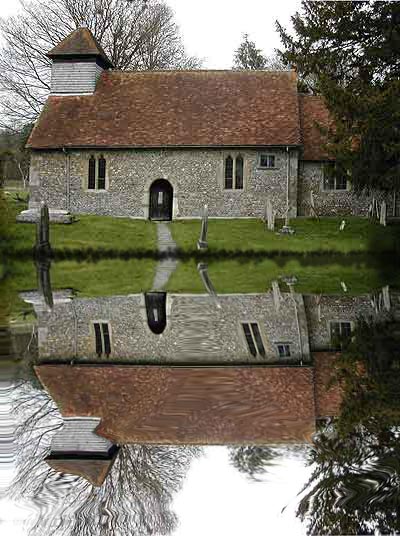
3 You will now have an image with a large white area below it {this assumes that the colour boxes in the tool box are set to the standard or default setting of black over white as seen here. Something like this one of Boscombe Church, Wiltshire.
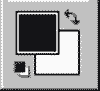
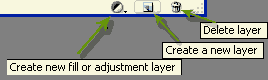
4 Drag out the Layers Palette from the docking area at the top right of the screen by grabbing the tab and dragging to the work space. Make a copy of the background layer by dragging this layer over the new layer icon.
5 Now we need to invert this layer. So select All by using Ctrl + A. You will now have the crawling ants around the edge of the picture.
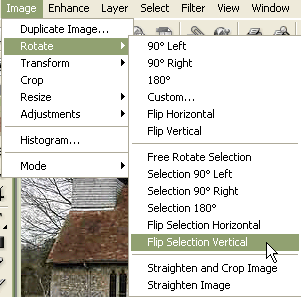
6 To invert go to Image > Rotate > Flip Selection Vertical.
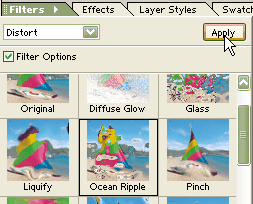
7 Next we can apply an appropriate filter and the one that was suggested was Ocean Ripple. So click on the Filters Tab in the dock ing area. Find the Distort filters by using the drop down box and then Ocean Ripple. Now click the Apply button.
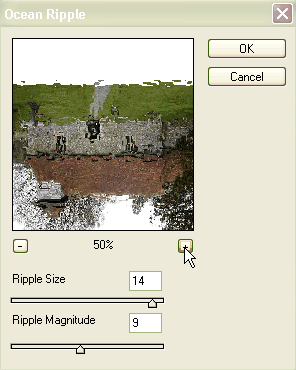
8 A dialogue box comes up. We have set the controls for a reasonable ripple effect of Ripple Size = 14 and Magnitude of 9. The preview image size can be changed by clicking on the plus or minus sign buttons below the image - here the arrow is on the plus. You can also drag the image about within the Preview area. Now press the OK button.
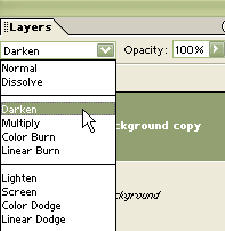
9 We now simply use a Blend Mode to blend the two Layers together and the best mode is the Darken Mode. This is found on the Layers Palette as shown here. The two images miraculously merge.
10 There may be white bits between the two parts due to the ripples. These can be covered over by selecting the Move tool and moving the top layer upwards.
11 But perhaps you should not do this but overlay the top layer with something that looks like a lake or pond edge to add realism. This can then cover any blemishes in the middle.
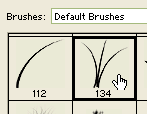
12 One way this could be done is by using a Brush. If you examine the range of brushes in the standard array you will find one that looks like rushes [number 134 as shown]
13 First add a top new layer by clicking on the new layer icon to produce a blank layer shown with a checker board pattern. You can paint on this.
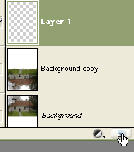
14 Having chosen the Brush tool and brush number 134 and also set it to a reasonable size [say 32] you must also set the parameters correctly.
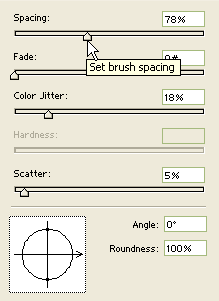
15 So click on the More Options in the Options bar and the dialogue box shown here appears. It would seem right that the Scatter and Colour Jitter are set fairly low as here. The Spacing is fairly high.
16 The Colour Jitter will colour the brush between two colours according to how you have set this. So for our image of Boscombe Church we have picked two greens as seen below.

17 Experiment with your brush on a blank white canvas before using it on the new top layer. You will find that you can sweep across the centre of the image and paint in a set of rushes.
18 Without releasing the brush continue to sweep back and forth and more rushes will be painted. Stop when you consider you have enough. You can see this on the thumbnail version of Boscombe Church.
As said at the beginning this is just one possible way of doing this. Another
method is to use the Liquify filter from Filter > Distort > Liquify. Then use
the Reflection tool. In the white area at the bottom of the background layer
as in step 2 above using a very large brush [say 400] sweep from right to left.
A reflection is drawn immediately. However this does require some practice
to get it right. It is worth trying it once in your life though.