
Sharpening
Sharpness describes the clarity of detail in a photo, and can be a valuable creative tool for emphasizing texture. Correct photographic and post-processing technique go a long way towards improving sharpness, although sharpness is ultimately limited by your camera lens, image magnification and viewing distance. Two fundamental factors contribute to the perceived sharpness of an image: resolution and acutance.


Acutance describes how quickly image information transitions at an edge, and so high acutance results in sharp transitions and detail with clearly defined borders.
Resolution describes the camera's ability to distinguish between closely spaced elements of detail, such as the two sets of lines shown above.
In digital cameras the Resolution is defined by the camera sensor, but Acutance depends on the quality of the lens and can be controlled in post processing. After taking a photo Acutance is the only part of sharpness you can change. It is enhanced when you use Unsharp Mask and probably Smart Sharpening.
For a perceived critically sharp photo you need both high acutance and resolution.
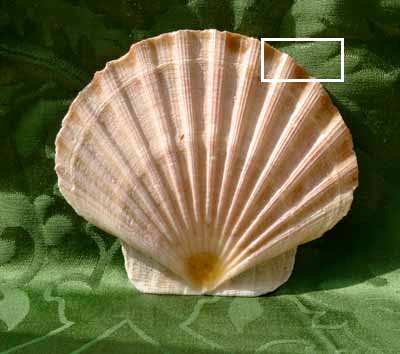
Here is my attempt to
show you with my
photo of a shell
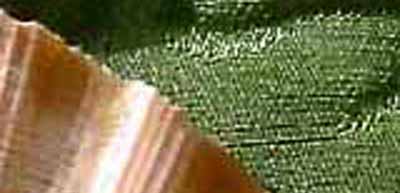
Acutance: High, Resolution: Low
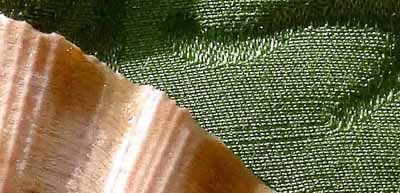
Acutance: Low, Resolution: High
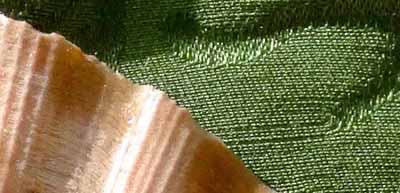
Acutance: High, Resolution: High
Properties of Sharpness
Sharpness also depends on other factors which influence our perception of resolution and acutance. Image
noise (or film grain) is usually detrimental to an image, however small amounts can actually increase the
appearance of sharpness. Consider the following example:
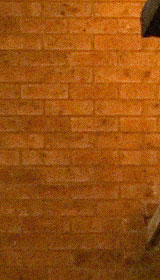 Low Noise, Soft
 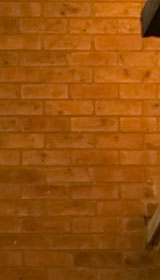 High Noise, Sharp
Although both images have not been sharpened, the image to the left appears softer and less detailed.
Image noise can be both very fine and have a very high acutance — tricking the eye into thinking sharp detail is present.
Sharpness also depends on viewing distance. Images which are designed to be viewed from farther away, such as posters or billboards, may have much lower resolution than fine art prints in a gallery, but yet both may be perceived as sharp because of your viewing distance. Keep this property in mind when sharpening your image, as the optimal type of your sharpening may not necessarily be what looks best on your screen.
Sharpness is also significantly affected by your camera technique. Even small amounts of camera shake can
dramatically reduce the sharpness of an image. Correct shutter speeds, use of a sturdy camera tripod and
mirror lock-up can also significantly impact the sharpness of your prints.
The Cambridge web site has much more information about sharpening that you may find interesting and maybe useful. How Unsharp Mask for sharpening is explained very well. Smart Sharpening is not mentioned.
Gavin Hoey has a simple and practical approach that is worth reading found http://www.gavtrain.com/?p=2642
Do look at that page .
Some of this article has appeared on http://www.cambridgeincolour.com/tutorials/sharpness.htm for which I give many thanks for the ideas and lucid descriptions.
How to Sharpen.
There are three basic ways of sharpening in Photoshop Elements. They are Unsharp Mask, Smart Sharpen and High Pass Filter. Normally we use the Smart method now called Adjust Sharpness found under Enhance in Elements.
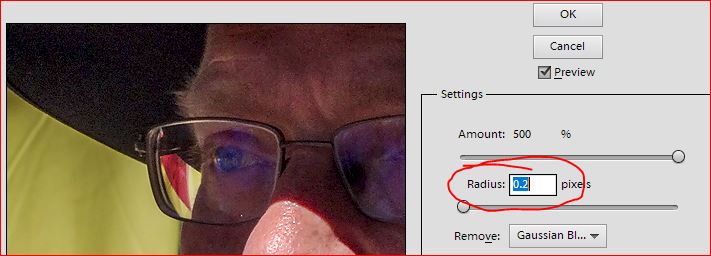
Gavin Hoey tells you his way of doing this and so we will do it this way. To get the best from Smart Sharpen or Adjust Sharpness set the amount to 500% and the radius to around 20 and you'll notice halos around edges in the photo. Slowly reduce the radius until the halos are all but gone. That is the radius set for that image. Finally, reduce the amount slider to get the sharpen effect you desire.
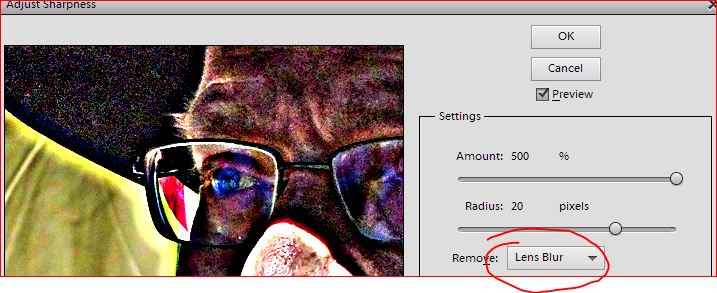
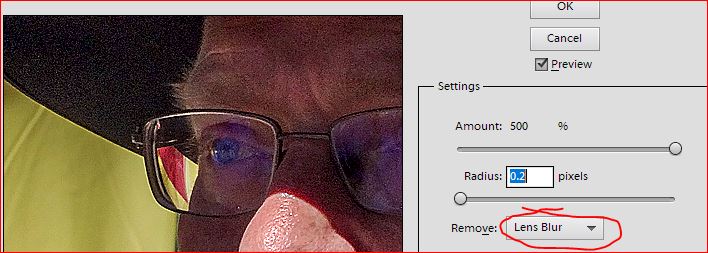
Sadly the halos can remain even at zero radius when using the Lens Blur setting. Gaussian Blur works better
Obviously there's no magic number that works for all images so be prepared to experiment a little.
The images the below show the use of Unsharp Mask for Gavin’s method. He advocates using Lens Blur mode but these images show that it always has a halo whereas Gaussian Blur setting does not.
The final result for the Gaussian version is sharpened just fine even at the maximum of 500. This way is cited as a means to increase contrast without clipping highlights or shadows.
[See method No.25 in this site http://www.amateurphotographer.co.uk/latest/photo-news/27-secret-photo-editing-software-features-81092
Using Adjust Sharpness does a very similar job but is preferred because of the reduced halos. Well in practice
there is not too much in it.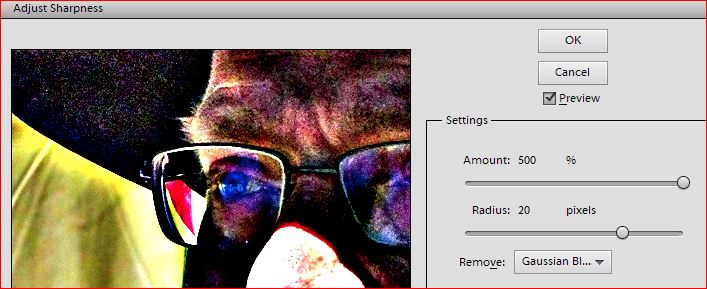
Sharpening Using the High Pass Filter
1 On the Layer palette select your Background Layer and right click.
2 Select Duplicate Layer or Ctrl + J to make a copy of the background layer.
3 With this new layer highlighted select Filter > Other > High Pass.
4 Set the Radius to 10 and click OK.
5 Zoom into your image to Actual Pixels level so you can better see what you’re going to do next.
6 Go back to the Layer Palette and select Hard Light blending mode from the left drop down.
Now go to the Opacity Slider and select a level of sharpening that seems best to you. Usually something between 20% and 70% will be best.
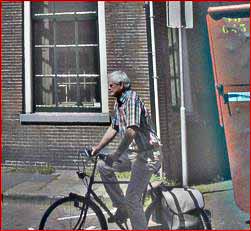
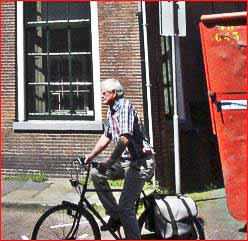
High Pass filter at 10% High Pass filter at 10% and
Blended with Hard Light 100%
Selective Sharpening
1. Duplicate the background layer using Ctrl + J.
2. Go to Enhance > Adjust Sharpening.
3. Oversharpen here with Amount = 150% Radius = 1.
4. Add a Layer Mask by clicking and holding down the Icon and the Alt key at the top of the palette. The mask is black to hide the sharpening.
5. Using a white brush paint the areas you want sharp. Set brush to 50% opacity.
6. Finally click on the Luminosity Blend mode to avoid colour shifts.
More can be seen on https://www.youtube.com/watch?v=9-SfIgkpTEE