Mirror Flipping
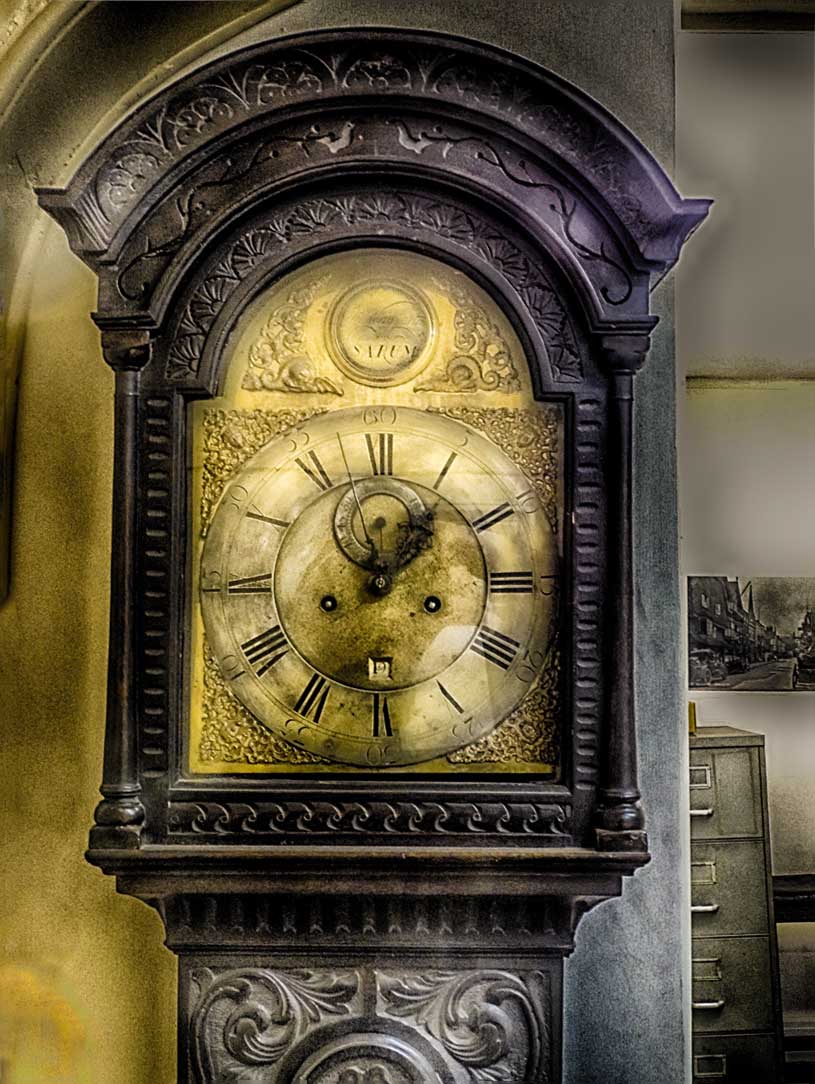
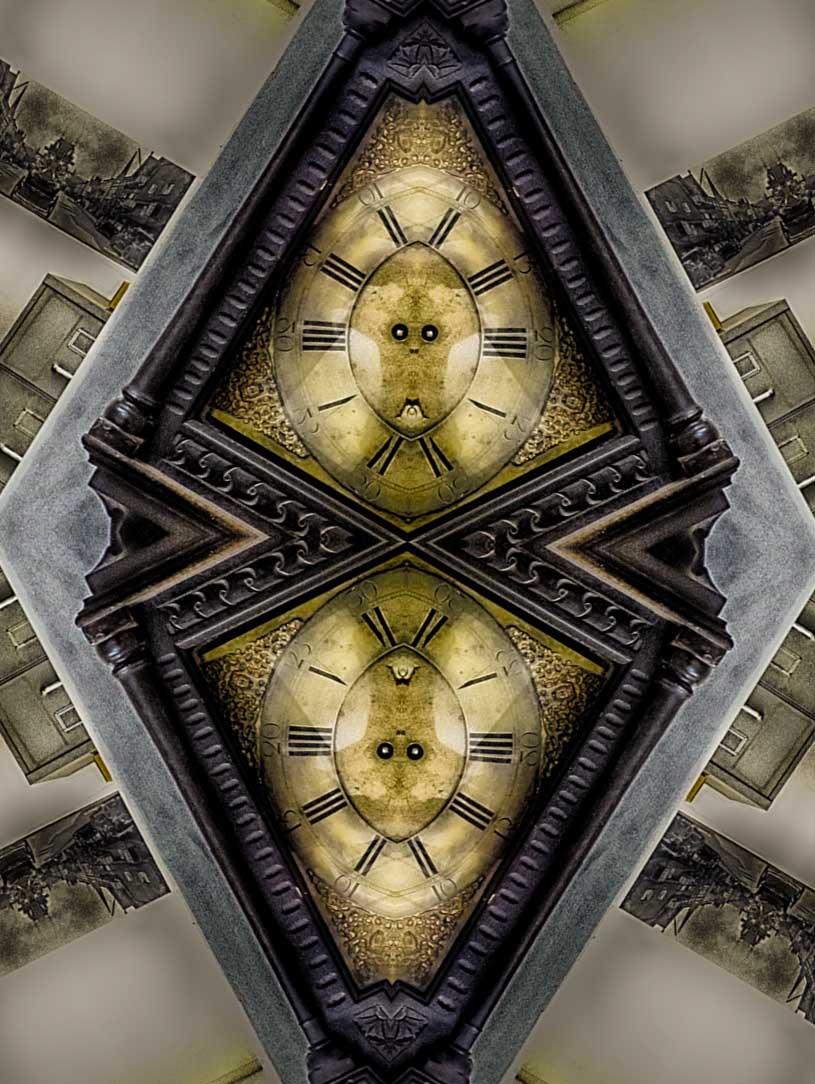
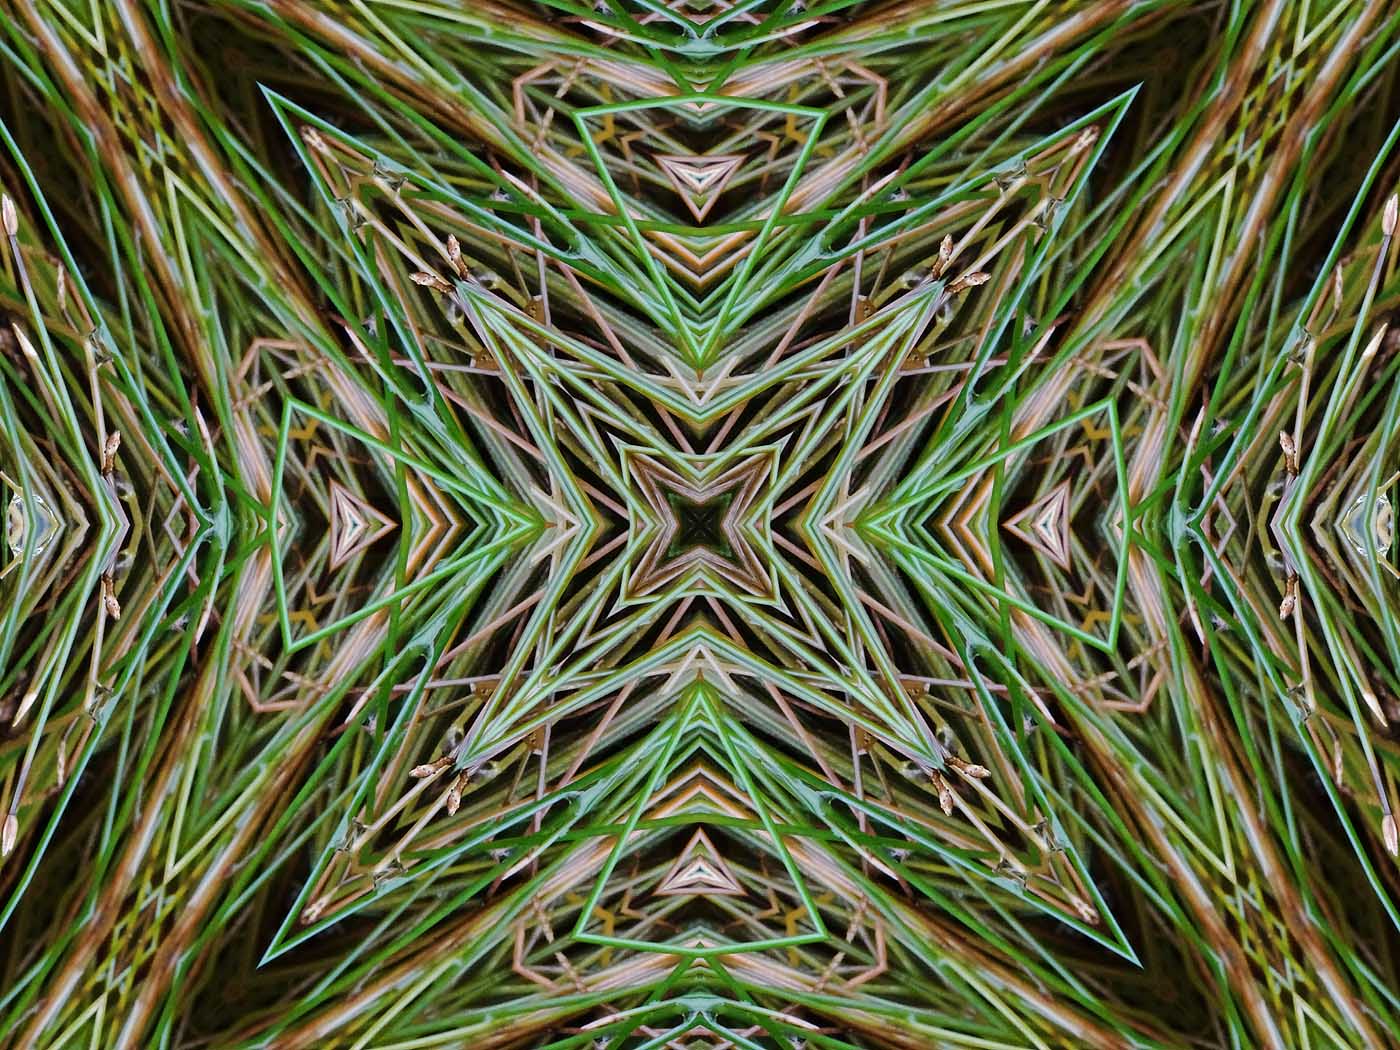
One of the simple ways to make a pattern from your images is to cut and flip.
You will need to be able to visualise the effect prior to trying it out. Using the Action I have written will make your life easier if you wish to use it. If you do so you will need to know how to load it into your version of Elements or indeed full Photoshop.
My thanks to PhotshopEssentials.com web site for the inspiration and in particular to Steve Patterson.
So let us begin.
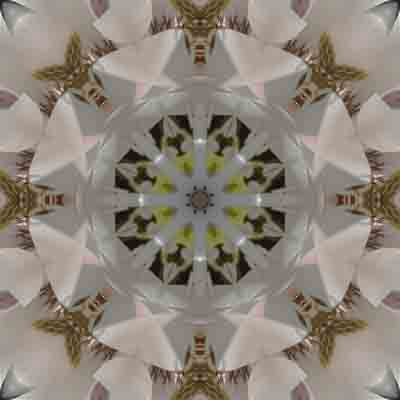 A sample result.
1. Open a suitable photograph one that already contains some sort of interesting pattern or design and Duplicate this using File > Duplicate. Close the original file.
![start]](Kaleidoscopes/Spring Flowers Start.jpg) Initial Image.
Initial Image.
2. From the copy image ensure it is correctly processed for brightness and contrast and so on. Resize it to, say, 1000 pixels on the longest side.
3. You may need to crop the image for best results and this is where the visualising is needed. Here I have cropped to the edge of the stamen and a petal [top right]
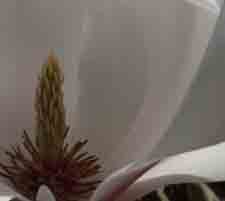
4. Duplicate this using Ctrl + J or Layer > New > Layer via Copy.
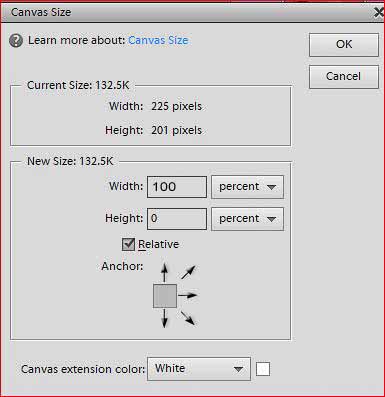
5. We now double the Width of the Canvas. Go to Image > Resize > Canvas Size. You get a Canvas Size box. Here you need to set it as shown. Width in PERCENTAGE. Relative box ticked and left middle arrow clicked.
6. Drag the top layer using the Move tool to the right to nestle precisely on the right edge of the bottom layer. Ensure that there are no white spaces.
7. Press Ctrl + T or go to Image > Transform > Free Transform to get a bounding box. Now either Image > Rotate > Flip Layer Horizontally OR on the actual layer Right click and select Flip Layer Horizontally. Click the Tick to complete the action.
8. We now merge these layers either press Ctrl + E or go to Layer > Merge Down.
9. As in step 4 we duplicate this layer with Ctrl + J.
10. We double the Height of the canvas in a similar manner to step 5 but changing the Height box to read 100 and clicking on the up arrow so that the new canvas spreads downwards.
11. As in step 6 Move the top layer downwards until it slots nicely into the space with no white showing.
12. We need to rotate this lower layer vertically by using Ctrl + T i.e. Transform/ Right click and select Flip Layer Vertically.. Click the Tick to complete the action.
13. Now merge all layers into a new layer. To do that, hold down your Alt (Win) / Option (Mac) key and, while still holding the key down, go up to the Layer menu and choose Merge Visible down near the bottom of the list of options.
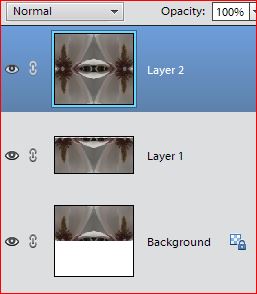
14. You should now have the Layers Palette like this. If we now Rotate this top layer by 90 degrees then we can generate an interesting design, To do this go to Image > Rotate > Rotate Layer left or right.
15. Now we can clean up the design by cropping the document around the rotated image. Hold down your Ctrl (Win) / Command (Mac) key and click directly on the preview thumbnail for Layer 2 in the Layers palette. You get marching ants round the top rotated layer. If you go to Image you will find the word Crop. Click to remove the out side edges to make a square image design. You may want to alter this of course and stick with what is there already.
16. Press Ctrl + D to remove the marching ants.
17. Experiment now with the Blending Modes. Try Darken mode.
18. There is one more wrinkle to try by Merging all layers and then rotating the top one by 45 degrees.
19. So copy step 13. to merge layers OR press Shift + Ctrl + Alt + E
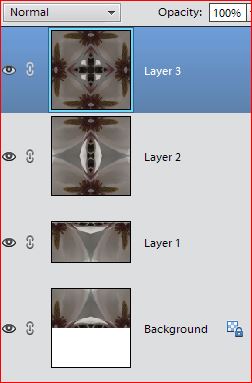
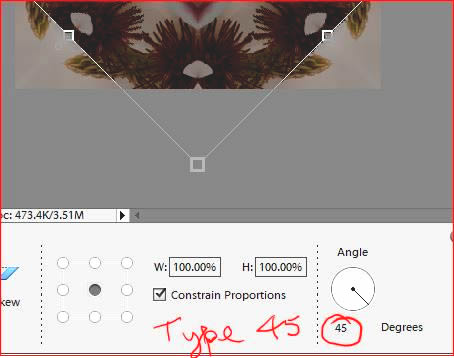
20. Go to Image > Rotate > Free Rotate. Type 45 in the box at the bottom of the screen as shown below. This rotate only the new top layer. If otherwise you have made an error.
21. Now try the Blend Modes again. This time Lighten may be best.
21. And that completes this technique. I hope you have managed to follow all the steps. Below I have added more exmples.