
Capture the Northern Lights with a Digital Camera
BASIC SETTINGS FOR ALL DIGITAL CAMERAS
Switch off the flash. If it cannot be switched off then put black tape over it.
Set the camera speed to ISO 800 or 1600. The darker the sky, the higher the ISO setting should be.
White balance: choose the ‘Daylight’ setting.
Exposure time/shutter speed (Tv): typically 10-30 sec (possibly not adjustable on all cameras). If you are on a moving ship, or the Northern Lights are changing rapidly, use shorter exposure times but expect some blurring of your pictures.
Focus the camera manually. Switch off ‘Autofocus’ if you have it.
If you have a delayed action timer, set it to 2 sec. It will reduce camera shake.
Reduce the brightness of the camera display.
ADDITIONAL SETTINGS FOR DIGITAL SINGLE LENS REFLEX (DSLR) CAMERAS
Recording mode: Manual (M).
Aperture: Use the widest aperture possible, i.e. the smallest f/no. - usually f/2, f/2.8 or f/3.5, depending on the lens you have.
Lens type: wide-angle, ideally less than 35 mm focal length, preferably 14-24 mm.
Remove any UV or polarizing filters.
TIPS FOR GETTING THE BEST NORTHERN LIGHTS PICTURES
Be well prepared. Make sure your camera batteries are fully charged, that you have plenty of space on your memory card, and that you have warm comfortable clothing.
Steady your camera, preferably by using a tripod, or by resting it on a rail.
Be considerate to others. Do not obstruct the view of people around you.
Be patient. The Northern Lights are a natural phenomenon. By their very nature they are unpredictable and they may vary in form, brightness and colour quite rapidly.
AND DO NOT FORGET THE MOST IMPORTANT PIECE OF ADVICE:
The Northern Lights are one of Nature’s greatest spectacles. Enjoy them with your eyes and feel them in your heart before using your camera. The mental image you take away with you is far more important than any picture captured by your camera.
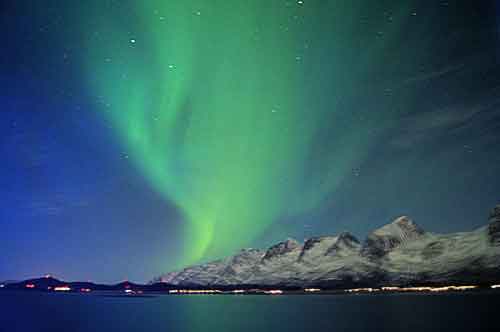
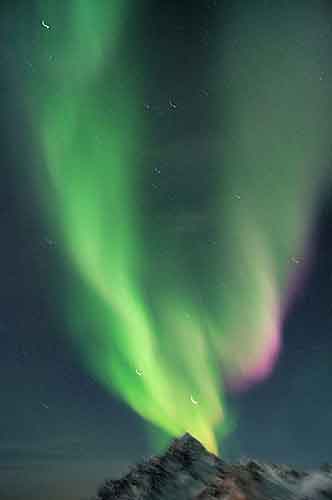
Photos by Mike Rowe [copyright 2012]