
Normal Joiners are made from lots of photos but this technique uses just one picture. This idea splits the image into sections and these are then moved artistically about overlapping as needed. If you have full Photoshop then Actions will assist in the repetitive processes.
Below is an example of Before and After.
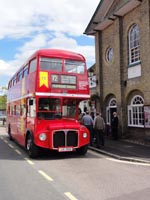
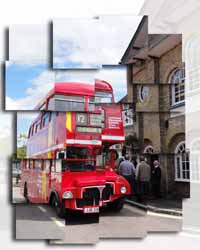
The method is as follows:
1. Open a new sheet - use Ctrl + N. Set the size to about 150 pixels square and White.
2. Go to Select All followed by Edit > Stroke. Set this box to 1 pixel and Inside. Click OK.
3. Now go to Edit > Define Pattern. Name your new sheet as Grid 150 or similar.
4. Close this file.
5. Open a suitable photograph.
6. Now add a new layer from Layer > New > Layer.
7. We now fill this layer from Edit > Fill > Use > Pattern > Custom Pattern > Grid 150.
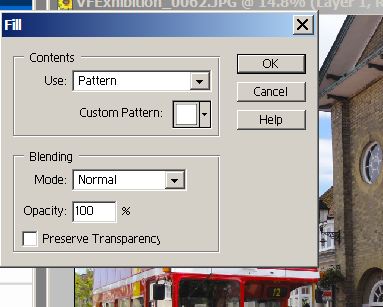
8. You now have the pattern of the white square filling the top layer.
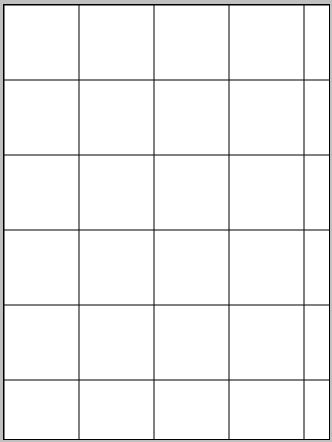
9. By pressing Ctrl + I the colours are inverted so that we get a black image with white lines.
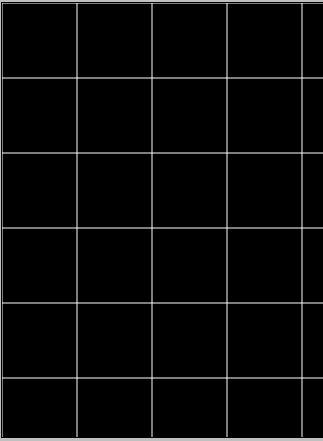
10. On the Layers Palette select the Screen Blending mode from the drop down menu where is usually reads Normal. This allows us to see the original photograph with white lines.
11. If the pattern does not quite fit Crop off the excess area to get an exact number of squares.
12. Use the Magic Wand and click on the top left square to select this area. Ensure that Contiguous is ticked.
13. This is the point where we have to repeat our actions [in this case 20 times].
14. Click on the Background layer [the bus here].
15. Click on Layer > New > Layer via Copy
16. Press 8 on the keyboard to reduce the Opacity of the layer to 80%. Do not use the slider method.
17. Click on the top layer. Use The Magic Wand to select the next square.
18. Repeat steps 14 to 17 until each square has been used. There will now be as many extra layers as there
are squares.
19. Click on the bottom layer and click the New Layer icon on the Palette.
20. Fill with this with white using Edit > Fill > Use > White.
21. The image now looks a bit pale because of the 80% opacity. Delete the black top layer.
22. Now the fun part. Using the Move tool [V] set to Auto Select and starting in the centre gently move each square. They should overlap each other slightly. Continue until you are happy with the effect.
23. You can bring the original image back slightly through the white layer by reducing its Opacity to about 80%.
24 In addition try adding a drop shadow to each layer from the Layer Styles Palette > Drop Shadows.
That wraps it up and produces a pretty good result. Maybe David Hockney would like it!