
The method described here is fun and different from the normal way of presenting images. It is easy to do and will work on any variety of Photoshop. The idea could easily be extended to audio visual shows or you could combine several versions to make a story on a page exactly like a comic strip. All you have to have are good interesting and possibly humorous ideas.
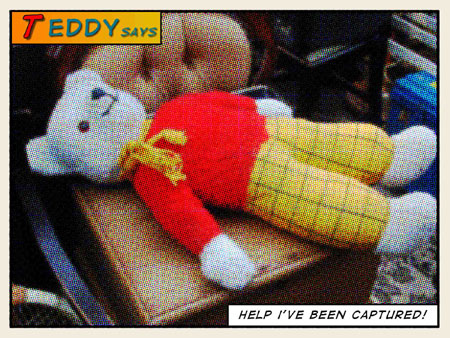
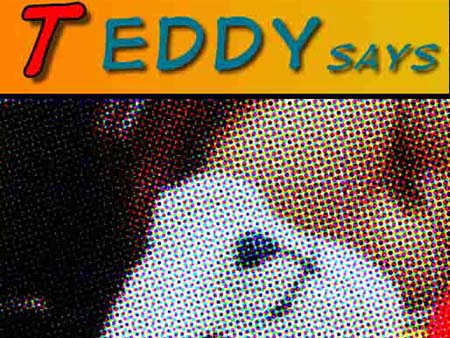
Here is a simple example taken from a snap taken in a bric-a-brac shop. The detail shot shows the halftones.
To begin
1. Open a suitable picture; these will generally have a simple graphic design. Landscapes will not work well for instance.
2. Resize the image to say 6 x 4 inches. Adjust the image with levels to achieve a rich full toned bright photo. Flatten if an adjustment layer was used.
3. Make a copy of the layer by dragging the background layer over the new layer icon or go to Layer on the main menu and select Duplicate Layer. Rename the Layer as Halftone.
4. Select the Darken mode.
5. From the Filter menu pick Pixelate > Colour Halftone. Set this to 4 or 5 pixels. Leave the rest as the default readings.
6. To make a border make a new empty layer using the New Layer icon. Go to Select > Select All.
7. Then Stroke (under the Edit menu) this layer. 30 pixels and a colour like E5D197. You can paste this number into the Colour Picker. Choose Position = Inside and then click OK. Deselect.
8. To put a black line round the image use the wand on the border. Since the border is one colour the wand will select it precisely. Invert the selection so that the image in the middle is picked. Now again go to Stroke. This time use Black colour and 6 pixels and Position = Centre. Click OK.
9 We now have a sharp black line round the image. To make it more like a comic strip use Filter > Blur > Blur More. Also Filter > Distort > Ripple. Set this to 20% and Medium. Click OK.
10. We now proceed to add Captions as follows. Make a new Layer. Using the Rectangular Marquee draw out a rectangle in the top left of the black line round the image of a size for your text.
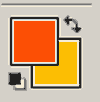
11. Stroke this selection with a black line of 4 or 5 pixels with Position = Outside. Then pick two colours for the Foreground and Background such as two shades of Orange as shown here.
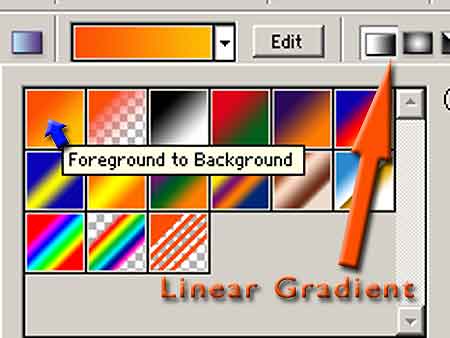
12. Fill the rectangle using the Gradient Tool from the Toolbox. Set to Foreground to Background, Linear, Mode = Normal, Reverse unticked, Opacity 100%. Draw across the rectangle keeping it horizontal by holding down the Shift key. Deselect.
13. We now draw another rectangle at the bottom right corner of the image and in a similar way add a black line and fill it. This time use the Fill command and the colour White.
14. Add text to these spaces now using the Text tool. The font we choose can be any we like. A good one is a free version made specially for comic strips called Digital Strip. This can be downloaded from www.blambot.com/font_digitalstrip.shtml. You need to unzip the file into the Font directory which is found under the Control Panel.
15. To give it more authenticity the first letter of the top caption can be enlarged to go over the border and filled with a bright colour and maybe a drop shadow and a bevel. This is up to you.
16. You should now have a layer stack like this. 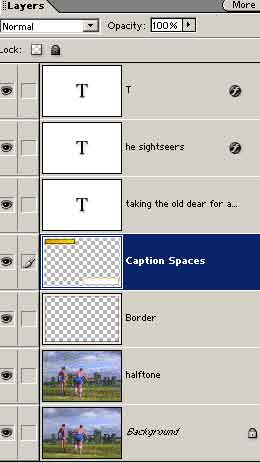
17. Print.
This method was inspired by The Photoshop Roadmap. Have a look at this and the links attached thereto. There are some other ideas that might grab you such as adding speech bubbles. Have fun whatever.
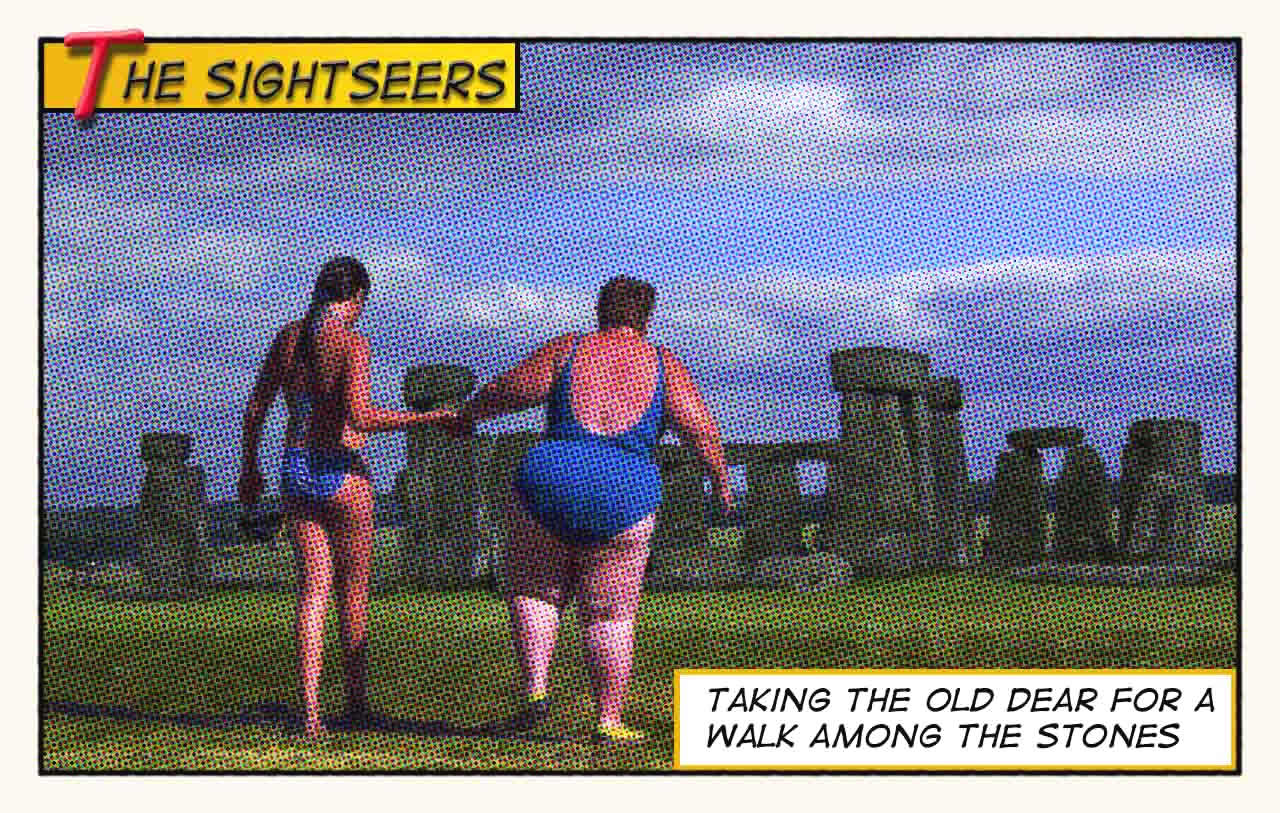
Here is another example
Another web site of interest is found HERE