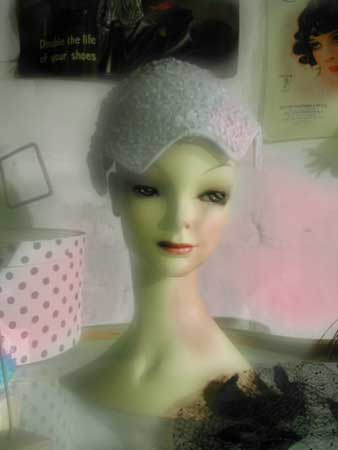
This tutorial was inspired by one of Teresa Lunt's. It can be found on HERE
This idea could be applied to many subjects and we know it works well with portraits. Teresa was trying to get ghostly movement into her image so that you could tell that two people had just left the scene of two empty chairs. We shall use some of her ideas here.
1). So open a photograph in Photoshop of any version. We have one called The Hat as shown here.
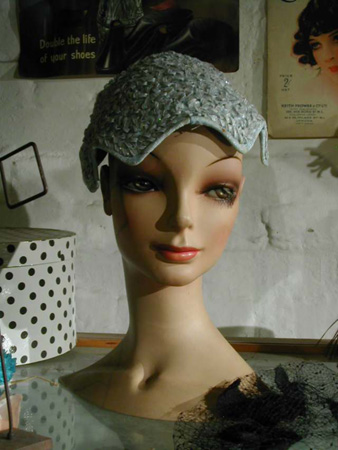 The
Hat - starting image
The
Hat - starting image
2). Make a duplicate layer.
3). Apply a Gaussian blur to this layer, with a medium to large blur radius. The blur radius to use depends in part on the pixel dimensions of your image, so you can experiment with this setting.
4). Apply Edit>Transform>Scale [Photoshop] or Image > Transform > Free Transform [Elements] or use the short cut of Ctrl+T to the blurred layer, to stretch it out in all directions so that the blurred subject was slightly larger than the unblurred subject. Hold down both Shift and Alt when doing this.
5). Set the opacity of the blurred layer to 65 percent. You can see the effect of this in Figure 2. There is a softening effect.
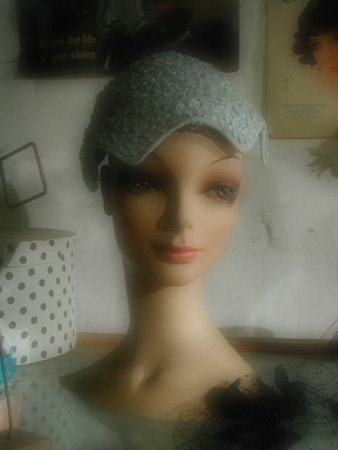 After
Gaussian Blur
After
Gaussian Blur
These manipulations, of creating a slightly enlarged blurred layer and blending it with the original image, are inspired by Freeman Patterson and Andre Gallant's book Photo Impressionism and the Subjective Image. In that book, the authors describe the technique of slide montages, in which you photograph the same subject two or more times on colour slide film, with one or two of the exposures taken out of focus (blurred) and slightly zoomed in or out or slightly off centre. Then the multiple slides are sandwiched to create the final image. Here we have done a very similar thing in Photoshop, using layers to blend the blurred and unblurred image, instead of different sandwiched slides.
6). Go to Filter >Distort>Diffuse Glow to the blurred layer, with
a purple colour as the Background Colour. Be sure to set the grain to zero in the Diffuse Glow filter,
and set the Amount somewhere in the middle, around 5. If the effect is too strong, you can always undo
and try again with a lesser amount.
This basically has made all the light areas of the image purple, which was not the final colour wanted.
We want to retain a tinge of purple to add some interest and mystery to the shadows.
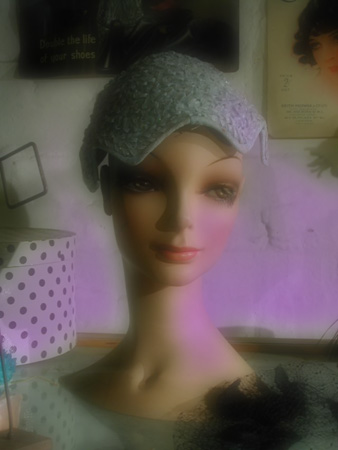 After
Diffuse Glow
After
Diffuse Glow
7). Then in Image>Adjust> Hue/Saturation [Photoshop] or Enhance > Adjust Colour > Hue/Saturation [Elements] I selected magenta and moved this purple colour to a muted yellow colour. The Hue/Saturation tool did not select all of the purple glow, leaving a slight purple tinge to the shadows, as desired. I like the effect of the shadows having a slight purplish tone and the highlights having a warm pinkish tone.
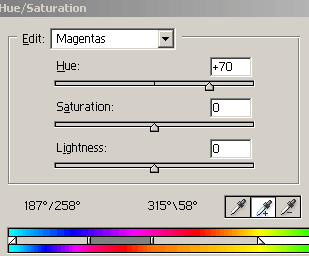 Hue
& Sat settings
Hue
& Sat settings
Notice the very wide settings for the tapers. This was to prevent banding.
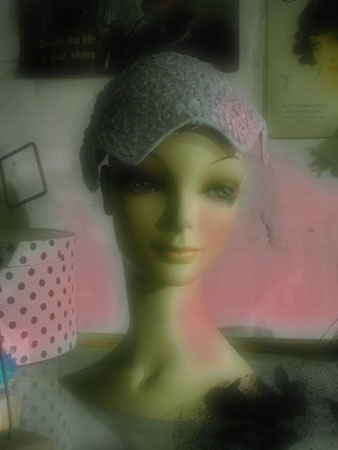 After
H&S as above.
After
H&S as above.
8). This step has blocked out some of the dark areas. To improve this add a Layer Mask (Grants Tools) or use an Elemask see [from HERE].
Or see the High Dynamic tutorial here.
Or use Paul Shipley's extra tools found HERE
9). Now select a soft black brush and paint on the mask to bring back the original image. Use about 30% opacity for the brush.
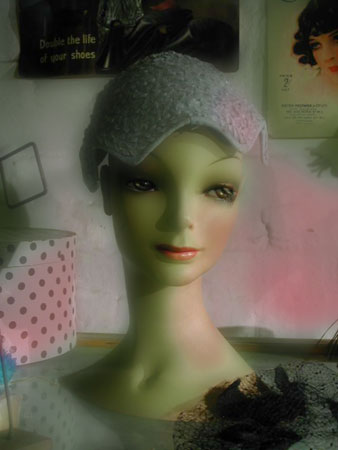
After bringing back some of the background layer
10). To bring about a bit more lightness and airiness use Levels. This effect is seen below.
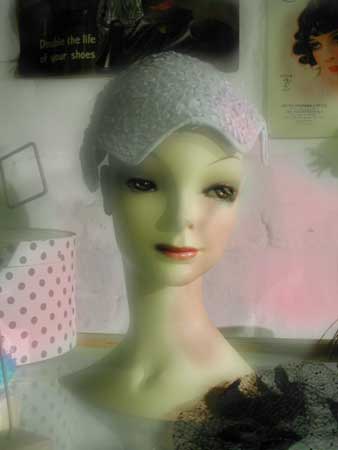
11). Flatten the layers.
12). To get that otherworldly feel use the Pinch filter (Filter > Distort > Pinch) set to about 25. This looks like: