
This command is not used much primarily because it is relatively unknown, but it can perform a very useful role. Essentially it is the same as the Paste command but the pasting action only appears within a selection. Naturally the selection can be any shape. Just think what this can mean for a moment.
Having Pasted Into.., the image so pasted can be moved within the selection and it can be resized or transformed using the Transform tool.
As an example of how to use this command let us
1 Open Photoshop Elements [PSE] and
2 Open a New sheet either from the New sheet Icon on the menu bar or from Edit > New sheet or even Ctrl+N.
3 For ease of calculation make the page 3000 x 2000 pixels and 200 pixels per inch.
4 Ensure that the Grid is showing by going to View in the Menu bar. Click on Grid to put a tick there.
5 Also ensure that Snap to Grid is ticked from the same menu.
6 You may have to adjust the size of the Grid by going to Edit in the menu bar. Select Preferences> Grid. The Grid box opens. Alter the Grid to, say, Divisions = 1000 px and Sub-Divisions =1
7 Now you will have a new sheet with a grid like a Noughts and Crosses grid.
8 Pick the Rectangular Marquee tool at the top left of the Tool Bar
9 In the Options bar click on the Style box. Select the Fixed Size option.
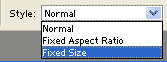
10 Now you will see two boxes probably with 64 px written in. Change this to 1000 px. The space between the 1000 and px is necessary.
11 Now when you put your cursor over the new sheet and click with the left mouse key a square of 1000 pixels will be seen. Without releasing the mouse key slide this selection into one of the squares of the grid. It will click into place because of the Snap to Grid command. Now you have the Marching Ants.
12 Open up a suitable image from your collection. Select All from Select in the menu bar.
13 Now Edit > Copy or Ctrl + C
14 Back to the new sheet and go to Edit > Paste Into. Your image will appear within the 1000 pixel square.
15 If the wrong size then using the Move Tool [press V on the keyboard] drag the sides and top and bottom in (or out if too small) to the edges of the grid square.
16 It may be that you do not want to distort your image like this and so by holding down the Shift key and dragging the corner handles you can size your image to fit. If it is not a square image then some of the image will have to be sacrificed. By making the grid 500 pixels instead and setting the Rectangular Marquee to 1500 and 1000 px your pictures could fit more easily.
17 Continue in this way with other pictures to fit precisely together.
18 A variation of this can be considered so that the images are separated. Keep the Grid at 1000 px but set the Rectangular Marquee to 900 x 900 px. Then when putting in the Selection move it within the grid square by eye. See an example below with and without a background fill.
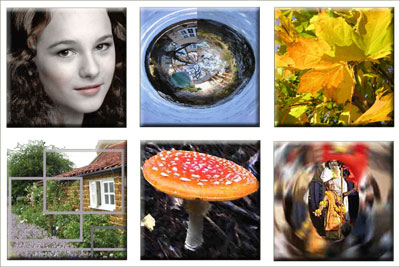
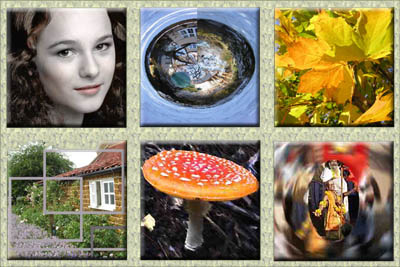
19 Have fun it could be worth it. And why not try an irregular selection or two?